Creating A New Pre-Paid Buy
1.From the Account List, select the account, then click on Buy / Trade.
Or
Open the Account first and then click on Buy / Trade. 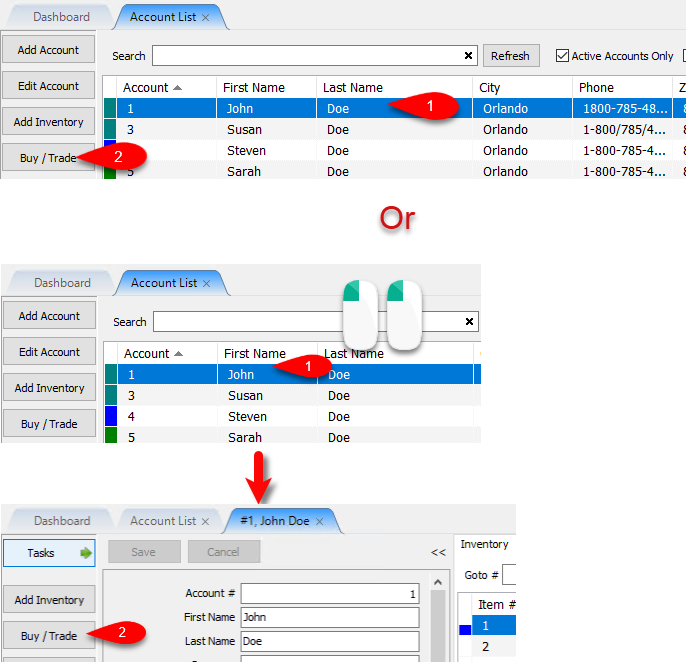
2.Click the New button. 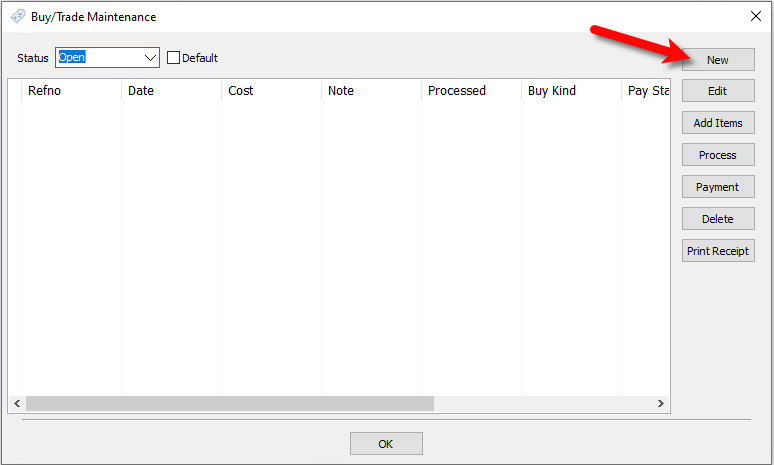
3.We will now input our options for the Pre-Paid Buy. 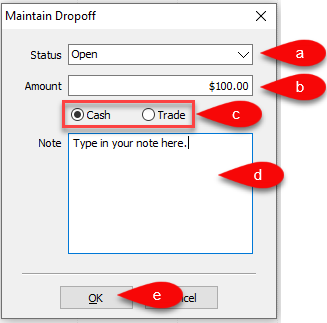
a.Select the status you want to use, by default, this is set to Open.
Note: You can add your own statuses by going to Setup > Maintain... >Dropoff Status
b.Type the amount you would like to add as a credit to the Client’s Account for the batch of items you are taking in.
c.Specify whether the amount added to the Client’s Account is either Cash or Trade.
d.You can type a custom note here for the dropoff if there is something that you need referenced later.
e.Click the OK button to create the Pre-Paid Buy entry.
Related Topics
Creating A Payment For Pre-Paid Buy
Adding Items For A Pre-Paid Buy
How To Process Inventory For A Pre-Paid Buy
Printing A Receipt for a Processed Pre-Paid Buy
How To Delete a Pre-Paid Buy That Has No Cash or Trade Transaction Added