Adding Items For A Pre-Paid Buy
1.From the Account List, select the account, then click on Buy / Trade.
Or
Open the Account first and then click on Buy / Trade. 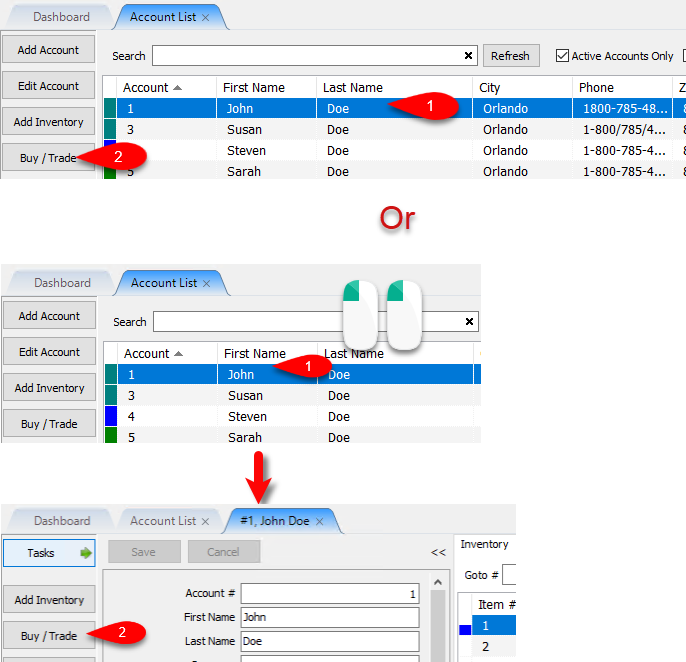
2.You must add a Payment before you can add items to the Pre-Paid Buy.
Please visit the following article if you have not added a Payment yet:
Adding A Payment To A Pre-Paid Buy
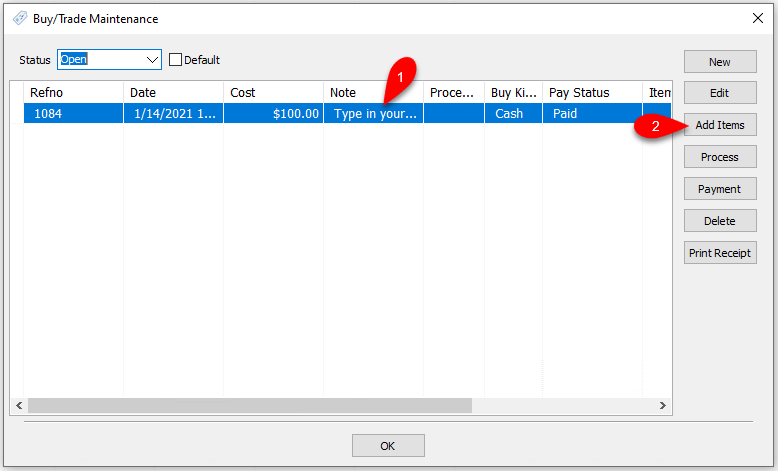
Click the Add Items button.
3.If you are already adding items to the account, you will get the following prompt. Close out of the Add Items tab for the account after clicking OK. Then try again. 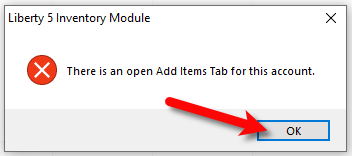
4.Enter your first inventory item filling out the correct fields. 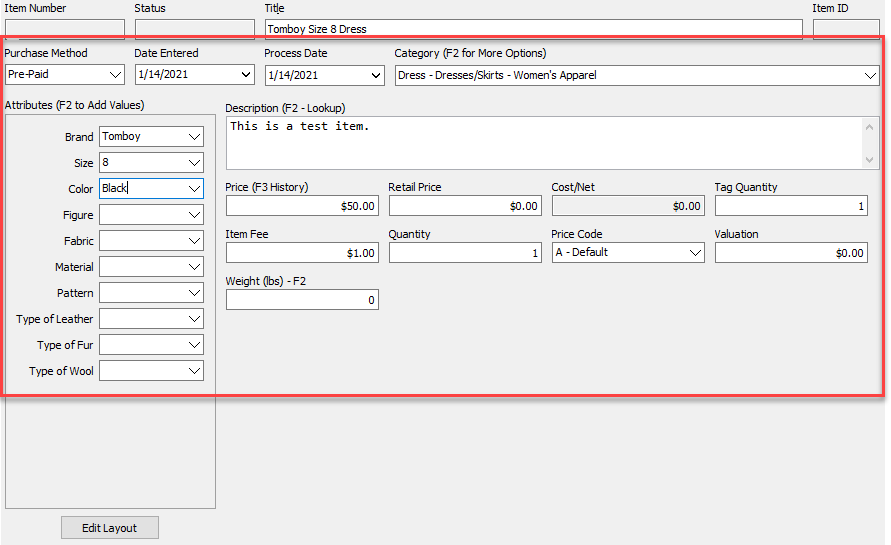
5.You can then add images to your item as well. 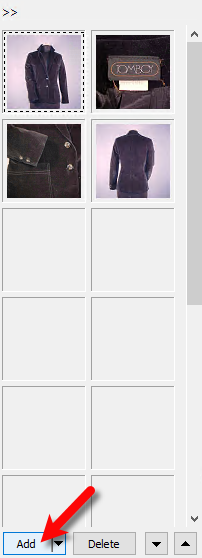
6.When finished, click the Save button. 
7.Continue adding your inventory that is part of the Pre-Paid Buy. 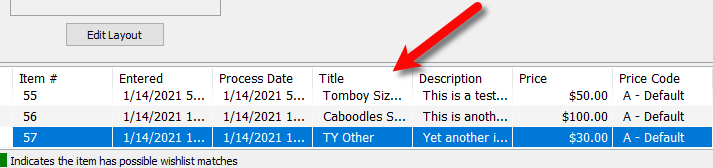
8.When finished, close out of the Buy/Trade Account tab where you were adding the inventory. 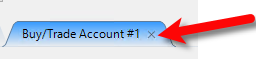
9.You will then be asked if you would like to Process the inventory now?. Click the Yes button. 
This simply sets the inventory for sale in the Point of Sale and distributes the cost/net across all items added to the Pre-Paid Buy based on the amount you typed in for the total transaction payment.
The cost is evenly distributed based on the price of the item.
Example:
Related Topics
Creating A Payment For Pre-Paid Buy
How To Process Inventory For A Pre-Paid Buy
Printing A Receipt for a Processed Pre-Paid Buy
How To Delete a Pre-Paid Buy That Has No Cash or Trade Transaction Added