How to perform a Printer Calibration On A TSC Tag Printer
Sometimes when a different roll of tags is placed into a thermal tag printer (i.e., jewelry tags instead of vertical tags, etc.) then the printer will need to be reinterpret the size and gap placement of the tags.
This procedure is called "calibration." To perform this, follow the steps below:
TSC Printer
1.Flip the power switch on the back of the printer to turn it off. 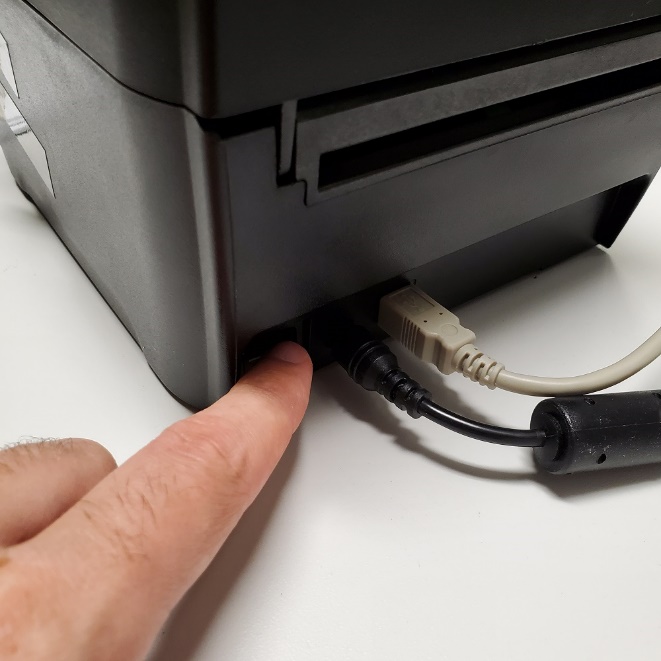
2.Open the lid by flipping the green latches on the sides up. Replace the roll of tags as needed, then close the lid. 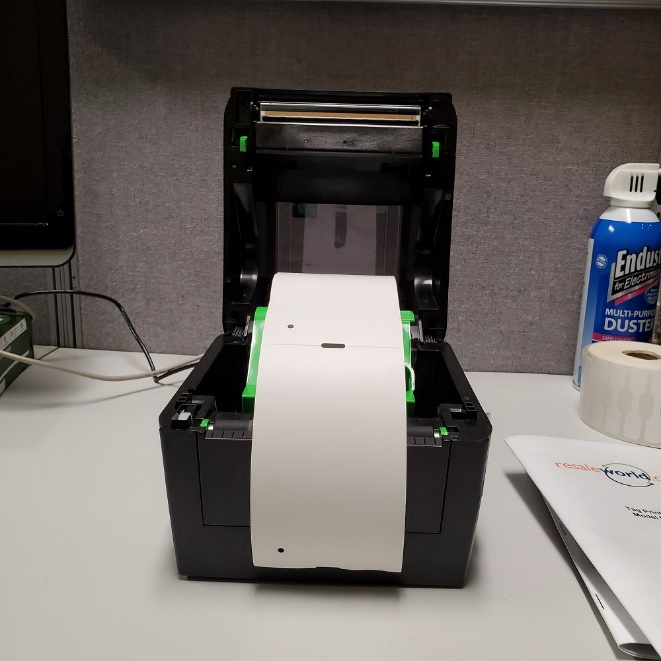
3.With the power still OFF, press and hold the feed button while powering the printer on.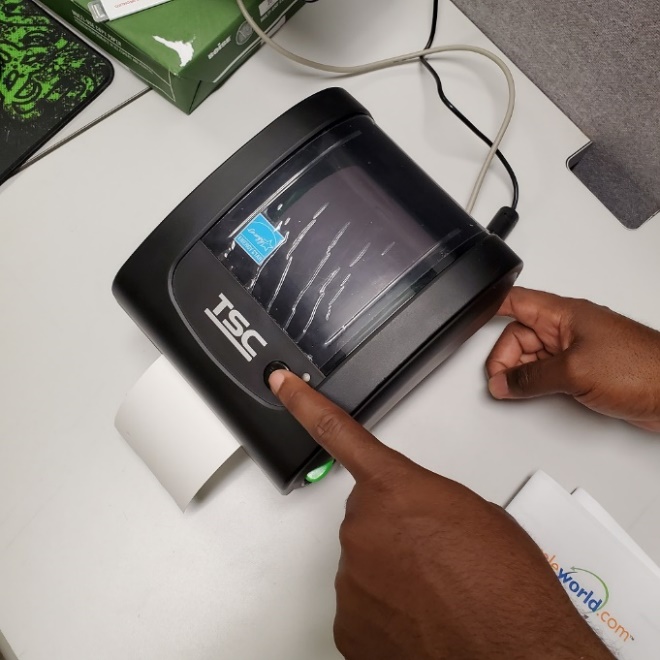
4.The light on the top of the printer will begin to change colors, going from green to amber to red.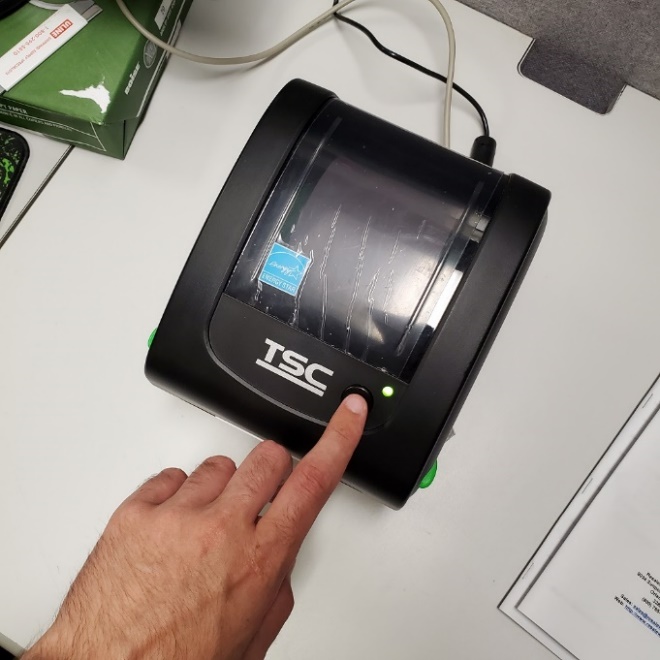
5.When the light flashes red three times in a row, release the feed button. This will tell the printer to calibrate.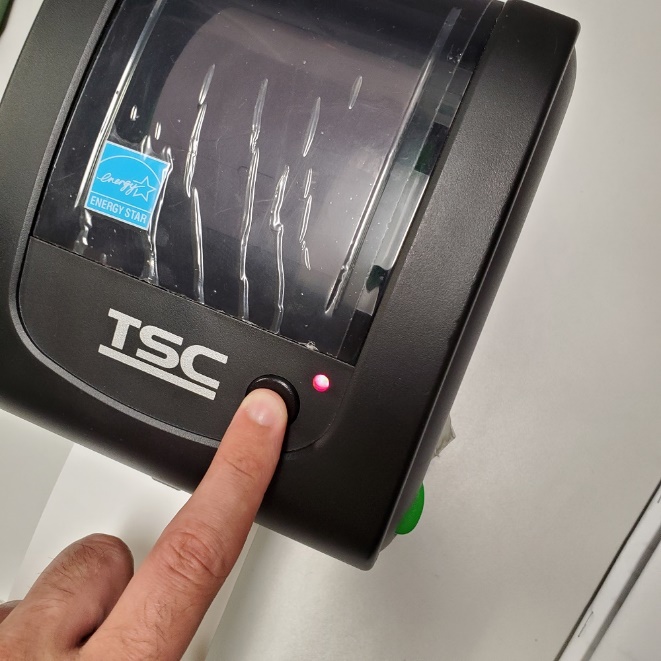
6.After the printer has advanced several blank tags, press the feed button once to eject a tag and confirm that the printer is correctly calibrated.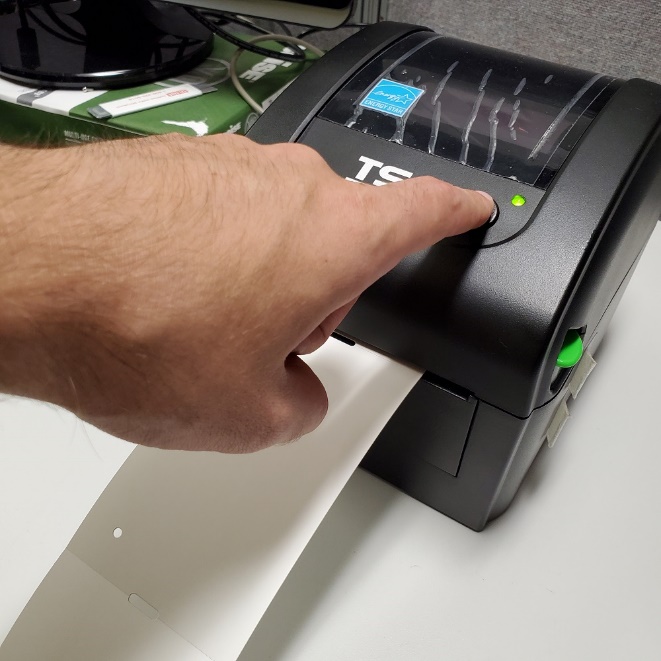
Related Topics
Installing the TSC DA210 USB Tag Printer on Windows 10
Installing the TSC DA220 Ethernet Tag Printer on Windows 10
Installing the TSC TDP-247 USB Tag Printer on Windows 10
Troubleshooting the DA210/DA220 Tag Printer