How to Install a TSC DA220 Ethernet Tag Printer for Windows 10
--
1. Download and run the driver installer using the following link:
https://support-resaleworld-com.s3.amazonaws.com/Fixes/Hardware/Driver/TSC/LatestNiceDriver/LatestNiceDriver.exe
2.Once you run the installer, make sure the When done unzipping open: PRNINST box is unchecked then click the Unzip button.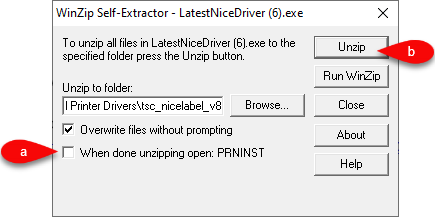
3.Click the Start menu and then start typing Devices and printer, press the Enter key on your keyboard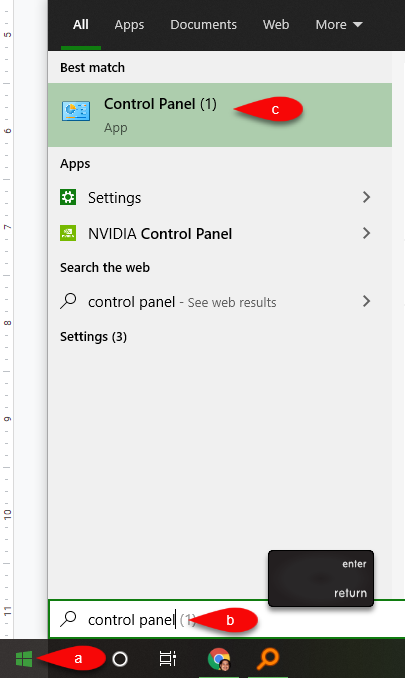
4.Click on View by: and select Small Icons.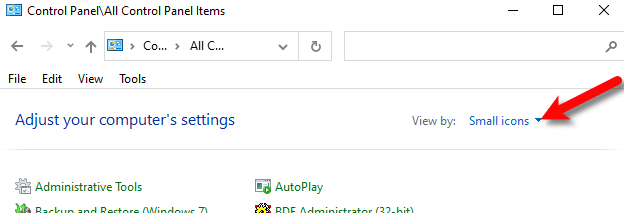
5.Click on Devices and Printers.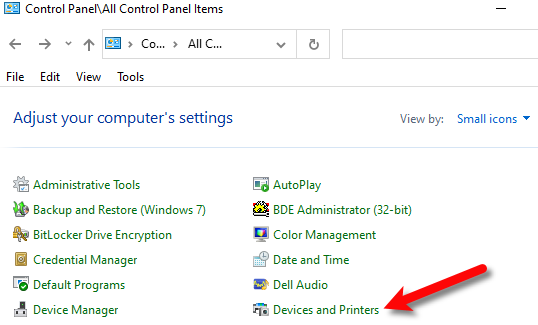
6.Next, click on Add a printer.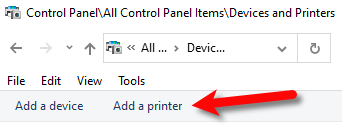
7.Click on The printer that I want isn’t listed.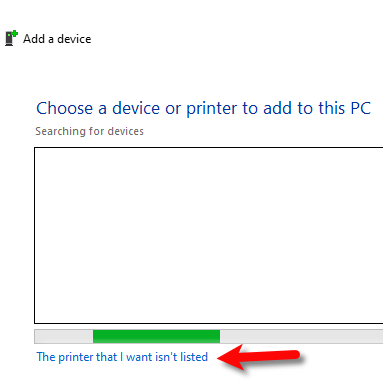
8.Select the Add a local printer or network printer with manual settings option, then click Next.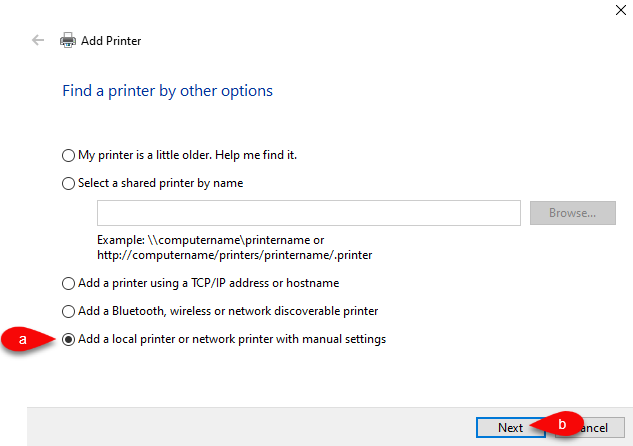
9.Click the radio button for Use an existing port, then click the drop down next to it, scroll down and select the latest Virtual printer port for USB in the list. 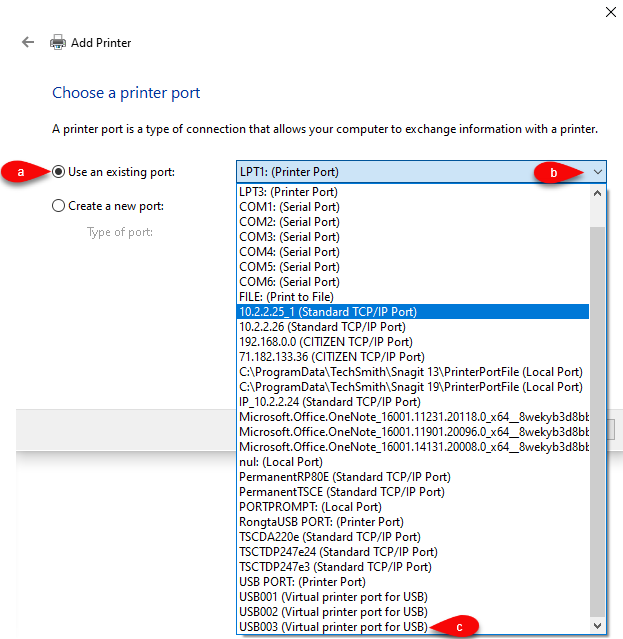
10.Click the Next button. 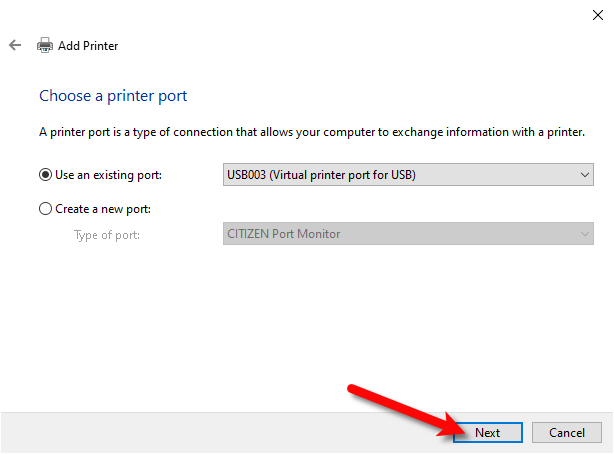
11.Under Manufacturer, select TSC then under Printers select the TSC DA220.
If you have more than one TSC DA220, make sure you select the one that says (NiceLabel).
Then click the Next button. 
12.If the Which version of the driver do you want to use dialog comes up, select Replace the current driver then click the Next button. 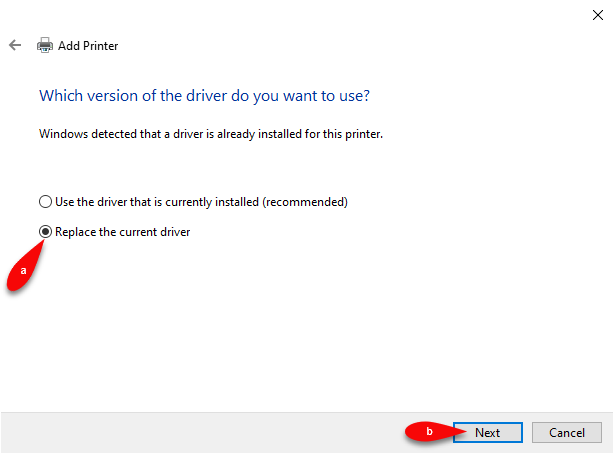
13.If this is the only TSC DA220 printer you are installing, you can add an E at the end of the name to indicate that it is an ethernet printer.
If you are installing more than one tag printer, we would recommend that you name them with an incremental number at the end.
Example: TSC DA220E #1 and TSC DA220E #2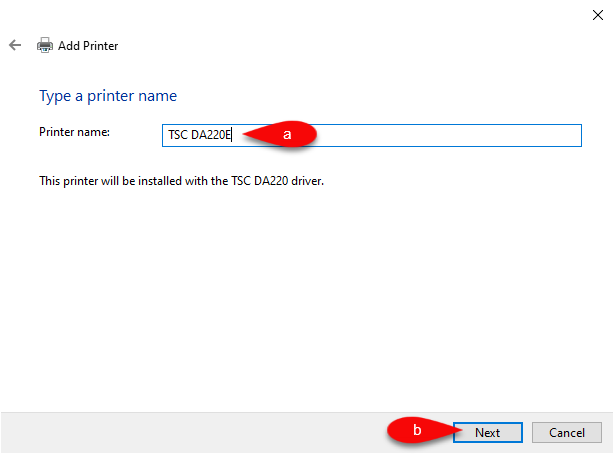
14.Click the Do not share this printer radio button and then click the Next button. 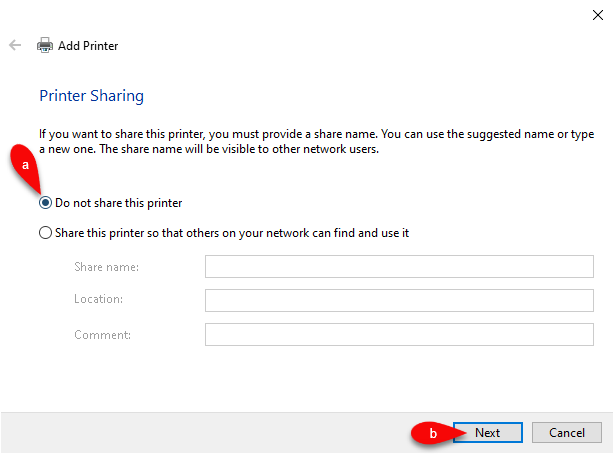
15.Make sure that Set as the default printer is not checked and then click the Finish button. 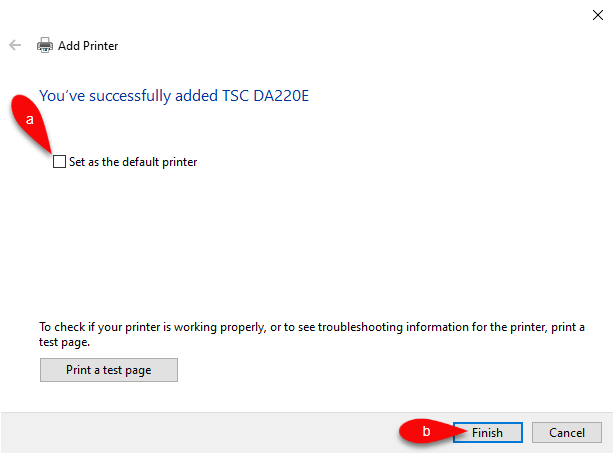
16.Open the Liberty Inventory Module, then click Setup, then Options
17.Click on the Selected Tag Styles menu option.
Select the appropriate tag styles for your tag printer, depending on the type of tags you have purchased.
Click the OK button when finished. 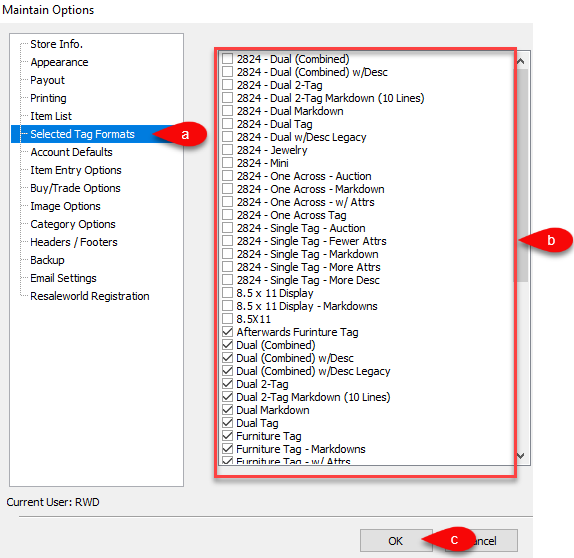
18.Drop down the tag printer menu and select the appropriate tag printer you just installed. Click on the OK button.
19.Now you can print your tags from an account
a.Go to an account and click Print Tags
b.Select your Printer if it isn’t the right one. You can also checkmark Remember Printer Selection.
c.Select the Tag Format you want to print.
d.If you plan on using this tag format for a while, you can checkmark the Default Tag Format box.
e.Type in your starting item number you want to print from.
f.Type in your ending item number you want to print to.
g.Click the OK button to print your tags. 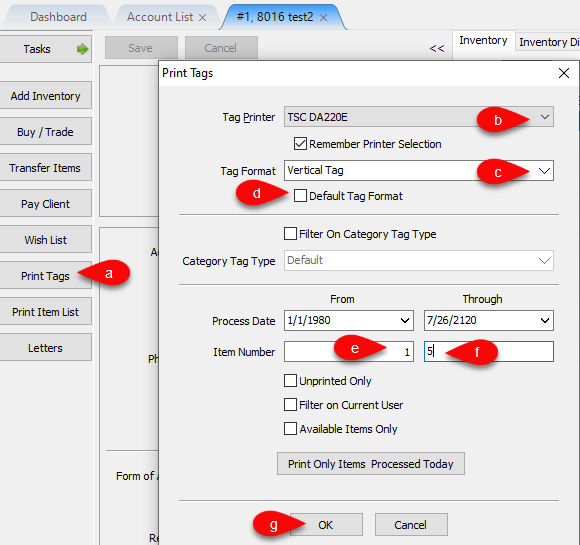
Related Topics
Troubleshooting the DA210/DA220 Tag Printer
How To Recalibrate a TSC Tag Printer