Item Entry Field Preferences
Both the Consignment and Retail Item Entry windows are highly customizable. The Edit Layout routine allows you to customize them in the following ways:
●Change the order in which fields appear on screen.
●Specify which fields the cursor lands in as you press the <Enter> button and which fields are skipped. (Skipped fields are still accessible by clicking the mouse on them.)
Example: Let’s assume you have reviewed the purpose of the various fields in the Consignment Item Entry screen and decided to rearrange the item entry screen. You could reorder the fields so those that are always used are at the top of the screen, those that are rarely used or changed are in the middle of the screen, and those never changed are at the bottom of the screen. You could also program the cursor to skip over the rarely and never used fields so that the Save button is highlighted after entering the Price Code.
There are 2 reasons for doing this:
●You won’t have to press <Enter> repeatedly after every item is entered to get to the Save button (remember, Item Entry is a keyboard centric operation – every time you take your hands off the keyboard and use the mouse slows you down).
●If you ever do need to change a field, for instance, you want to enter a Preset Net in the Cost/Net field, then in these rare circumstances you will use the mouse.
How To Set the Consignment Item Entry Window’s Preferences
1.Right click a blank area in the Item Entry field, and select Edit Layout.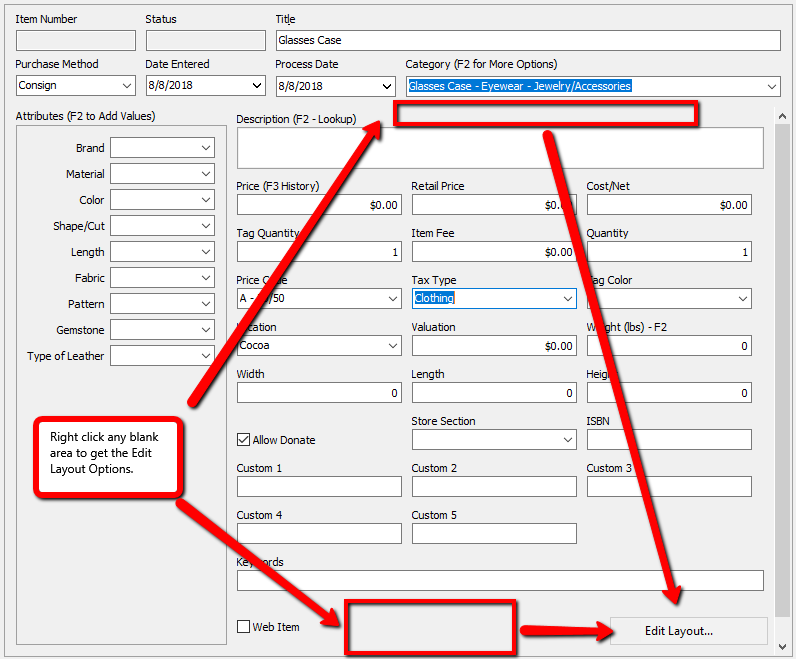
2.The Edit Layout dialog box will open.
●Field: The Name of the Field to be modified.
●Stop On Tab: Having a Yes in this column with make the cursor Stop on this field when pressing the Tab button. To Clear out the Yes and make it Skip this item, select the Skip Field button to the right. To Change it back, select the Don’t Skip button to the right.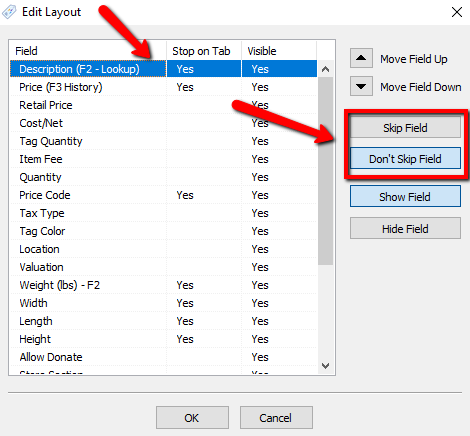
●Visible: This column allows the field to be Visible or Hidden on the Item Entry Screen. Fields marked as Yes will be Visible. To change an item to Hidden, press the Hide Field button to the right. To Make it Visible, press the Show Field button to the right.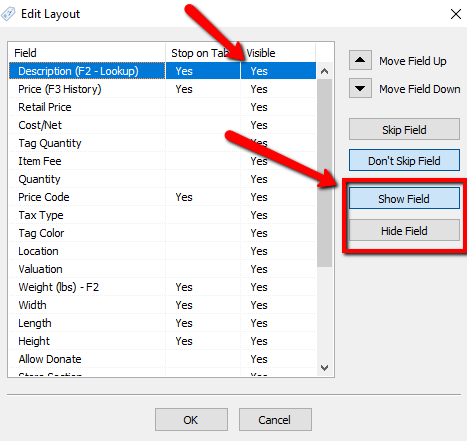
3.To Move fields, highlight the field you want to move and press either the Move Field Up or Move Field Down buttons.
Example: I want to move the Cost/Net field to be after Price.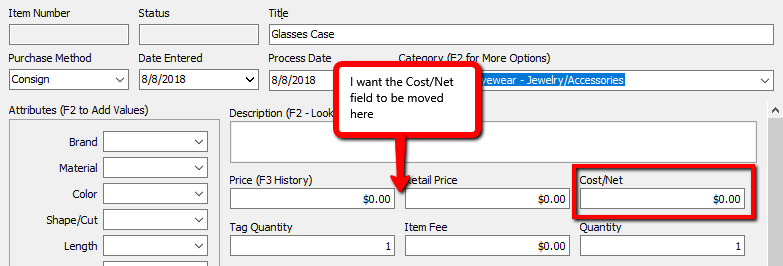
4.From the Edit Layout Screen I highlight Cost/Net and press the Move Field Up button until Cost/Net is between Price and Retail Price.
Before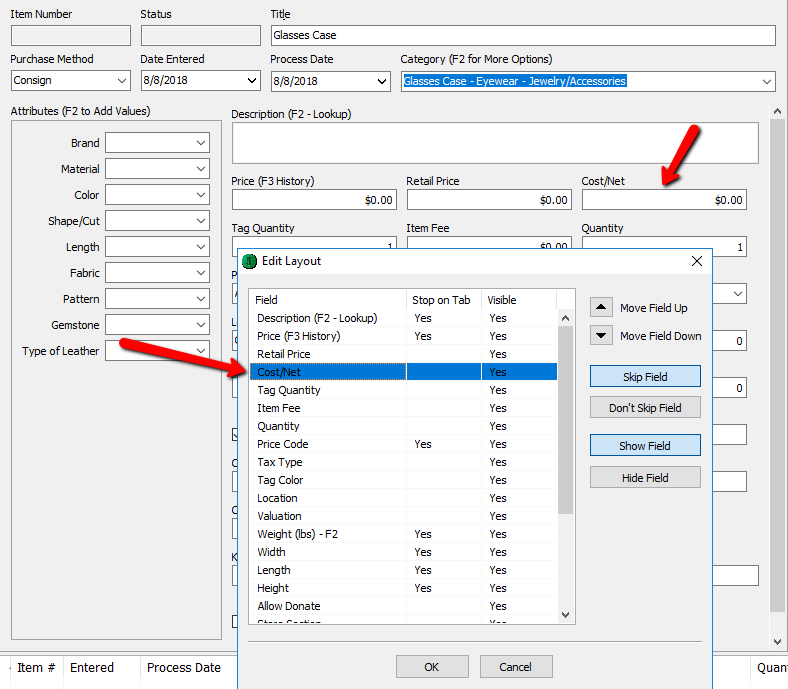
After
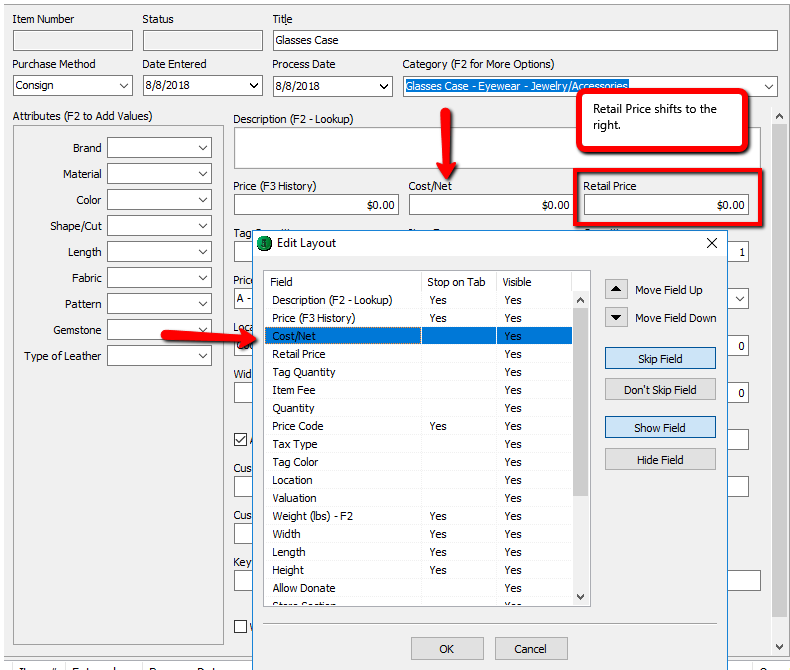
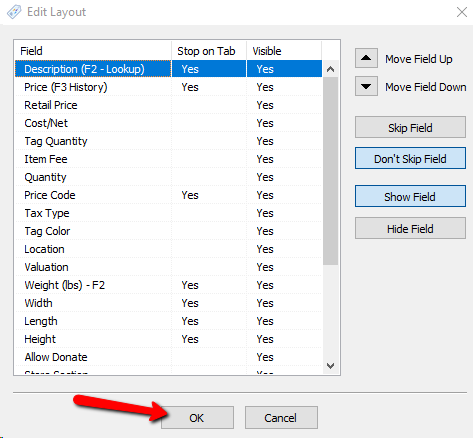
5.Press the OK button when finished making changes.