Account Defaults
To Set Up General Account Defaults
Use this procedure to set up preferences for adding new accounts in Liberty Inventory.
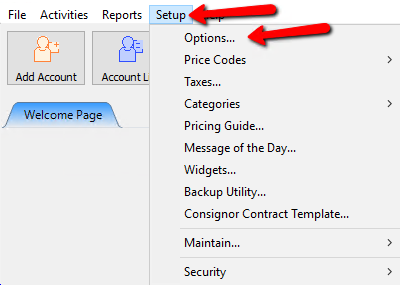
1.In the menu bar go to Setup > Options. 
Login if prompted.
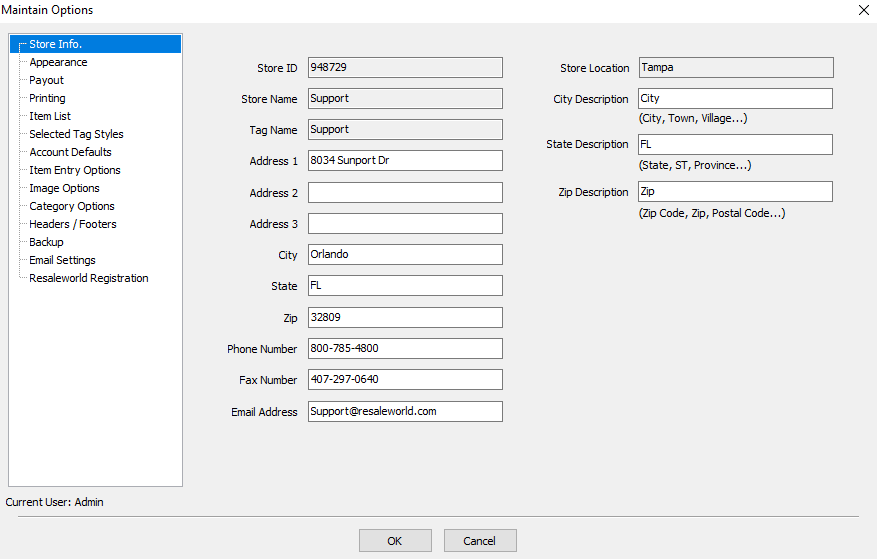
The Options dialog window will display.
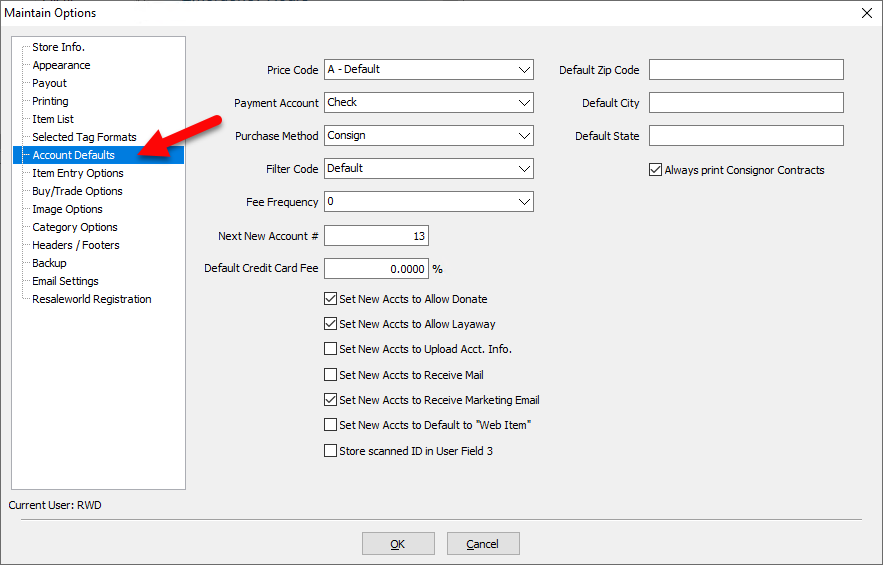
2.Select the Account Defaults options.
Account Default Field Definitions
●Price Code : Select the default price code for all accounts. When an account is created, this Price Code will become the default price code for the new account. Note that you can change this within each account. Each account can have its own Price Code default.
●Payment Account : Select the default payment account for new accounts. Select check if paying your clients by check or cash if paying your client in cash. Note that the default payment account may be changed in each account using the Payment Account option. See Payment Accounts for more information.
●Purchase Method : Select Consign if most of the inventory you carry is the property of your clients. Select Purchase if most of the inventory you carry is your property. Select Store Owned if most of the inventory you carry is your property, but the purchase is handled outside of Liberty.
●Filter Code : Select Filter Code from the drop down provided. Use Filter Codes to segregate accounts when running reports, performing bulk payouts, sending bulk emails, etc. Some stores, for example, use the Filter Code to distinguish their better clients as VIP accounts. See Define Filter Codes for more information.
●Fee Frequency : Select a default Fee Frequency from the drop down provided. The Fee Frequency selected will be assigned to each new client account when it is created.
Fee Frequencies are used to assess fees to multiple accounts simultaneously. An example would be an annual consignment fee. For more information about Fee Frequencies, see the section entitled Set Up Fee Frequencies.
●Next New Account # : Enter the next store account number that should come up when adding a new account. This is useful if you need to add an account out of sequence.
●Default Credit Card Fee : Sets the default Credit Card Fee to be used for all new accounts.
●Set New Accts to Allow Layaway : Selects the default Layaways Allowed setting to be used for all new accounts. Note that you may change this setting within each account.
●Set New Accts to Upload Acct. Info : Selects the default Upload Acct Info setting to be used for all new accounts. Note that you may change this setting within each account.
Choose No (unchecked) prevents account information from uploading to the optional Consignor Login service, and from being available to the Customer Connector module for reCommerce. Choose Yes (checked) will send information from the account to the optional Consignor Login service (if enabled), and will make information available to the Customer Connector module for reCommerce.
●Set New Accts to Receive Mail : Selects the default Receive Mail setting to be used for all new accounts. Note that you may change this setting within each account.
●Set New Accts to Receive Marketing Email : Selects the default Receive Marketing Email to be set on new accounts. By setting an account to Receive Marketing Email their account will be included when printing mailing labels and sending bulk emails from the Word Processor.
●Default Zip Code : If no zip code is present click into the box and use the drop down to select the default that will be used when a new account is created. If the desired default is not an option then you will need to add. See Maintain Zip Codes for more information.
●Always Print Consignor Contracts : If checked, creating a new consignor contract will automatically print out a copy of the contract, as well as open the PDF.
Note : These defaults are global settings. In other words, they affect all new accounts. Changing a global default setting such as these will have no effect on existing accounts. It will only affect accounts created after the change is made.
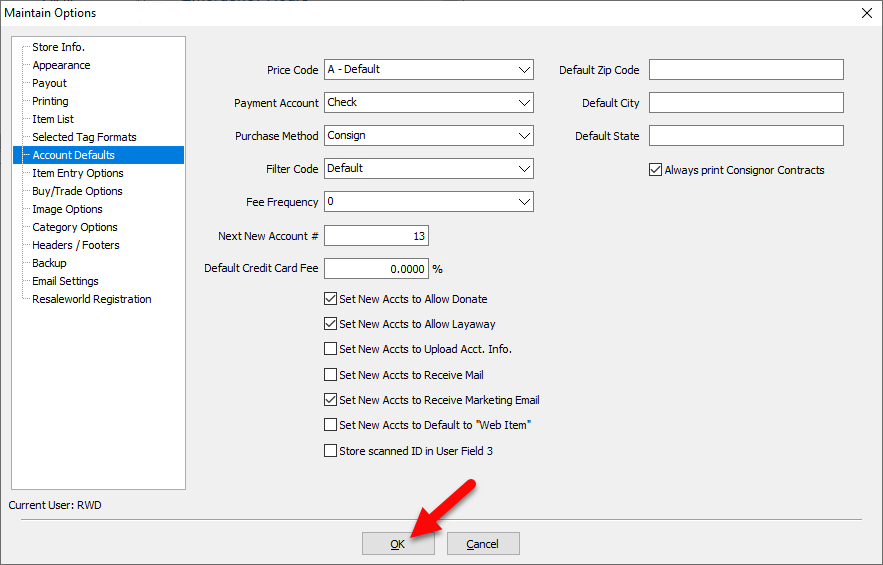
3.Select the OK button when done.
The Price Code, Payment Code, Form of Acquisition, and Set New Accounts to Allow Donate defaults are also controlled by a local setting as well. By local we mean that each individual account has its own default setting, which overrides the global default.
Example: Let’s say your store policy states that items that do not sell may be donated to charity. Accordingly you place a check mark in the Global Default in the Set New Accts to Allow Donate field to set the default for all new accounts to be yes, unsold items from this account may be donated.
At some point in time a client may come in and state that she will happily consign items with your store, but only on the condition that all unsold items be returned to her if they do not sell. In this case, it would make sense to look up their account and remove the check from the Allow Donate check box. Doing so will help ensure that any of this clients’ items that do not sell will not be donated, because if a user attempts to donate one of her items, a message will appear on screen informing the user that items from her account are not allowed to be donated.
