Fulfillment Tab Overview
Fulfillment allows you to keep track of where the items are in terms of shipping, delivery and whether they have reached the customer. Keep in mind that this is strictly for tracking with Liberty and does not communicate with Shopify in terms of where the items are in this process.
The Fulfillment Tab shows you an overview of where all of your orders are in the Fulfillment process and allows you to change the Fulfillment Status very easily.
Note: Fulfillment of orders is not required in order to complete the orders. It is a system that is designed to help make shipping and deliveries easier to track within the Liberty Listing Manager.
Getting to the Fulfillment Tab and Controls
1.Open the Liberty REACT Listing Manager and click on the Fulfillment tab. 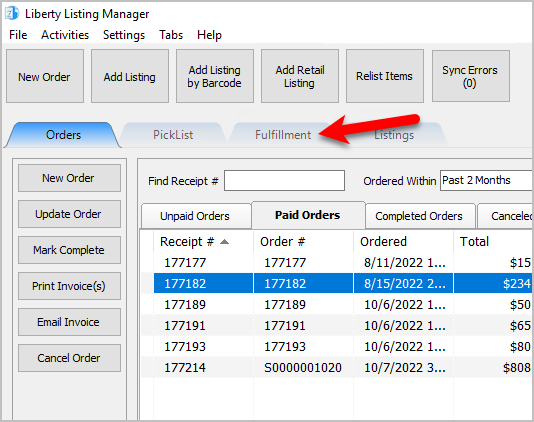
2.Click on the Location drop-down to select which location you would like to work with. 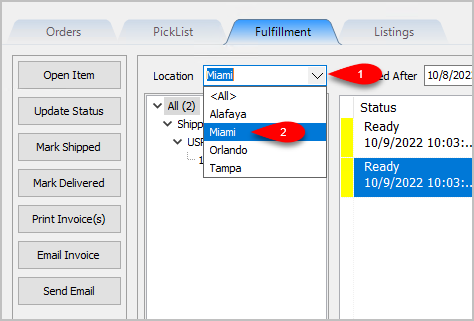
Note: It is not recommended that you select the <All> option if you have multiple store locations.
3.Click on the Filter Date checkbox if you want to see orders within a specific time period. For the Created After date drop-down, select the after date you would like to view items entered for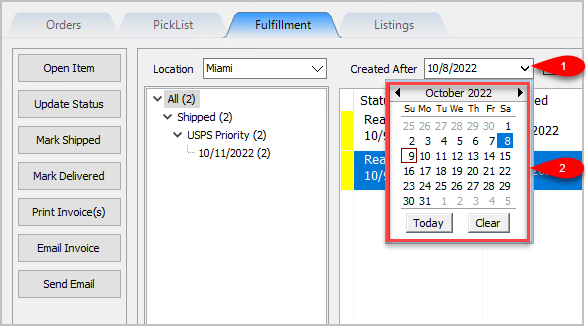
4.Select whether you want to show Orders/Packages that have already been Fulfilled. 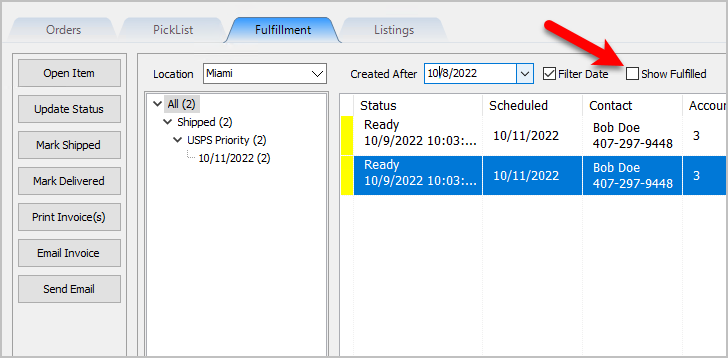
Changing Fulfillment Status Detail From The Fulfillment Tab
1.Either Double-Click on an Item or Left-Click an Item and click the Open Item button. 
2.You will be taken directly to the Fulfillment sub-tab for the Order/Item. 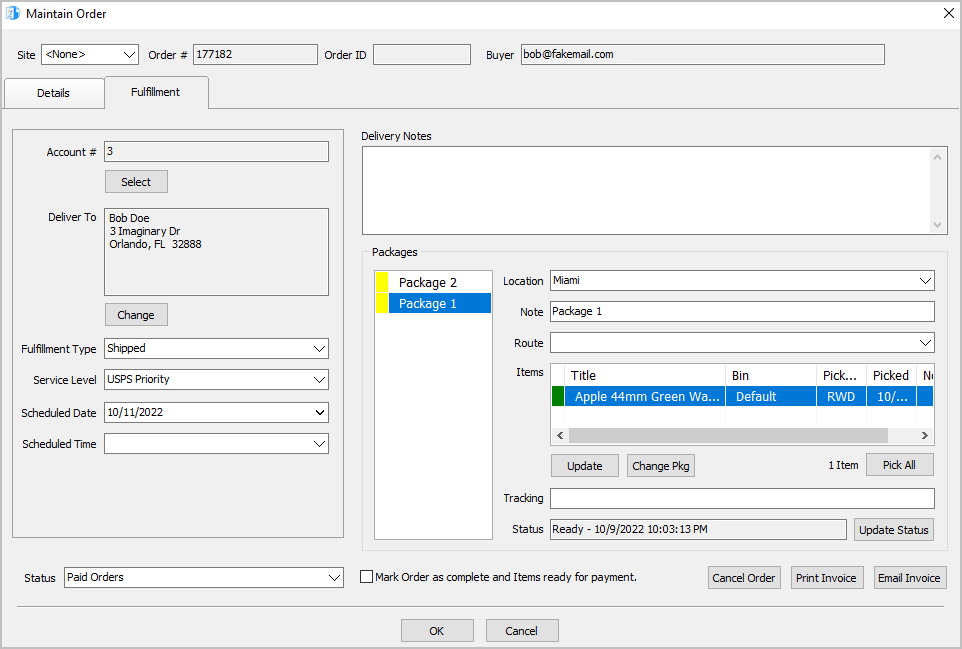
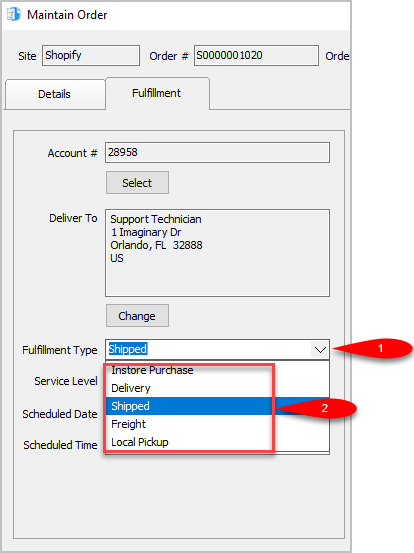
3.Set the Fulfillment Type to the status that matches how the item is going to be Fulfilled. For this example, we will select Shipped.
Note: You can use the types that are already built into Liberty Listing Manager or you can make your own by going to Settings > Maintain Fulfillment Status List.
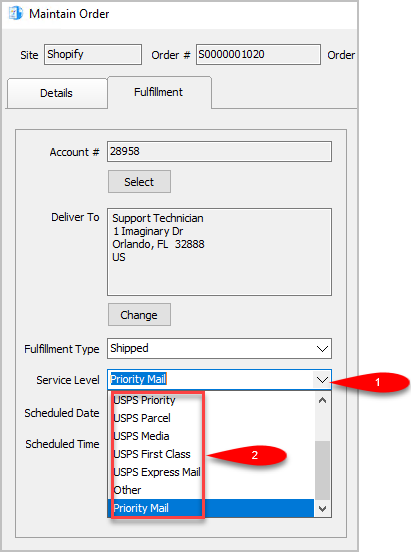
4.We can now change the Service Level as to what shipping service will be used for the order. The service level is not available if the Fulfillment Type is set to anything other than Shipped.
For this example, since we are setting the status to shipped we will select USPS Priority
Note: You can add your own Service Levels by going to Settings > Maintain Shipping Services
5.Scheduled Date can be used to set the date something will be Delivered, Purchased In Store or Shipped.
Simply click the drop-down and select the date. 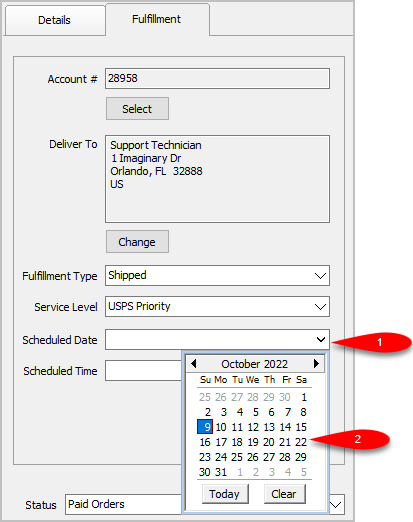
6.You can set the Scheduled Time. This drop-down will be empty until you create some entries by going to Settings > Maintain Delivery Times.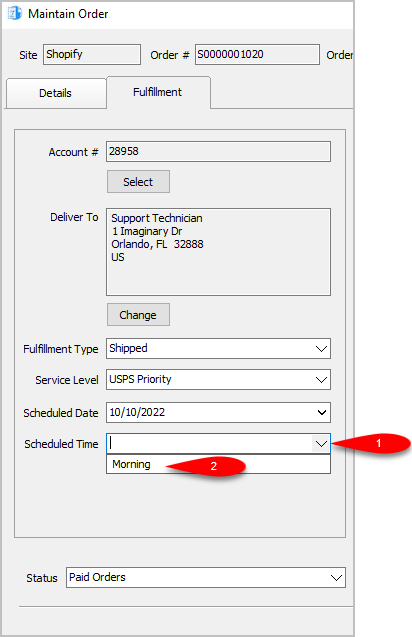
7.For the Delivery Notes, you can type any information you think would be relevant to the Delivery of the order. 
8.You can change the Location of where the order is shipping from.
If you have multiple store locations, the system will automatically split the items into appropriate separate Packages based on where the items are located. 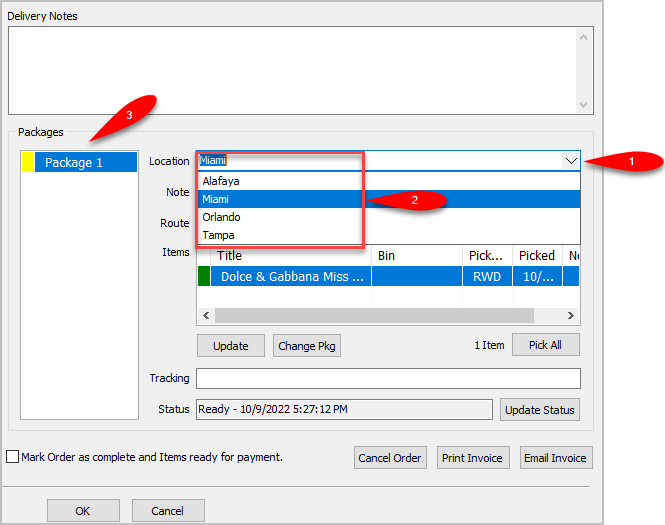
9.You can add another package if you have multiple items that need to ship with separate packages by clicking the Change Pkg button after clicking on an item you want in a separate package. 
10.You can change which package an item is associated with by clicking the item first and then clicking the Change Pkg button again.
This time you will get to a separate dialog screen.
Here you can select which Package you want the item to ship with or Add a New Package if there is more than one item shipping in more than 2 packages. 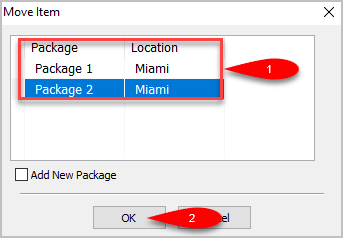
11.You can change the Delivery Route by dropping down the Route field.
This field may be empty and you will need to add Routes by going to Settings > Maintain Delivery Routes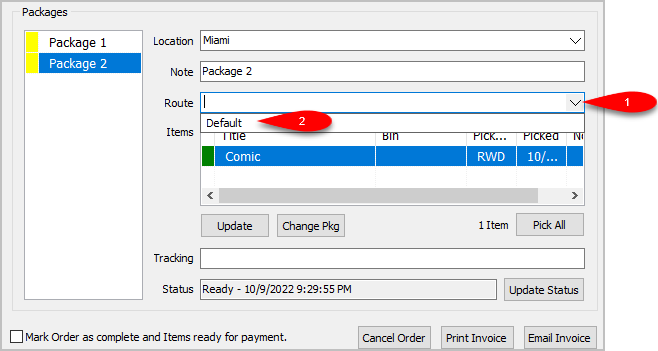
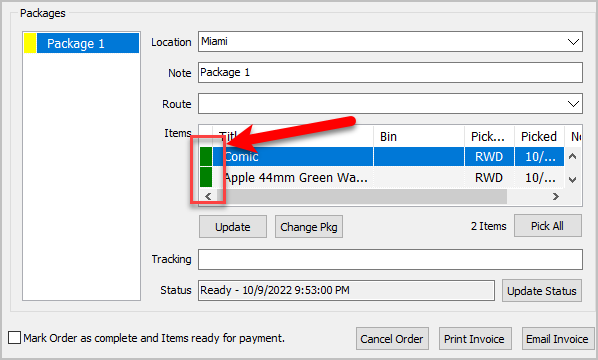
12.If the items have not been picked yet (indicated by a Red box), you can Update the item by first selecting the item you want to pick in this list and then clicking the Update button. 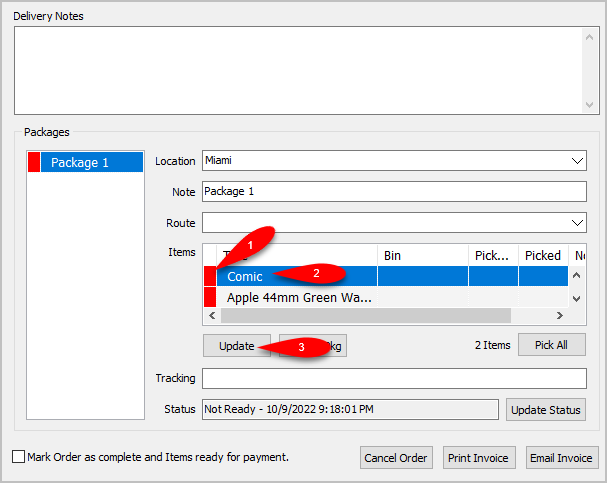
13.You will see an Update Package Detail box. You can update which Bin you want the item assigned to, as well as add a Note to the item before clicking the Pick Now button. Then click the OK button. 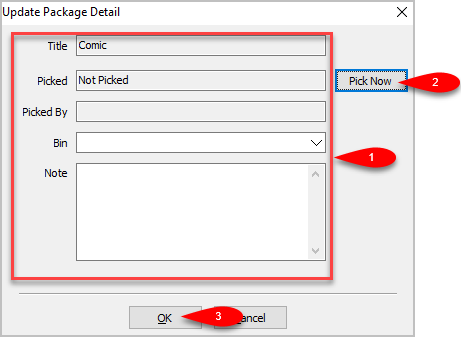
14.The single item will have a Green indicator to show that it has been successfully Picked. 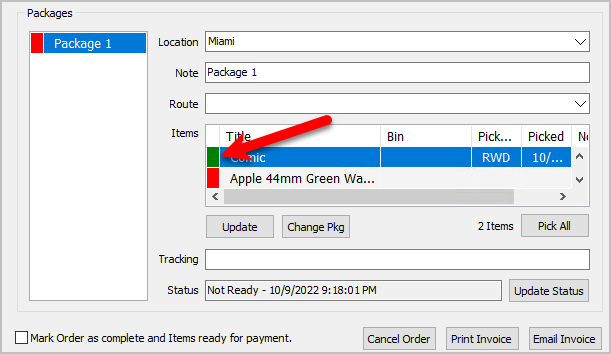
15.Alternatively, if there is more than one item that has not been Picked, you can click the Pick All button if you have found and sorted all the items that were part of the Web Order. 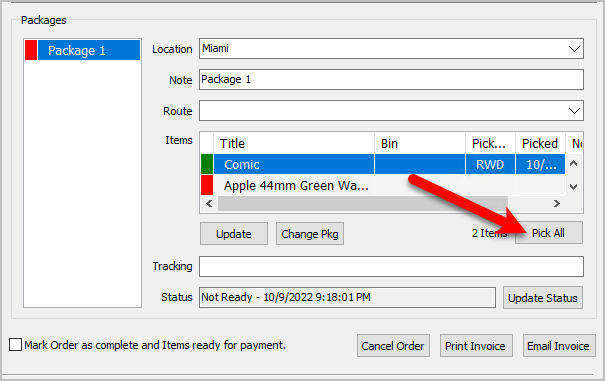
16.You will see a Pick All dialog box come up. You can select which Bin you want to sort the Picked items to and then click the OK button. 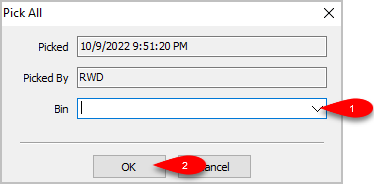
17.All items that originally had a Red indicator and were Not Picked, will now have a Green indicator and will show as Picked.
18.You can enter the tracking number if you have one in the Tracking field.
The tracking number is saved per package, all you have to do is select the package first and then type in the Tracking number. 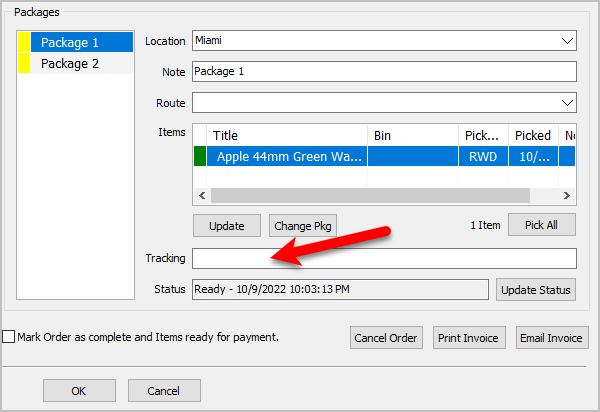
19.Finally, click the OK button. 
20. In this example, the order will show as Shipped for Two Packages in the Fulfillment tab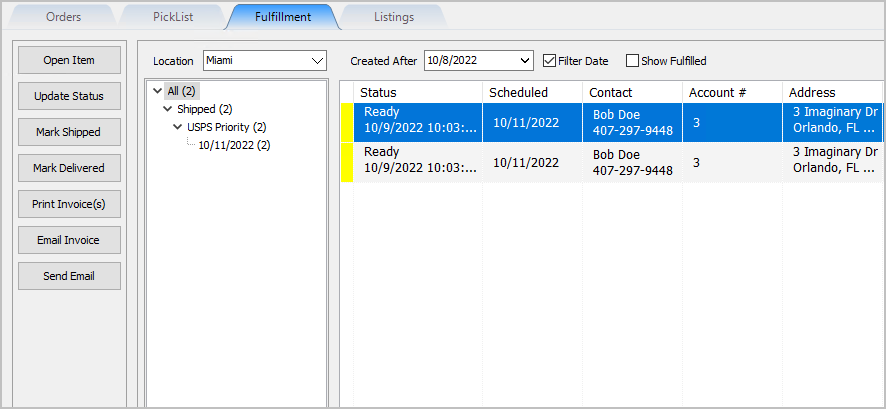
Quickly Mark A Ready To Ship Order As Shipped From The Fulfillment Tab
1.Click on the item from the Fulfillment grid view and the click the Mark Shipped button. 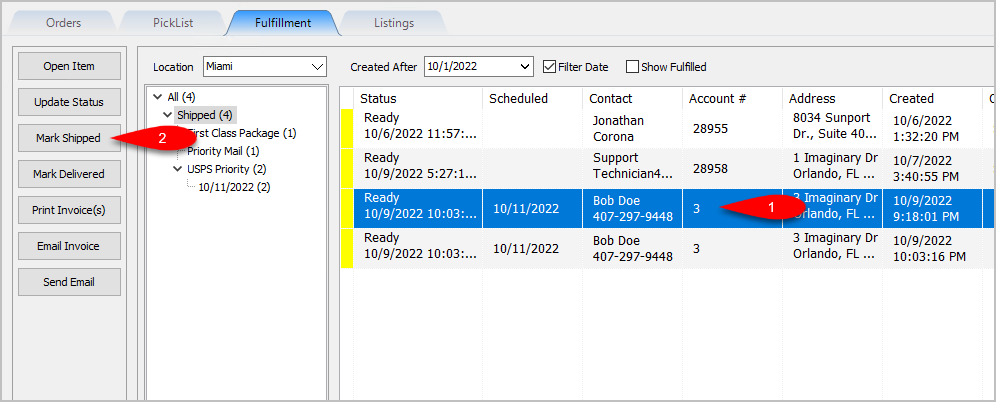
2.Click the Yes button. 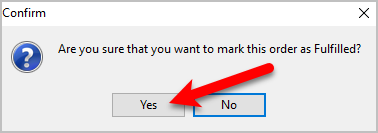
3.A Green indicator as well as the status of Shipped will appear on the item in the grid as long as Show Fulfilled is checkmarked. . 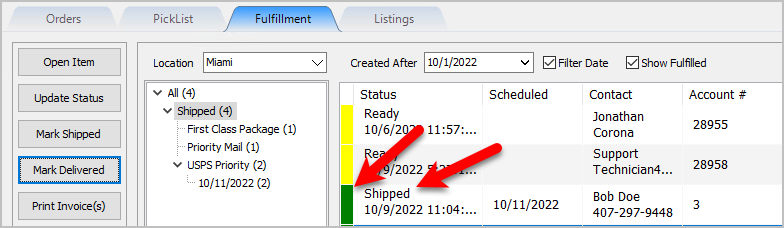
Quickly Mark A Ready To Deliver Order as Delivered From The Fulfillment Tab
1.Click on the item from the Fulfillment grid view and the click the Mark Delivered button. 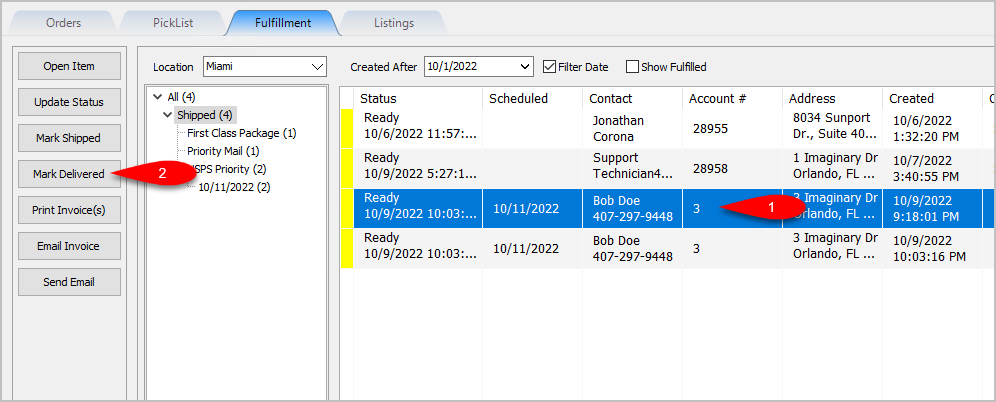
2.Click the Yes button. 
3.A Green indicator as well as the status of Delivered will appear on the item in the grid as long as Show Fulfilled is checkmarked. 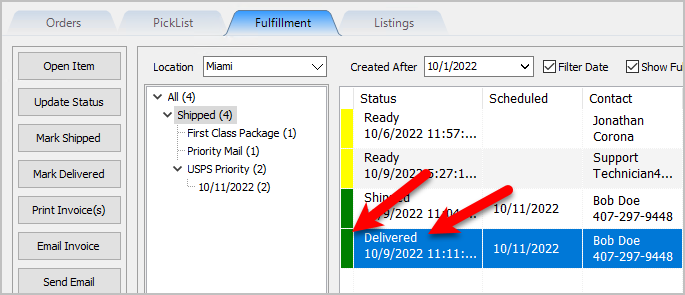
Printing An Invoice From The Fulfillment Tab To Be Included In A Package
1.Click on an item within the Grid-View and then click Print Invoice(s)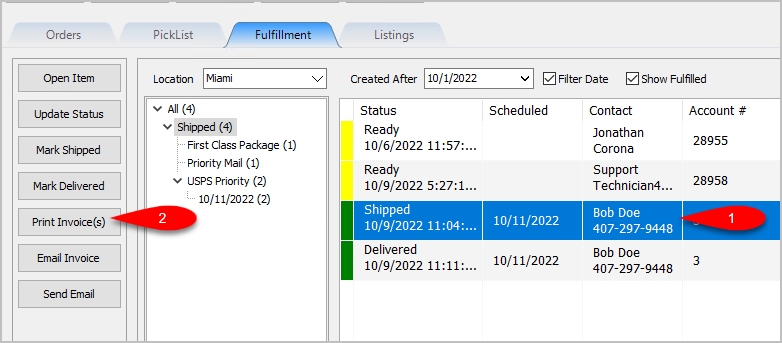
2.If you need to change the default printer windows is set to print to, drop down the Printer Selector and select your printer. Click the OK button. 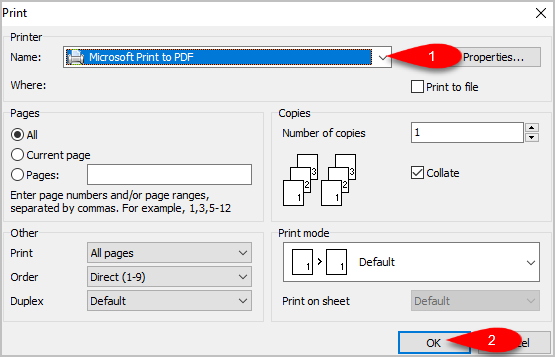
3.Here is a sample of what the Invoice will look like: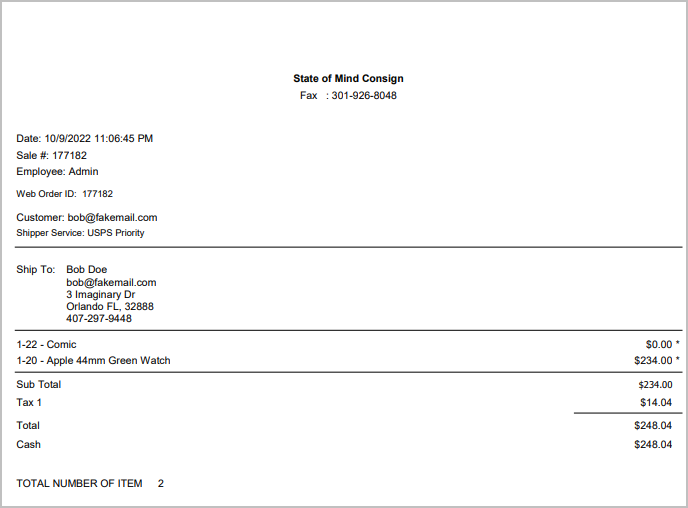
Emailing An Invoice From The Fulfillment Tab
1.Click on an item within the Grid-View and then click Email Invoice. 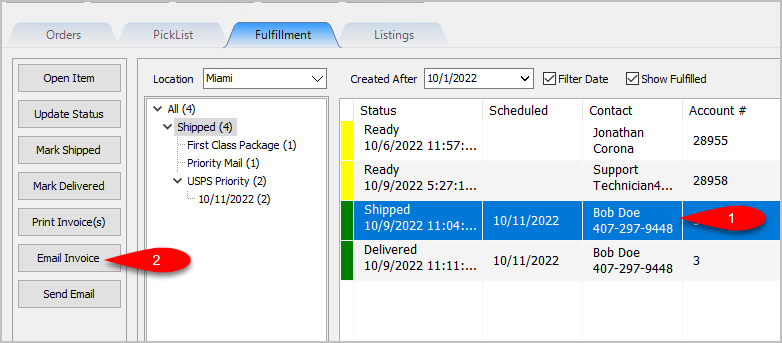
2.You can change the Sent To email address, the Subject and the Message fields. Click the OK button when you are done.
An email will be sent to the customer with the Invoice attached in PDF form. 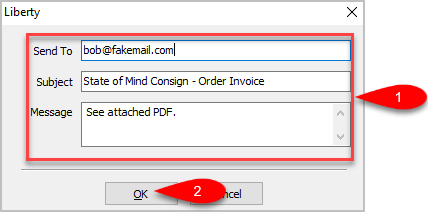
Sending A Custom Email To The Customer That Placed An Order
1.Click on an item within the Grid-View and then click Send Email. 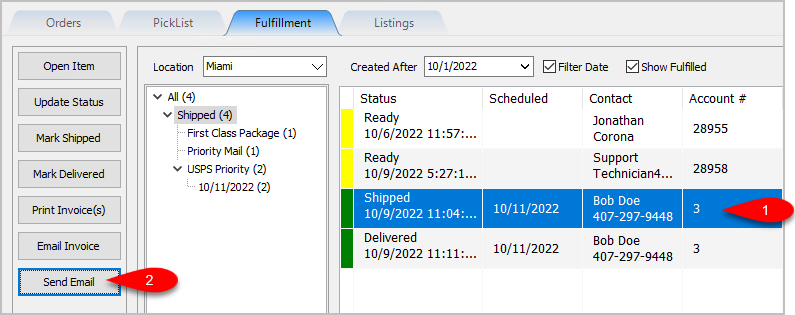
2.The Send To field will be filled in with the email address of the customer that placed the order but you can change this if you need to. You can also fill in the Subject field and the Body field, then click the Send button to send the Email. 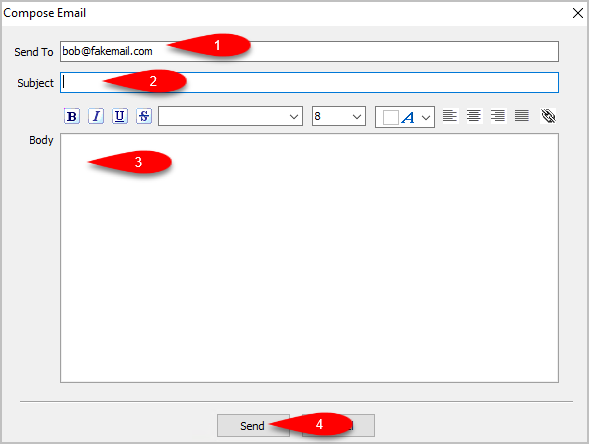
Related Topics
Getting to the Fulfillment Tab and Controls
Changing Fulfillment Status Detail From The Fulfillment Tab
Quickly Mark A Ready To Ship Order As Shipped From The Fulfillment Tab
Quickly Mark A Ready To Deliver Order as Delivered From The Fulfillment Tab
Printing An Invoice From The Fulfillment Tab To Be Included In A Package
Emailing An Invoice From The Fulfillment Tab