Pricing Guide Setup
The pricing guide is a great tool that provides faster item entry, more accurate pricing and takes less time to get items on the floor. The added benefit is less training time and less experience needed for new hires.
The pricing guide enables you to set apart Levels for differing brands and refining the pricing within that brand structure based on Sub Levels.
Setting Up Brands To Work In the Pricing Guide
To create a pricing guide for a specific category, we must first go to that category in the category editor and set the Attribute Kind for the Brand type we will be using to “Brand”.
1.In Liberty select Setup > Categories > Category Editor.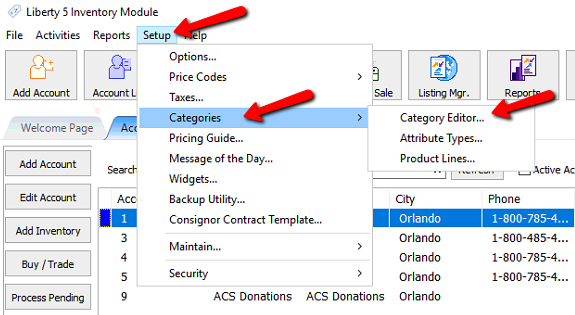
The Category Editor will open.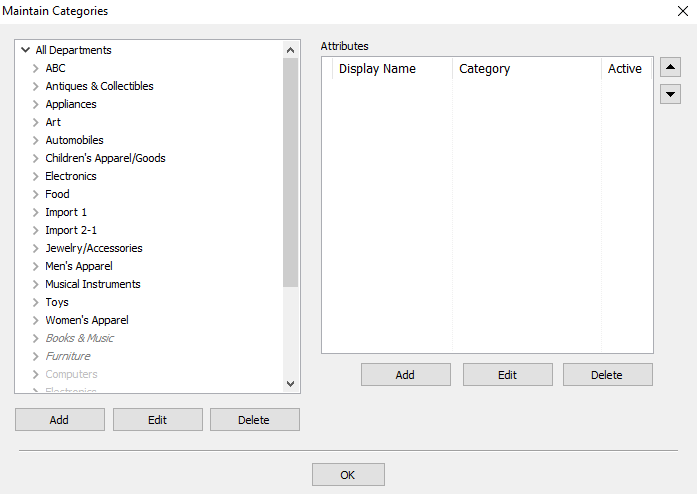
2.Select the category you wish to apply the brand to.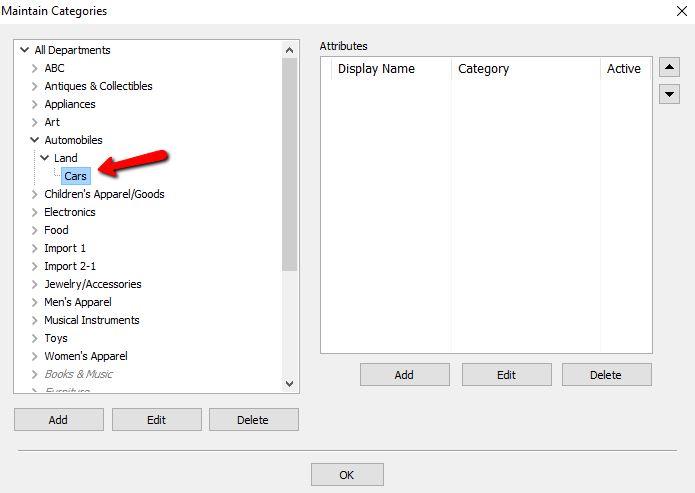
3.Under Attributes select the Add button.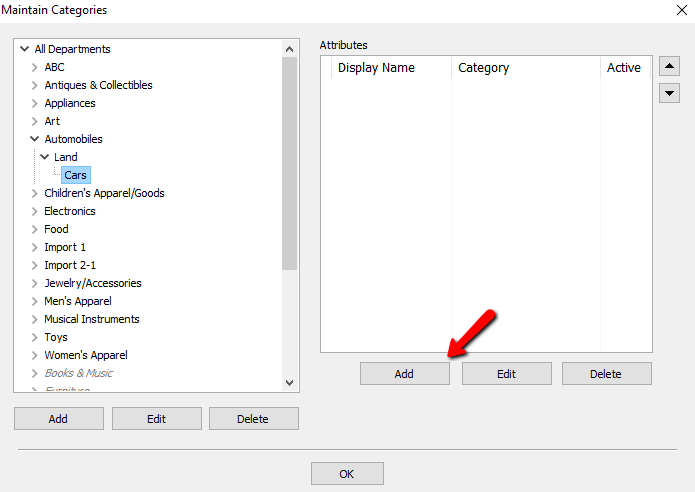
The Select Attribute Type dialog box will open.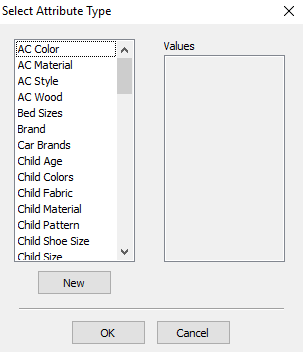
4.Select the Brand you want to assign to the category and then select the OK button. If you don’t see the brand you want, you will need to create it. See Add, Change, and Delete Attribute Types.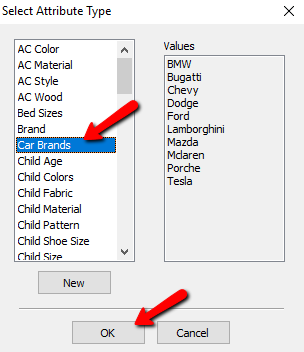
The Edit Category Attribute dialog box opens.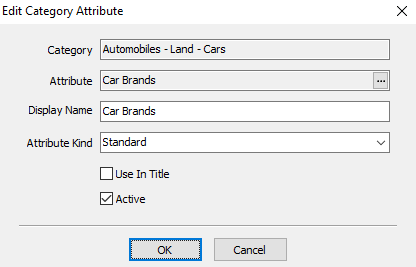
5.Select the Attribute Kind dropdown box and select Brand.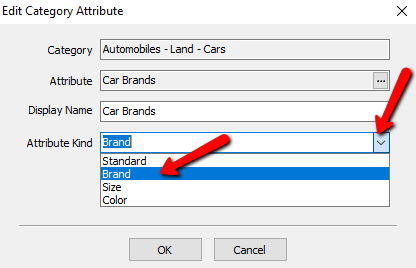
6.Select the OK button when done.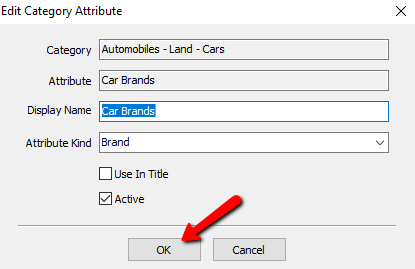
7.Select the OK button to close the Maintain Categories dialog box.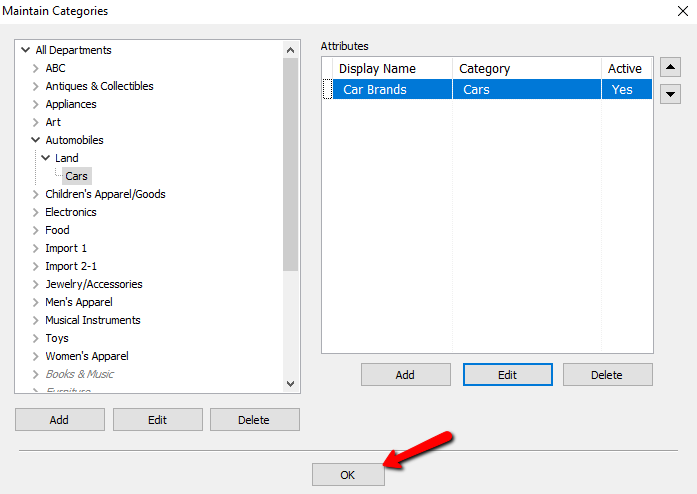
Setting Up Categories In The Pricing Guide
1.In Liberty, select Setup > Pricing Guide. 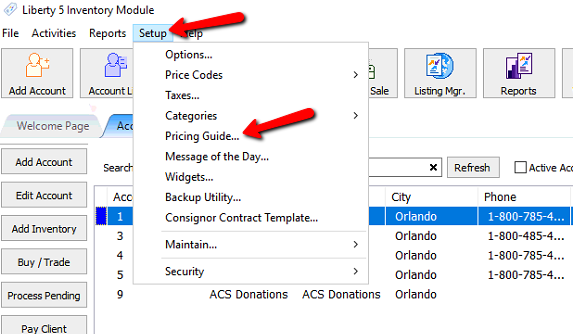
The Pricing Guide will open.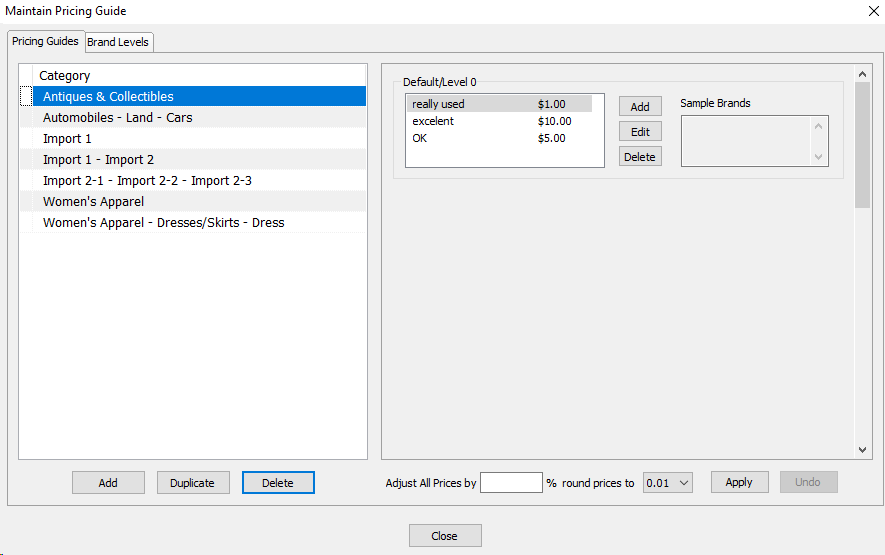
2.Select the Add button to add your category. If your category is already listed, then skip to Setting Up Brands In The Pricing Guide below .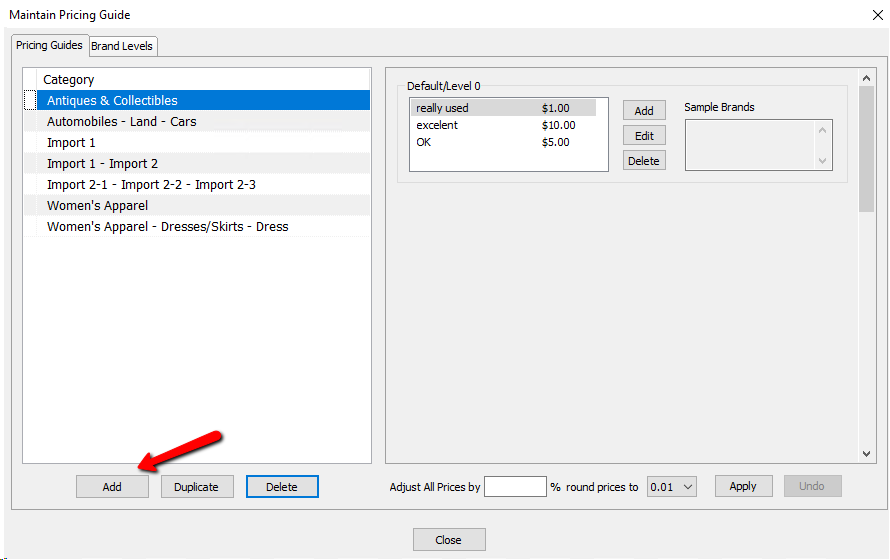
The Select Category dialog box will open.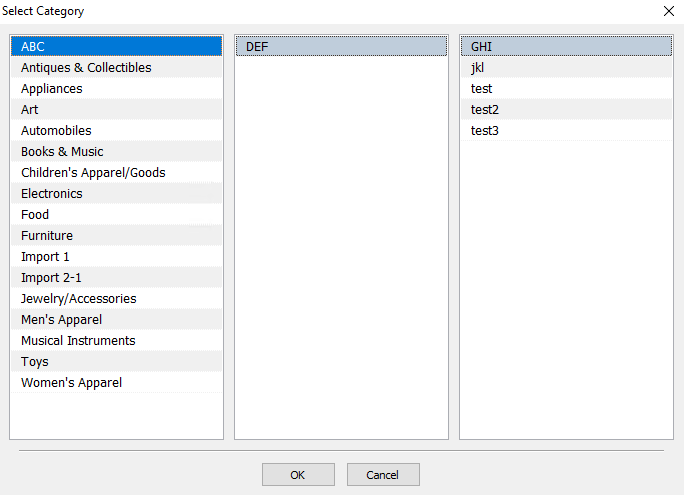
3.Select the category you want to use and then select the OK button when done.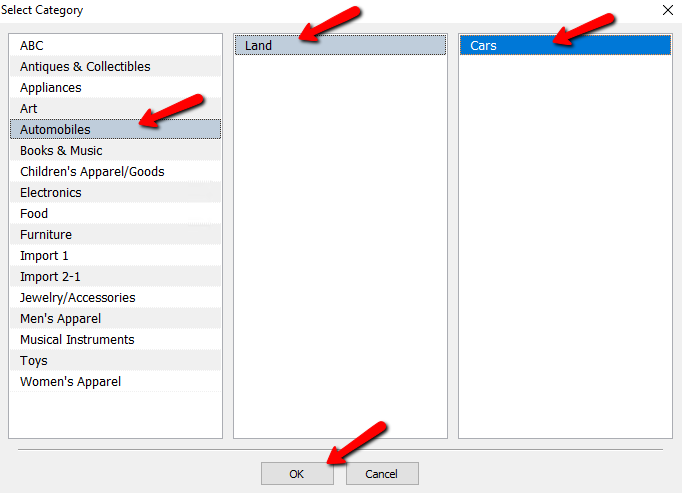
Your selected category should be added to the pricing guide.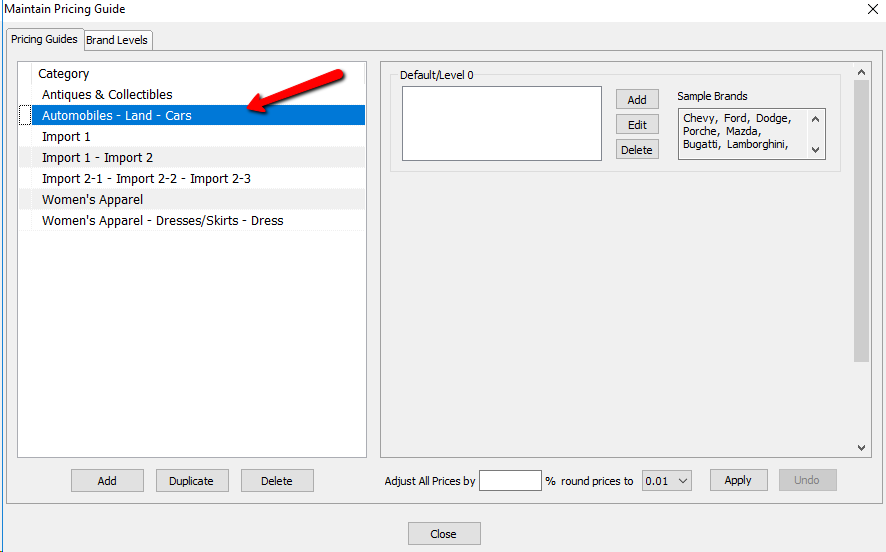
Setting Up Brands In The Pricing Guide
By default, there is 1 levels of brand with a 0 based index. By default all values of your brands are set to level 0. In your head or on paper you will want to figure out if certain brands should be separated from others. For example you might not want to use the same pricing structure on GUCCI purses versus purses from Wal-Mart.
1.In the Maintain Pricing Guide dialog box, select the Brand Levels tab.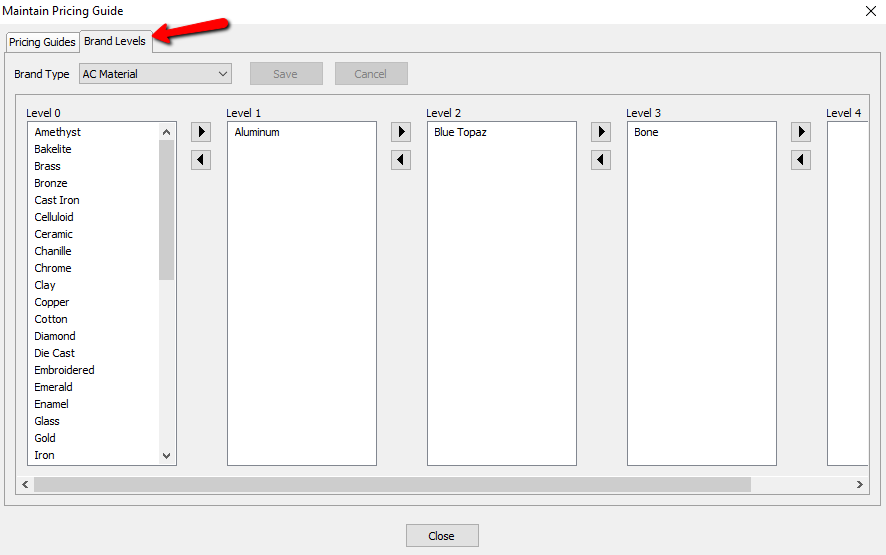
2.Select the crop down for Brand Type and select the brand type you want to configure.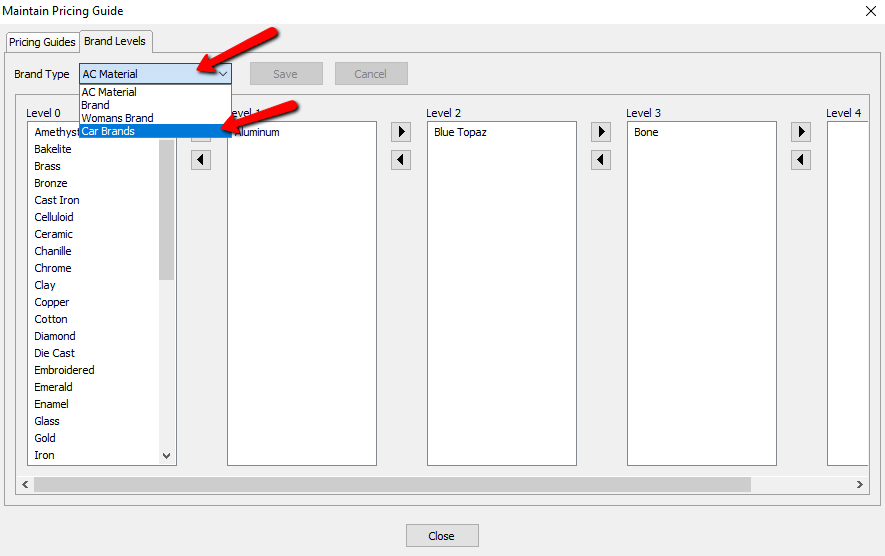
The Brand Levels will be displayed for this Brand Type. 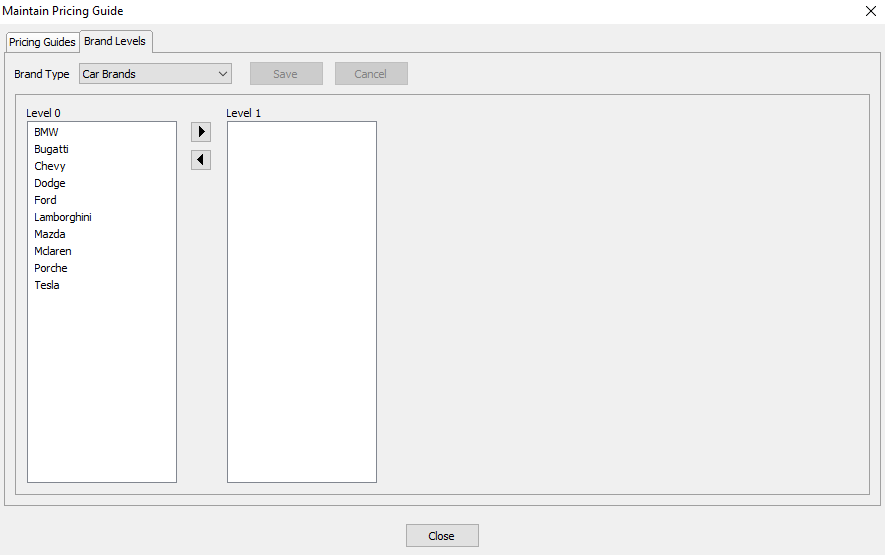
By default all the brand values are under level 0.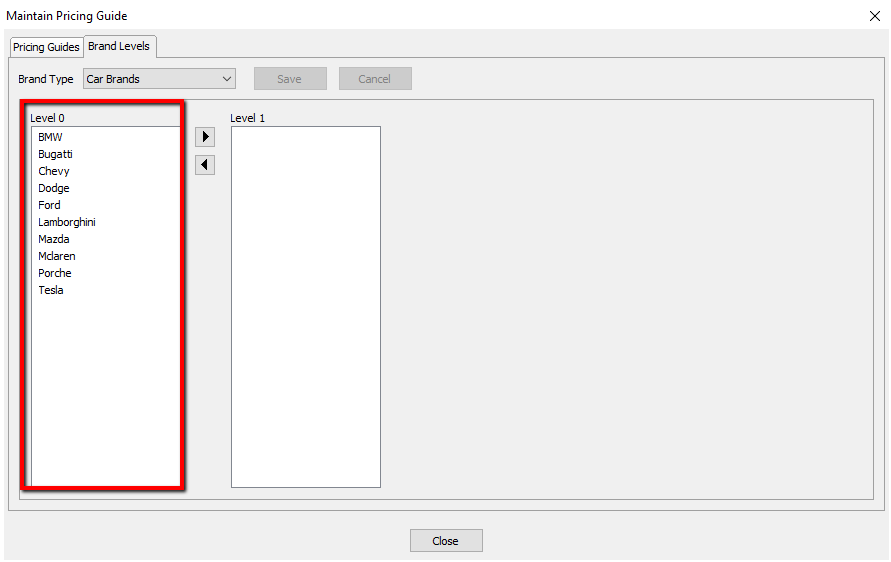
For purposes of this guide we will use level 0 as the low end brands. We will move medium and higher end brands into their own levels.
3.There are two ways to move a Brand Value:
a.Select the Brand Value you want to move and press the left or right arrows to move it.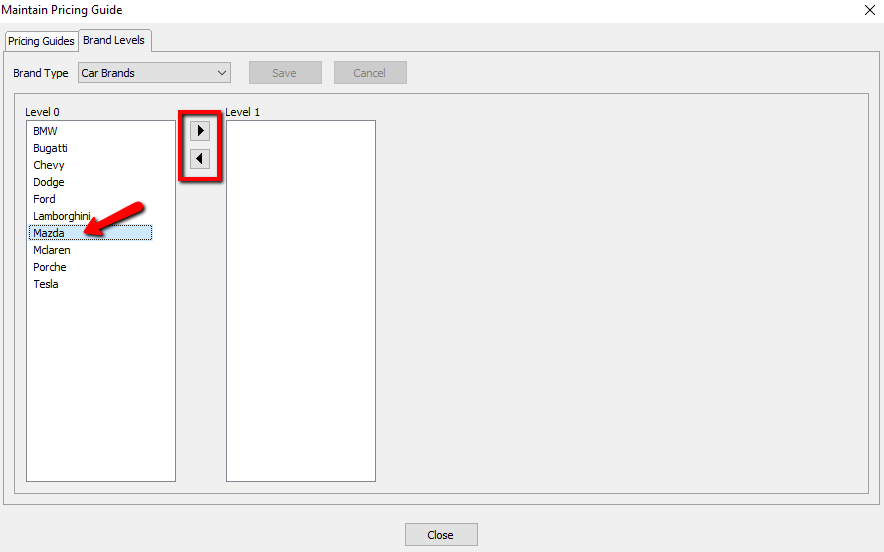
b.Click on the Brand Value you want to move, and drag it to the level you want to move it to.
Note: When you move a Brand Value to a new level, then following levels will display for use. If you are not going to use the following level, no need to worry about it or use it.
Continue moving your Brand Values until you have them sorted.
4.Select the Save button when done sorting all the Brand Values, then go back to the Pricing Guides Tab.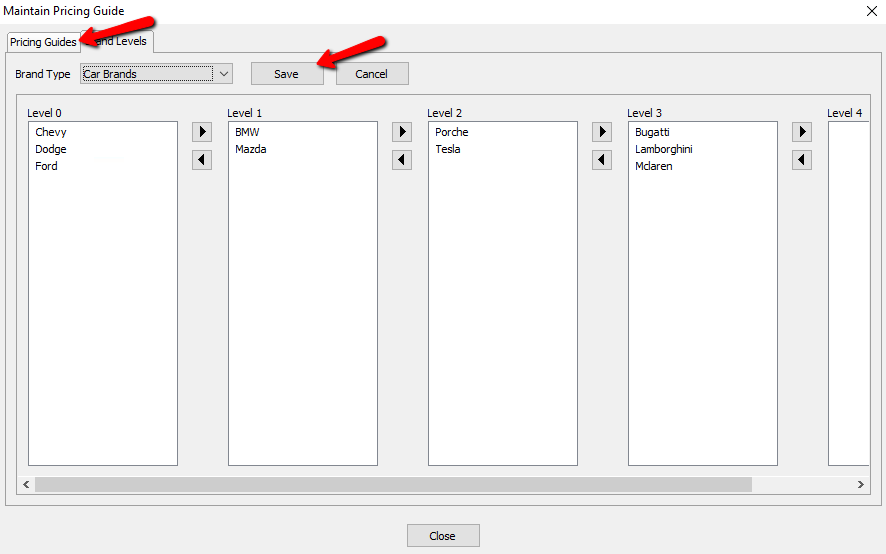
Assigning Sub Levels To The Brand Levels
Once you have divided up your Brand Values based on a structure you want to use (Low to High, High to Low, or something else), you will see the different levels for that category.
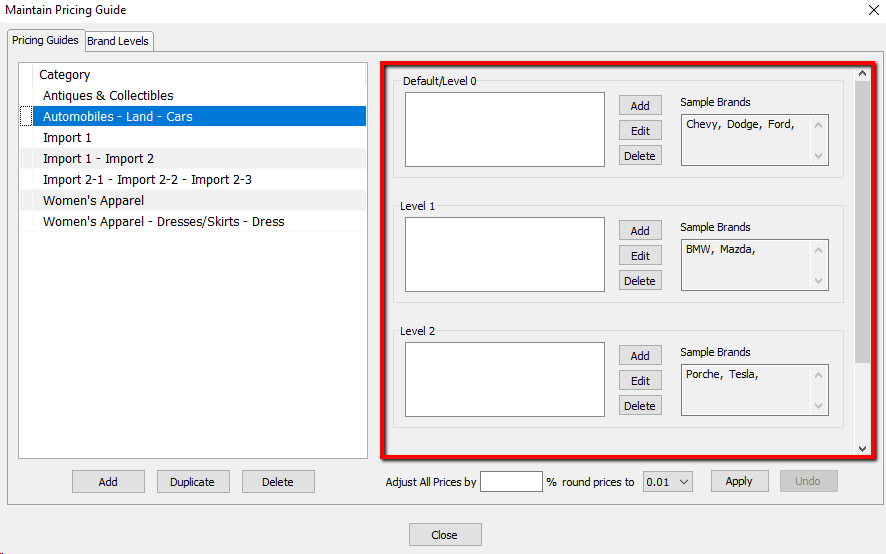
Now we will assign each level a sub level based on something that further defines values for each level such as Sub Model, Edition, or more commonly, Condition.
1.For the level we want to assign a sub level to, select the Add button. 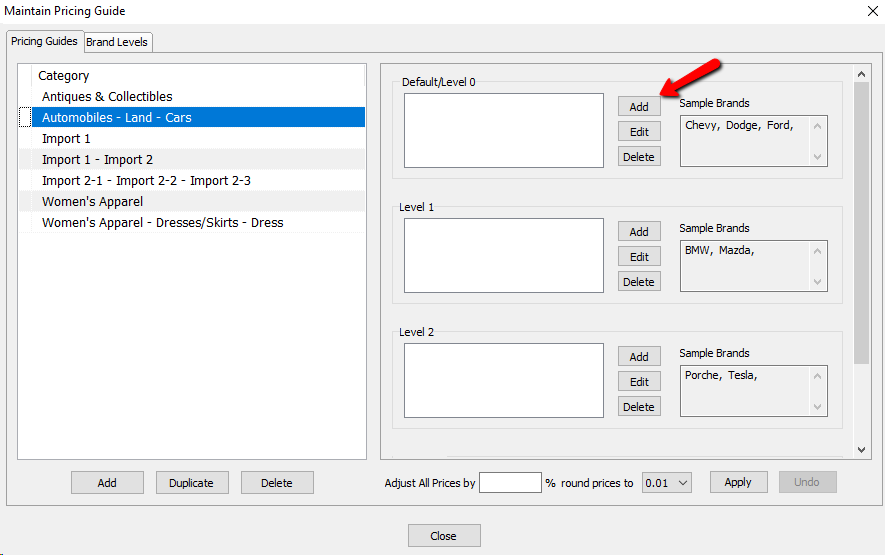
The details of the Sub Level will open.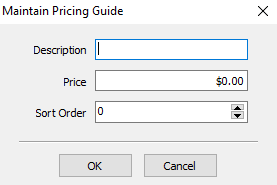
●Description : Enter in a value for the description.
●Price : This will be the suggested value for the item entered for this category, with a brand from this level, for the defined condition.
●Sort Order : This the order the various Sub Levels will have. the lower the level, the closer to the top of the list it will be.
2.After filling in the information, select the OK button.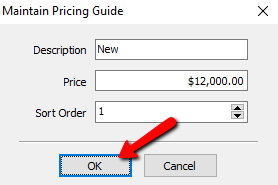
You will see the Sub Level added to the Brand Level.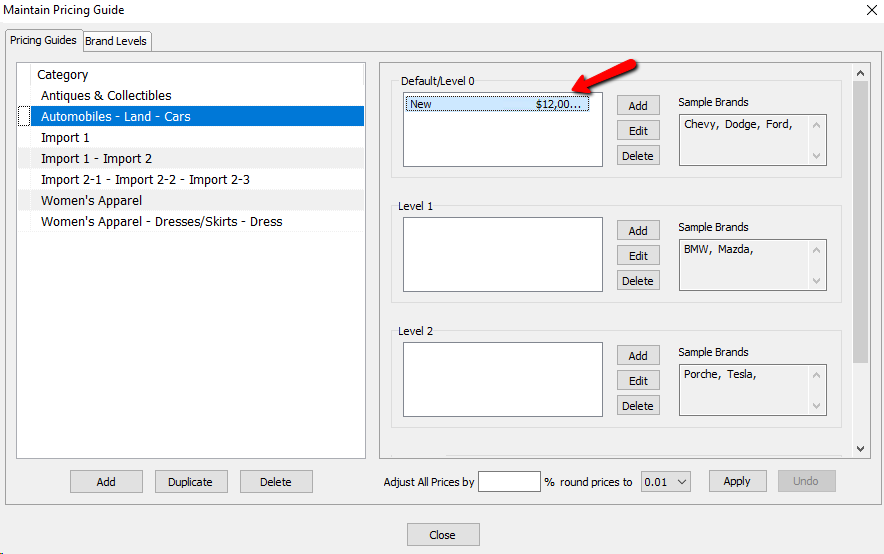
Continue adding Sub Levels for each of the brand levels until you are done.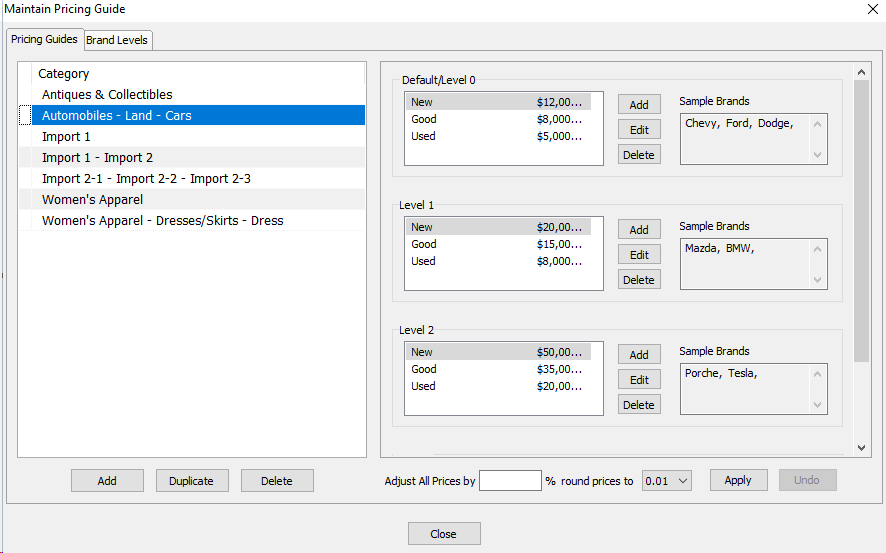
3.Select the Close button when done.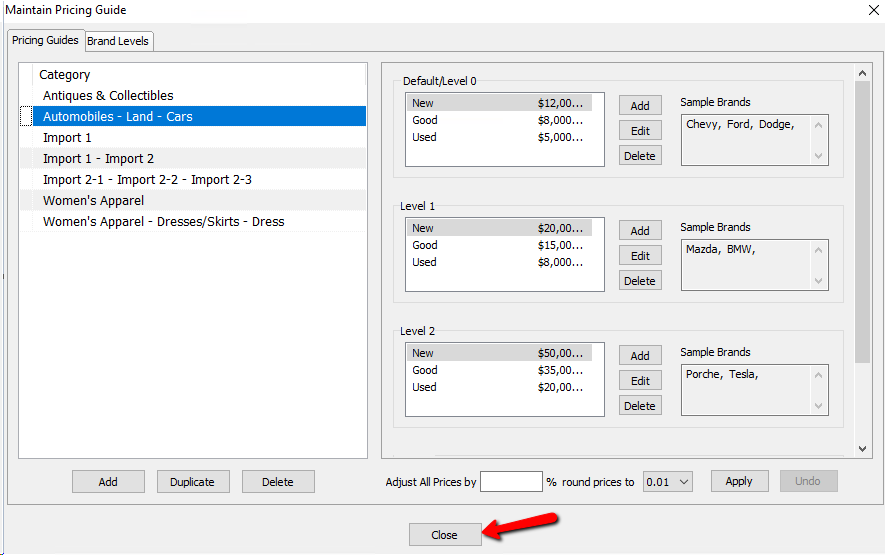
Using The Pricing Guide When Entering Inventory
1.Enter the item into inventory as normal. For more information for on adding inventory to an account, see Add A Consigned Item.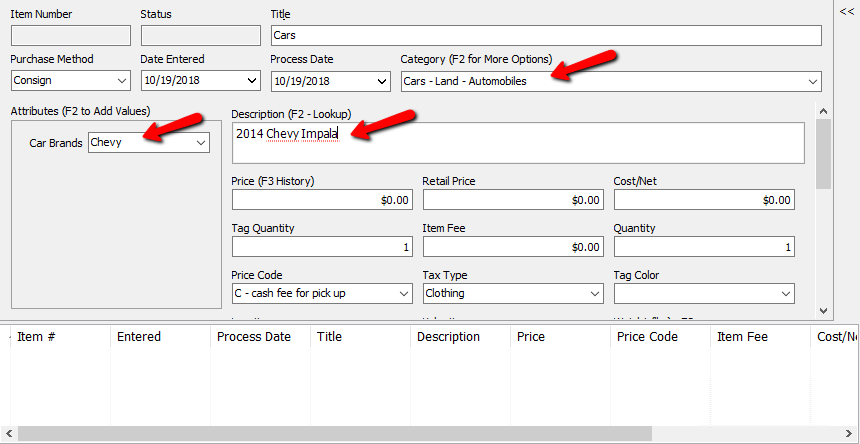
When you place the cursor in the Price Field, the suggested pricing from the Pricing Guide will pop up.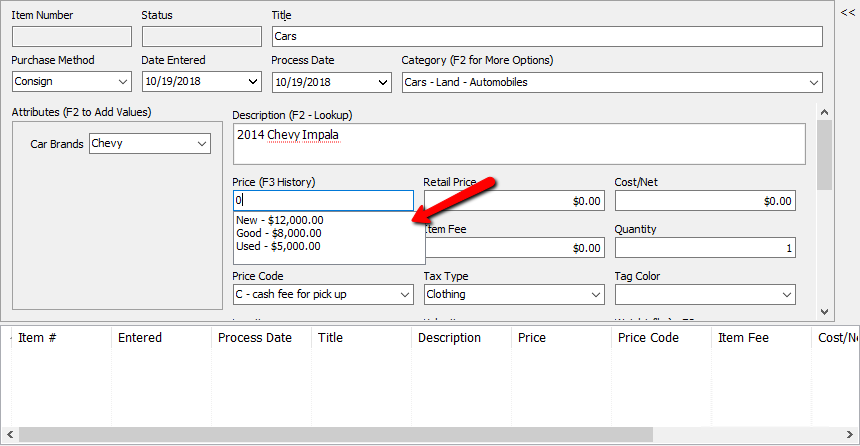
2.Click on the price you want to use to apply it to the new item.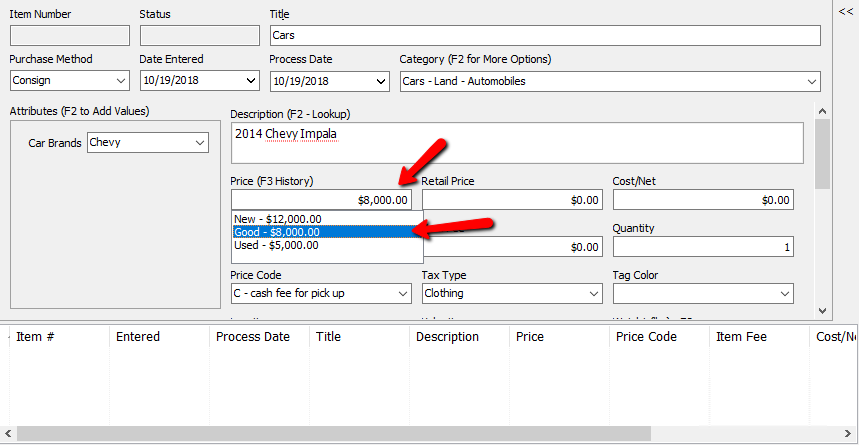
3.Save the item when done.
Adjusting Pricing Based On Market Values
As time goes by, values of items increase due to the economy. The pricing guide has a tool that will allow you to increase the pricing across the board for a specific category based on a percentage.
1.In Liberty, select Setup > Pricing Guide. 
The Pricing Guide will open.
2.Select the category you need to make price adjusting to.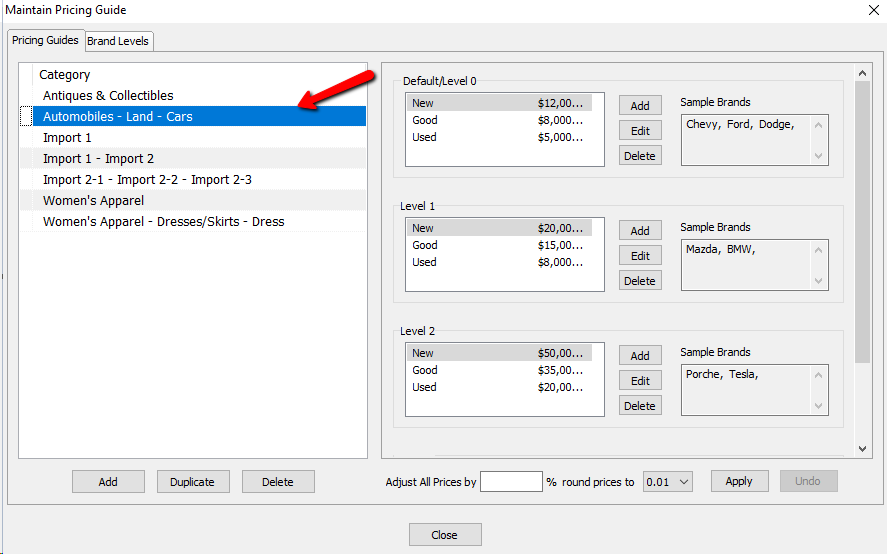
3.In the Adjust All Prices By field add the percentage you wish to increase your prices by.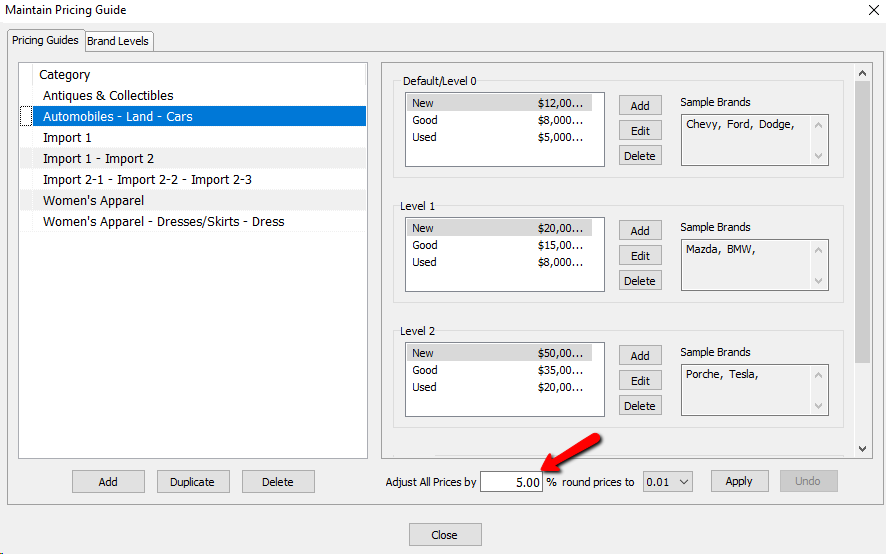
4.Set how prices will adjust based on rounding in the Round Prices To field.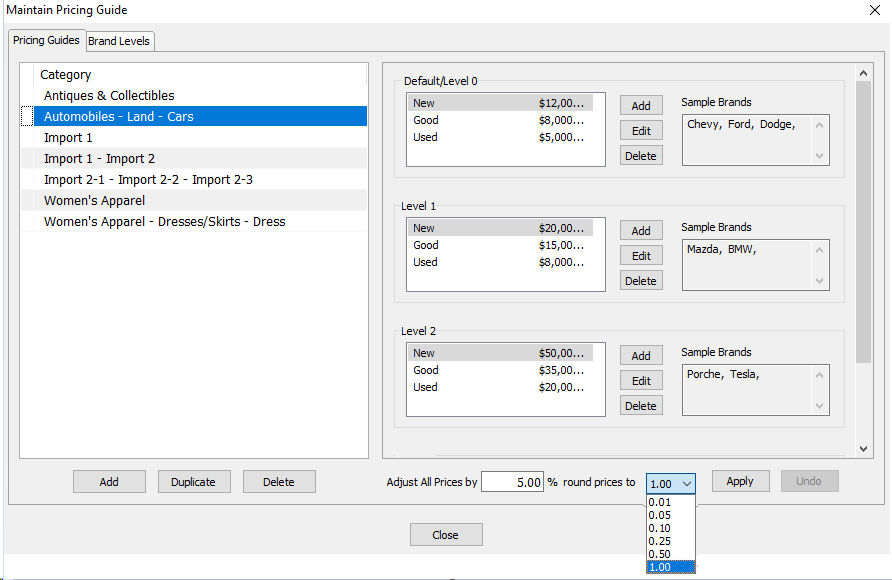
5.Select the Apply button to apply the price changes throughout this selected category.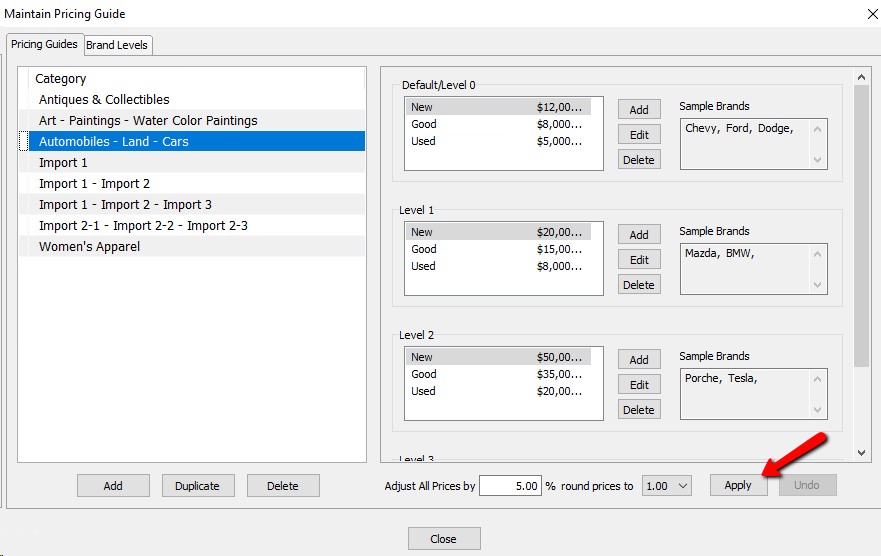
You will notice the prices change throughout this category.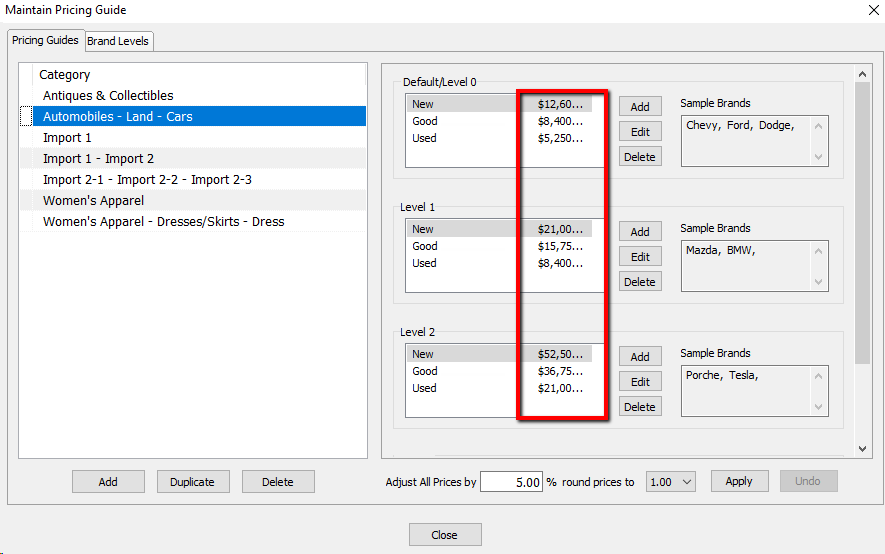
If you think you made a mistake, select the Undo button and revert back to the original prices.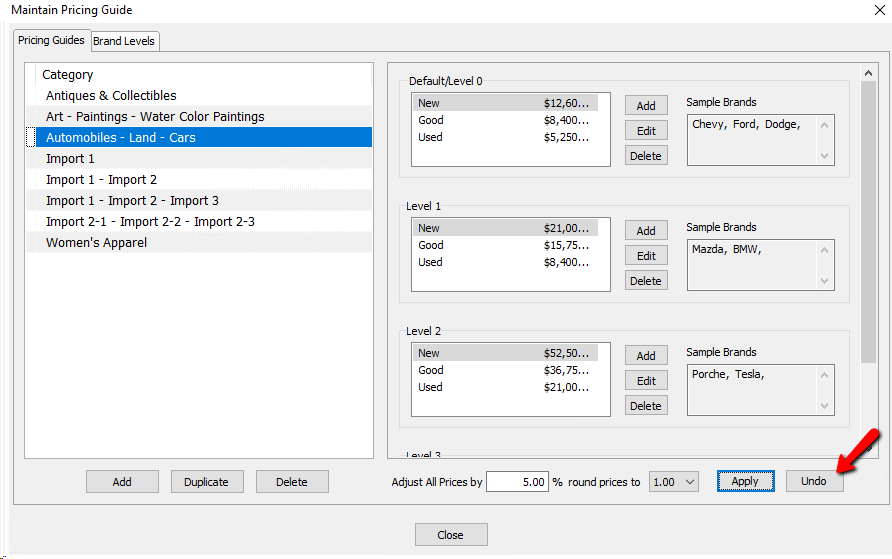
2.Select the Close button when done.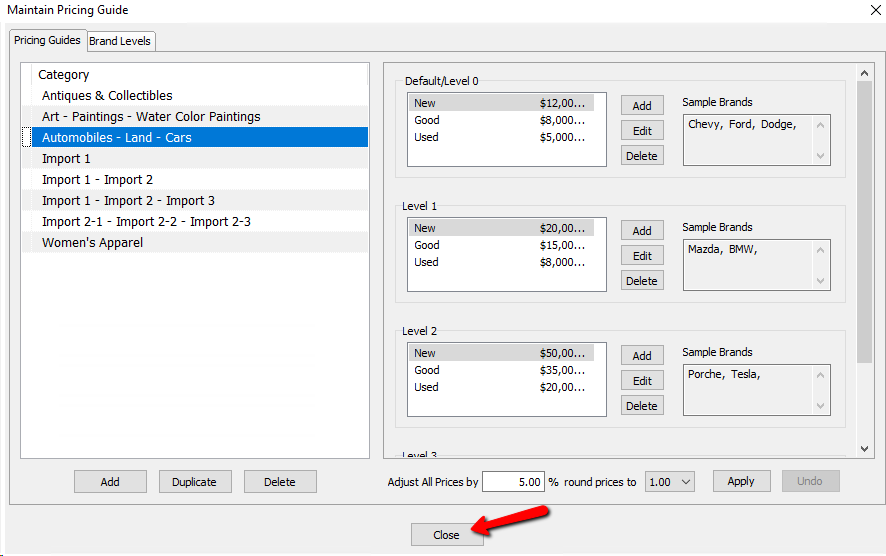
Deleting the Pricing Information For a Category
1.Highlight the category you want to delete the pricing for.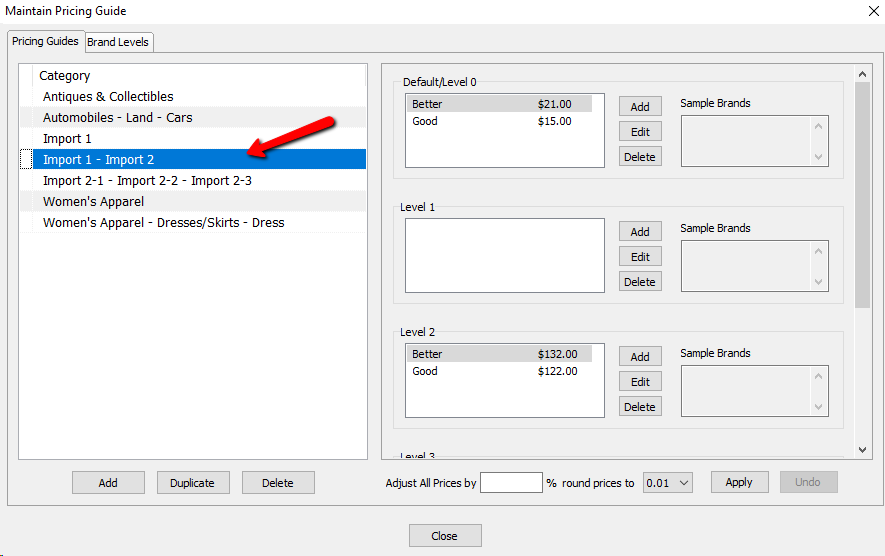
2.Select the Delete button to delete the category information.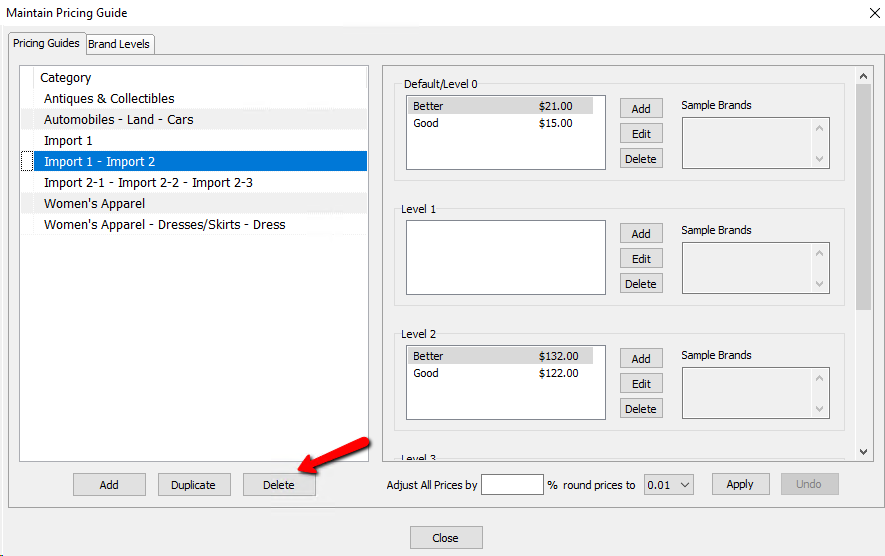
A conformation box will open. Click Yes if you are sure you want to delete the pricing for the category selected.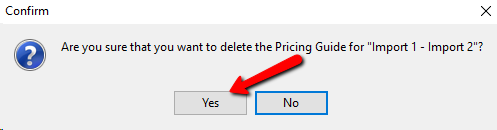
3.Select the Close button when done.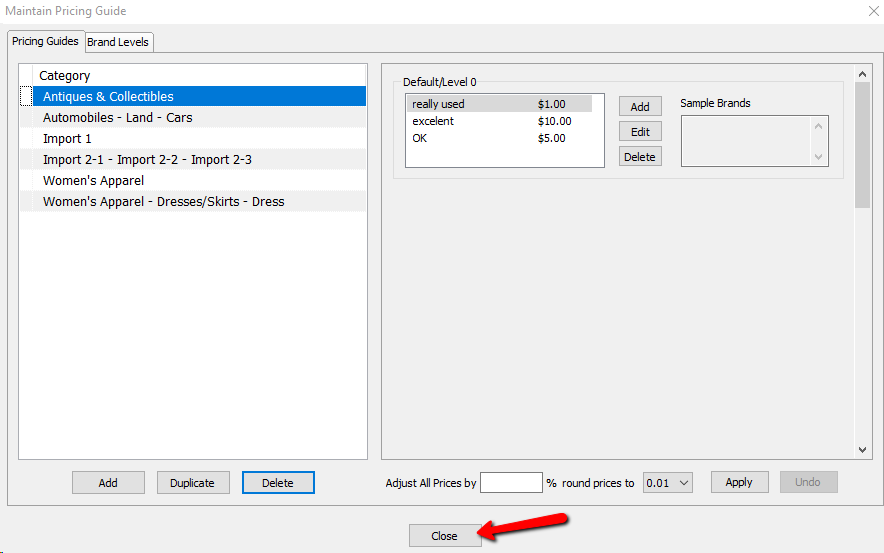
Related Topics
Category Editor
Assign Attributes Types to Categories
Add, Change, and Delete Attribute Types