Add A Consigned Item
Here is the video that covers this content:
How To Add Inventory To A Client Account
Follow the steps outlined below to enter items that are any of the following:
●Consigned
●Purchased Outright from an individual (not a company)
●Store Inventory
●Adding Images
Note: Trade items are added through the Add Trade Items Button. See Trade Item Entry Process To enter items that are purchased from a company and to be sold at Retail, see Add Retail Items.
Before adding Consigned items, you must create an account for the client whose merchandise you plan to sell.
To Add Consigned Items
1.In Liberty Inventory, Lookup the account.
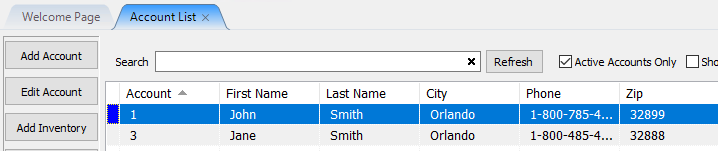
2.Go into the account and select any of the following:
a.Click on the Add Inventory button, which is located on the left side of the screen.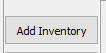
b.You could also click on the Task button, then select Add Inventory.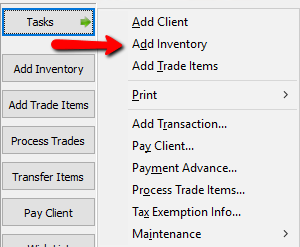
3.The Item Entry window will display, and you will be in Add Mode. The cursor will be in the Process Date field.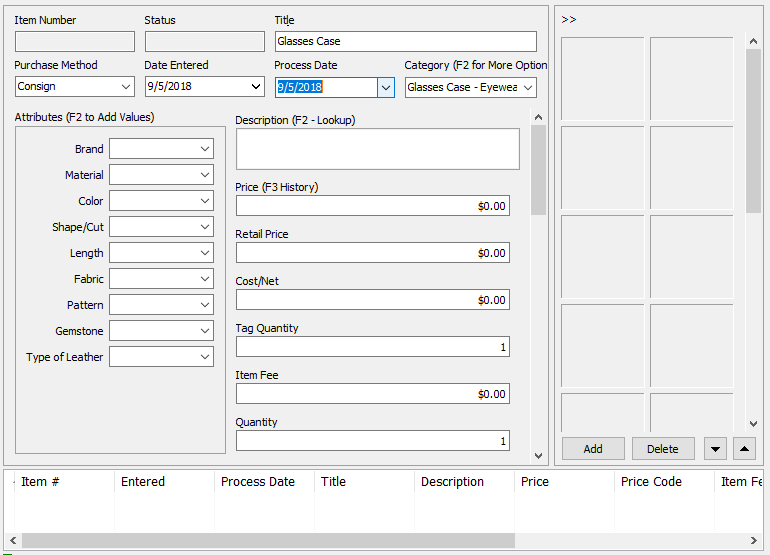
4.Fill in all the required fields, and the optional fields as needed.
Use the <Tab> key to move from field to field while on a particular screen: use the mouse only to move from tab to tab (e.g. to display the Auction Detail tabs). As much as possible, don’t use the mouse - it’s much faster to keep your hands on the keyboard! See How to Enter Items Faster for more information on how to enter inventory more efficiently and quickly.
5.Press the <Tab> key until the Save button is activated (look for a dashed line just inside its borders) Press <Enter> button. The item is saved, and the cursor will be positioned in the Category field ready to enter the next item.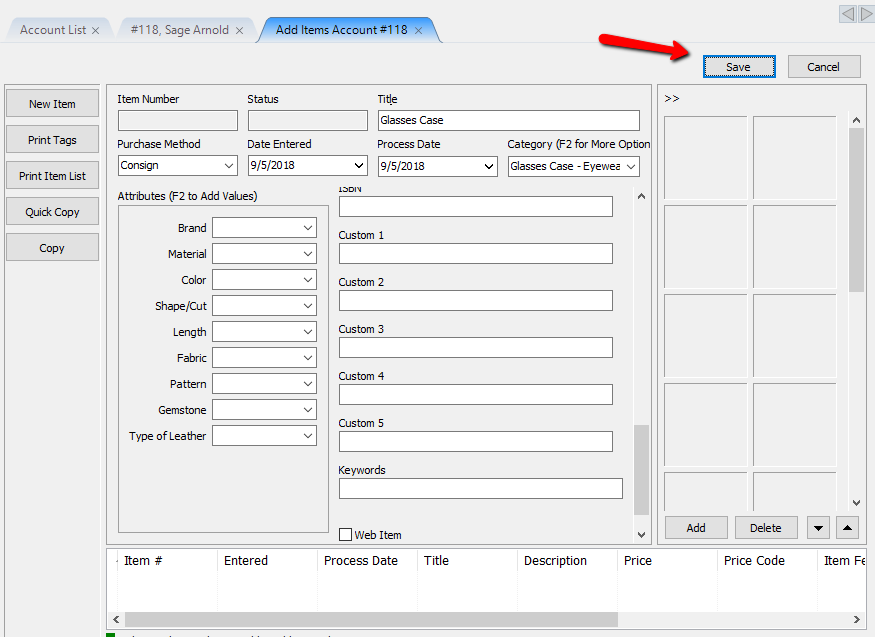
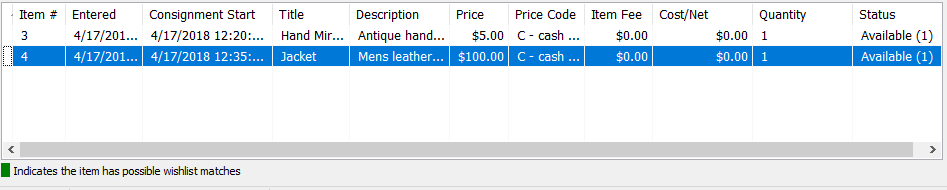
6.Continue adding as many items as necessary. As you add the items will appear at the bottom of the screen in the Grid. Note that the Grid only shows the items you are currently adding. To see all items, go to the Account screen.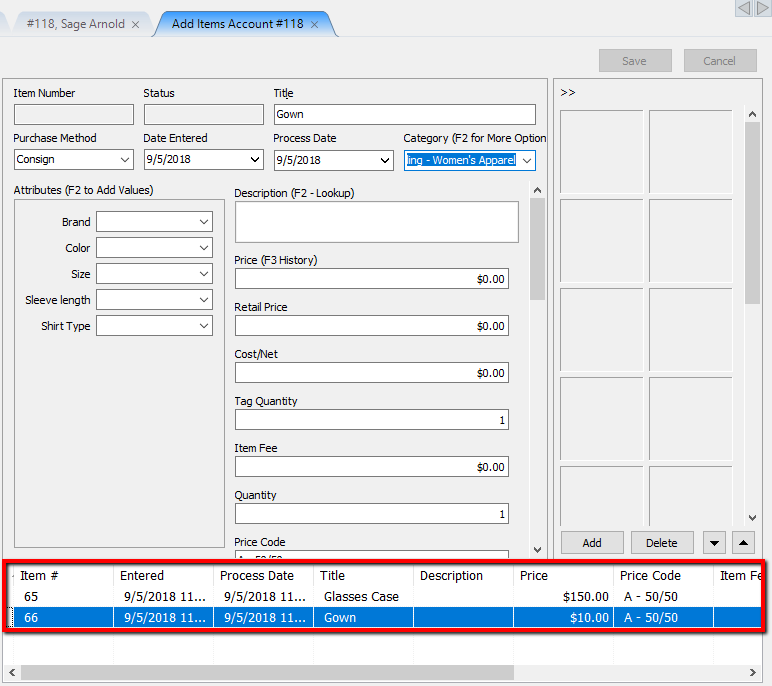
7.When finished adding items, click the X in the Add Items Tab. This will return you to the Account Window.
Note: The lower part of the Item Entry window displays a list of items entered. This is known as the Item Entry Grid. The Grid is empty when you first come into the Item Entry window. The Grid only displays those items entered while in the Item Entry display. When you exit the Item Entry window the Grid is emptied.
Adding Images to Items
1.The right side of the item entry screen is used for entering images.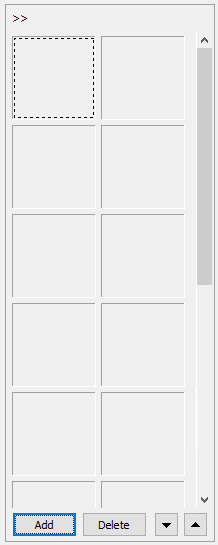
This field can be hidden by clicking on the arrows (>>) in the upper left corner.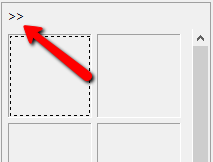
2.Click the Add button to add a new image. 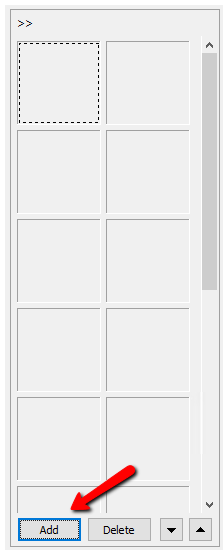
3.Navigate to the image you want and select the Open button.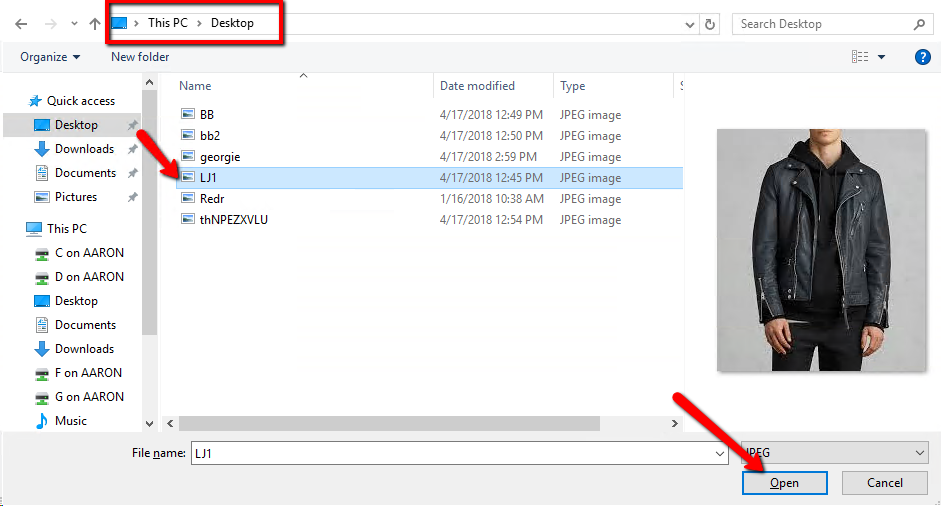
4.The image will be added to the image column.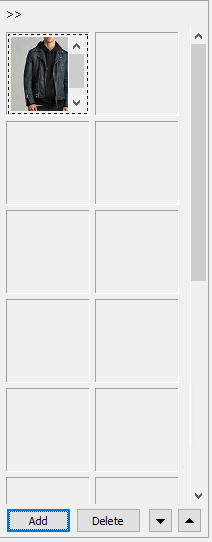
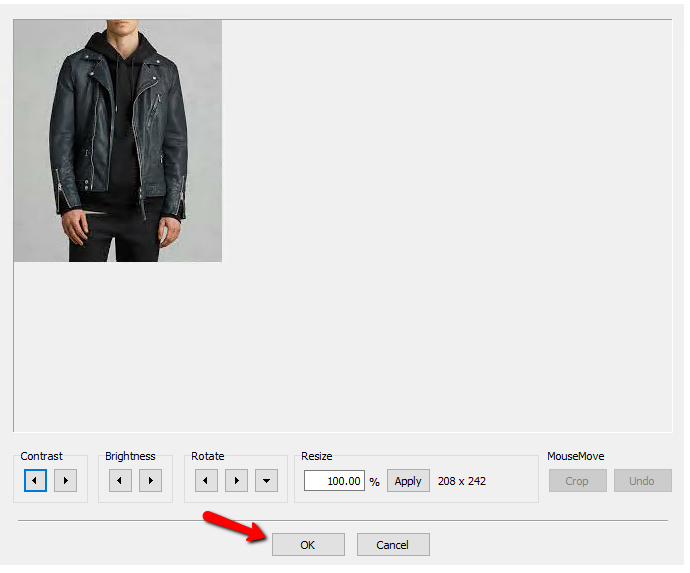
5.Double click the image, you will get a basic image editing screen. From this screen you can adjust the Contrast and Brightness. You can also Resize and Rotate the image as well. Finally you have the option to Crop the image. Press the OK button when done making edits.