Adding Items To Shopify Through The Item Entry App
This article will help walk you through adding a new item to Shopify through the item entry app.
Note: These steps will also work for stores that are on ShopRW
Here is the video that covers this content:
Adding Items To Shopify Through The Liberty Item Entry App
1.Find and then tap on the Item Entry app. 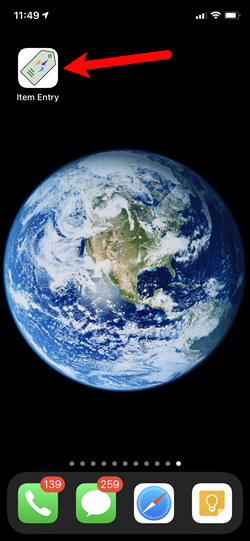
2.If the login screen prompts for Face ID or Touch ID, you can use either of these methods to log into your account. 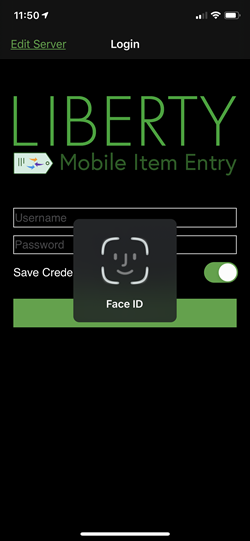
3.If Face ID or Touch ID are not enabled, you can use your Liberty username and password to log in.
Make sure to check Save Credentials and tap Submit. 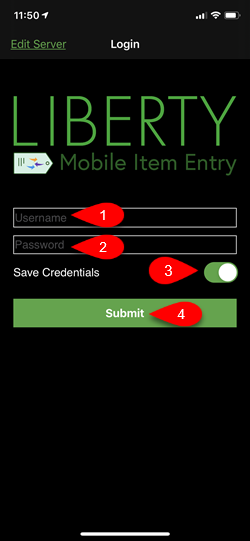
4.Tap into the Search Field, then type in the account number, first name or last name of the account you are searching for. 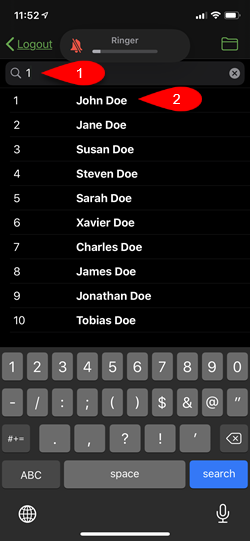
5.Tap the Add Items button. 
6.The screen will show you the top 20 categories used by the store, if your category does not appear in this list, you can tap the Tree View tab. Otherwise, tap the category you wish to use. 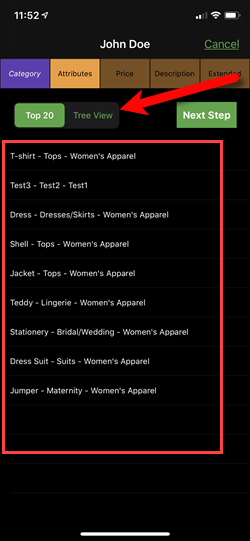
7.Tap on the First Level Category you wish to use. 
8.Tap on the Second Level Category you need to use. 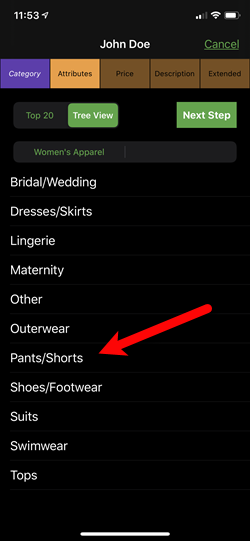
9.Tap on the Third Level Category you wish to use. In the event that this does not take you to the next screen, tap the Next Step button. 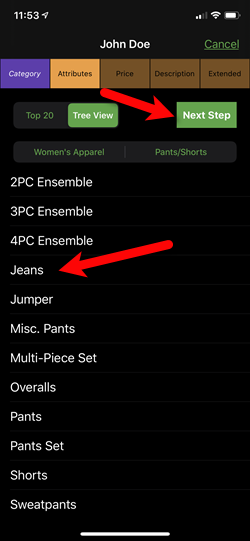
10.Tap the Brand you would like to use. 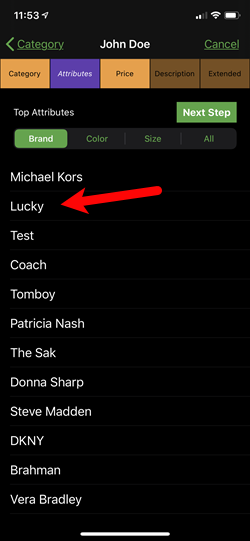
11.Tap the Color you would like to use. 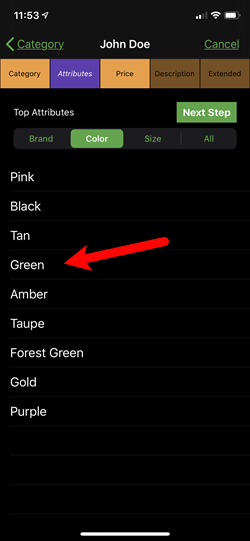
12.Tap the Size you would like to use. 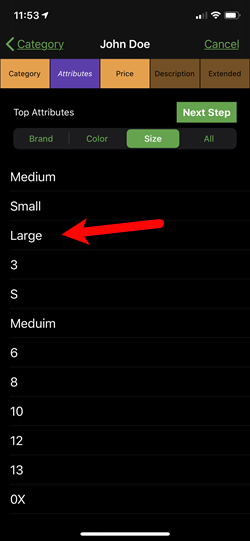
13.On the final All tab, you will be given access to all other attributes that are associated with the category you selected. You can also search for attribute values depending on what you select to find specific values.
Tap the Next Step button when you are finished. 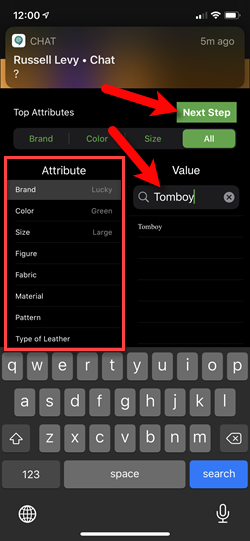
14.On this screen, you will be given the trend data for the inventory piece you are selling. This will allow you to select the lowest price, average price or highest price you sold the item at to price the item.
You can also manually enter the price in, if it is a new item and you do not have trend data.
The example below is a new item so there is no trend data. 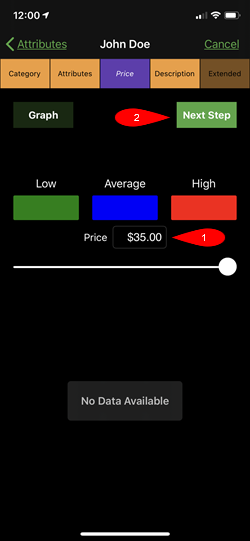
15.This screen allows you to edit specific details about the item and allows you to take pictures and attach them to the item.
1.Title: Ensure the title is correct, this will normally auto-populate based on what you entered in for the attributes.
2.Description: Used to describe the item in a way that the attributes can not.
3.Camera: Allows you to take a picture of the item directly from the Item Entry App.
4.Library: Allows you to quickly select multiple images taken outside of the Liberty Item Entry App using the iDevice’s built-in camera app. This tends to be the quickest way to input pictures for an item.
5.Camera Icon: Depending on whether you selected the Camera option or the Library option, this will launch the camera app or allow you to select images from your iDevice’s library. 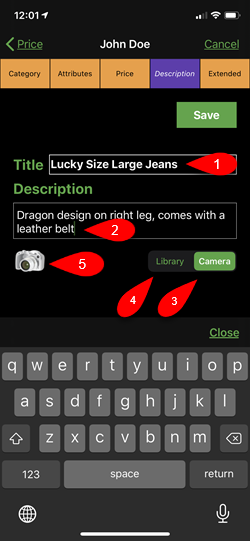
16.If you selected the Camera tab, you can take a picture of an item by tapping the circle button at the bottom of the screen. 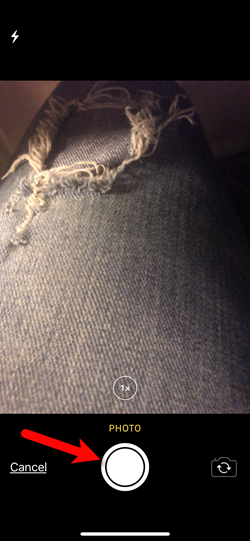
17.Once the picture is taken, you can tap the Use Photo button. 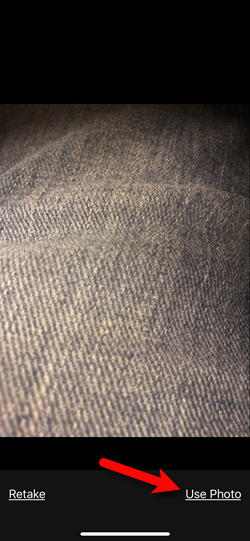
18.If you selected the Library tab and then tapped the Camera icon, you can then select multiple pictures by tapping on the circles in the top right corner of the images.
When you are finished, tap the Done button. 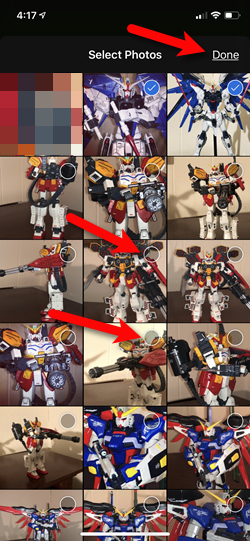
19.You can select Yes if you want to go ahead and add the images you selected to the item.
Select Cancel if you want to cancel this process all together, or tap Reselect Images if you want to select different images than the ones you selected. 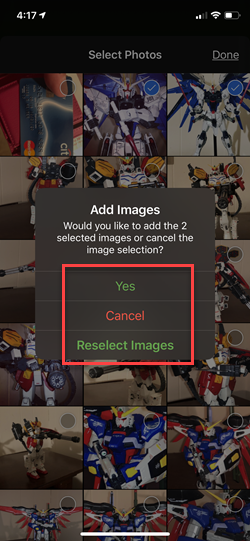
20.When you are finished and select either Cancel or Yes button, you will be taken back to the Description screen.
Tap the Extended tab at the top right. 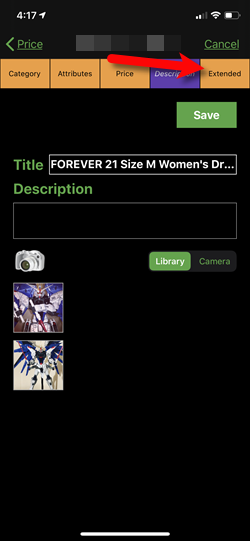
21.On this screen, you can change any additional details about the item. After you make your changes, select the Web Item option. 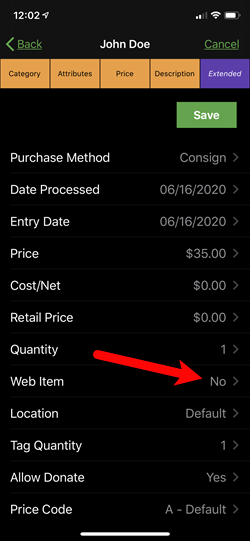
22.Flip the Web Item switch to On.
If your Listing Manager is set to create listings on Shopify for new web items, then when you save the item, it will go straight to Shopify. This is assuming that you filled in a weight and have attached a picture to the item, if these are set to be required.
Please visit the following article for more information on the Create Listings for New Web Items:
Storefront Settings
If your Listing Manager is not set to auto-create listings on Shopify, there will be some additional steps your web item entry person will need to do before the item can be listed on Shopify.
They will need to go to the Listing Manager and then click on Add A Listing.
Please visit the following article if you are using this method:
Adding A Regular Listing
23.Tap the Save button. 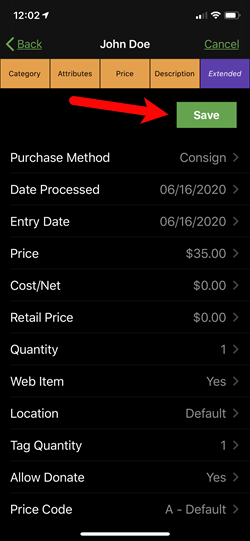
24.You will be prompted if you would like to add more items, you can select Yes or Done.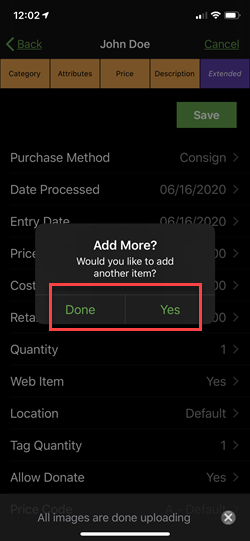
25.If you have a tag printed connected to your server, the iDevice should be able to see and print to that tag printer. Select Yes on the dialog box to print out your tags. You will be given the option to select which tag style and which tag printer.
If you select no, then the item entry process is complete. 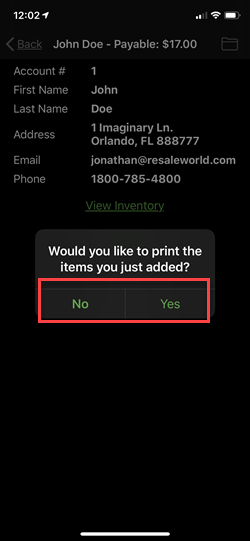
Related Topics
Liberty Item Entry Application Setup Overview
Downloading the Liberty Item Entry Application From The Apple App Store
Creating a Device Key for your iDevice
Getting the IP Address Of Your Server
Connecting The Item Entry App To Your Server Computer
How To Send Existing Items To Shopify Through The Liberty Item Entry App