Add A Regular Listing
An item that has the Web Item box checkmarked within the Liberty 5 Inventory module will automatically be displayed within the Listing Manager’s add a listing dialog box.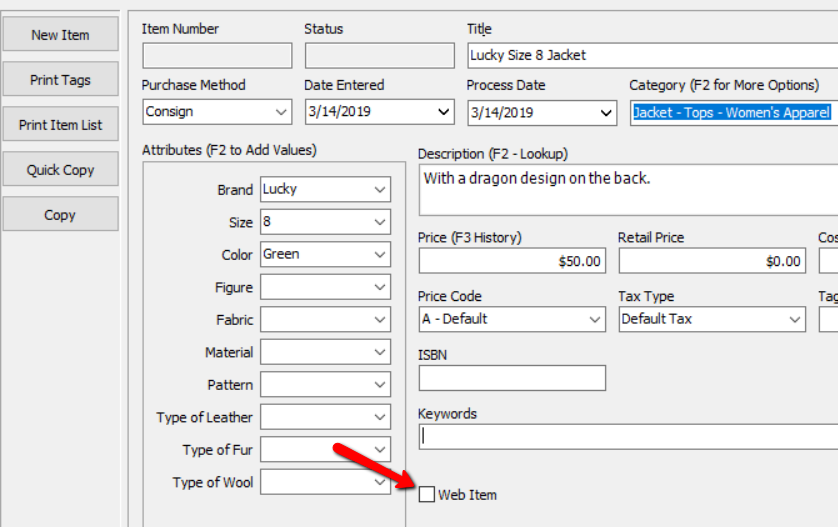
Note: Items without the Web Item box checked can still be searched from within the add a listing dialog box
Please visit the Listing An Item Overview page for more information on this procedure
Add Listing
1.Click the Add Listing button at the top of the Listing Manager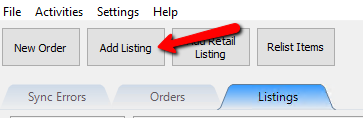
2.Select the item you wish to use for the web listing.
If the item you wish to list does not appear automatically, you can search for the item using the search field. 
3. Note: You can search by multiple options like name,description, attributes, scanned barcode or account - item number.
4.Select the Marketplace you wish to create a listing for your web item.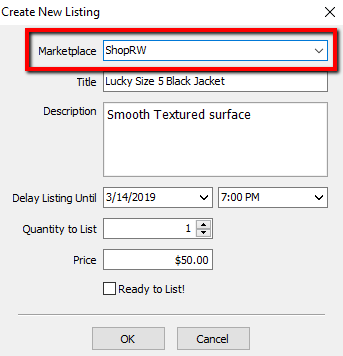
5.Edit the title of your listing. This will automatically pull in from what was entered within the Liberty 5 Inventory Module. 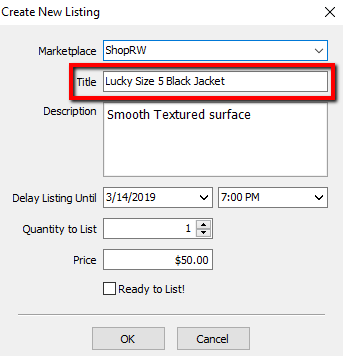
6.Edit the description of your listing. This will automatically pull in from what was entered within the Liberty 5 Inventory Module. 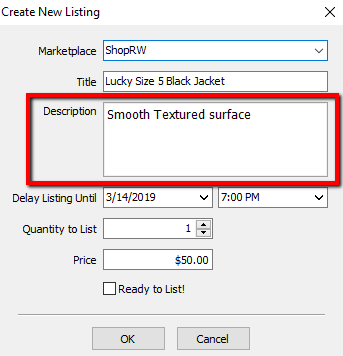
7.Select the Date and Time you want the listing to go up at.
If you do not edit this option, the item will not be delayed and will go up as soon as the automatic synchronization starts.
8.Select the number of quantity you wish to list for the web item. 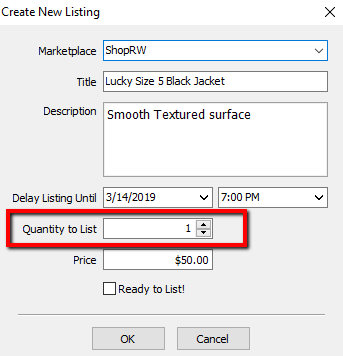
9.Type in the price you wish to sell the web item for. 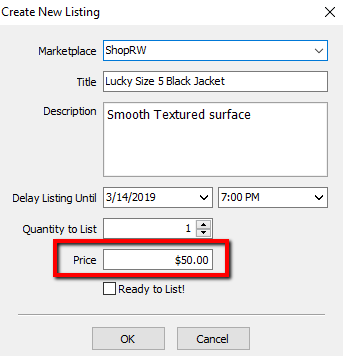
10.Mark the Web Item immediately Ready To List.
This is dependant on whether the item meets the criteria set under Setup > Storefront Options.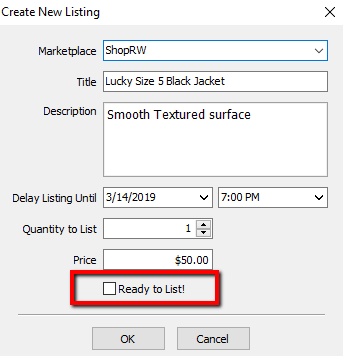
11.If the web item does not meet the criteria set under Setup > Storefront Options, you will receive a dialog explaining what needs to be added to the item before it can be ready to be listed.
Please visit the Storefront Options page for more information on this subject. 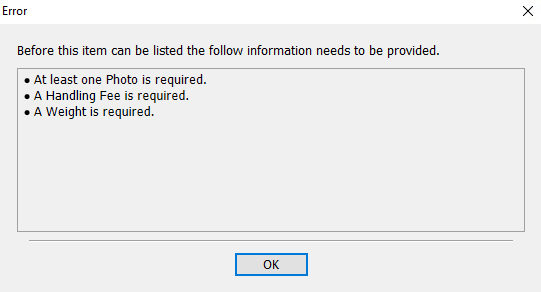
12. Note: You must click the OK button and then uncheck the Ready To List! box in order to proceed to the next screen if the Storefront Options criteria is not met.
13.You will then be taken to the Maintain Listing area so that you can edit specific details about the web item. 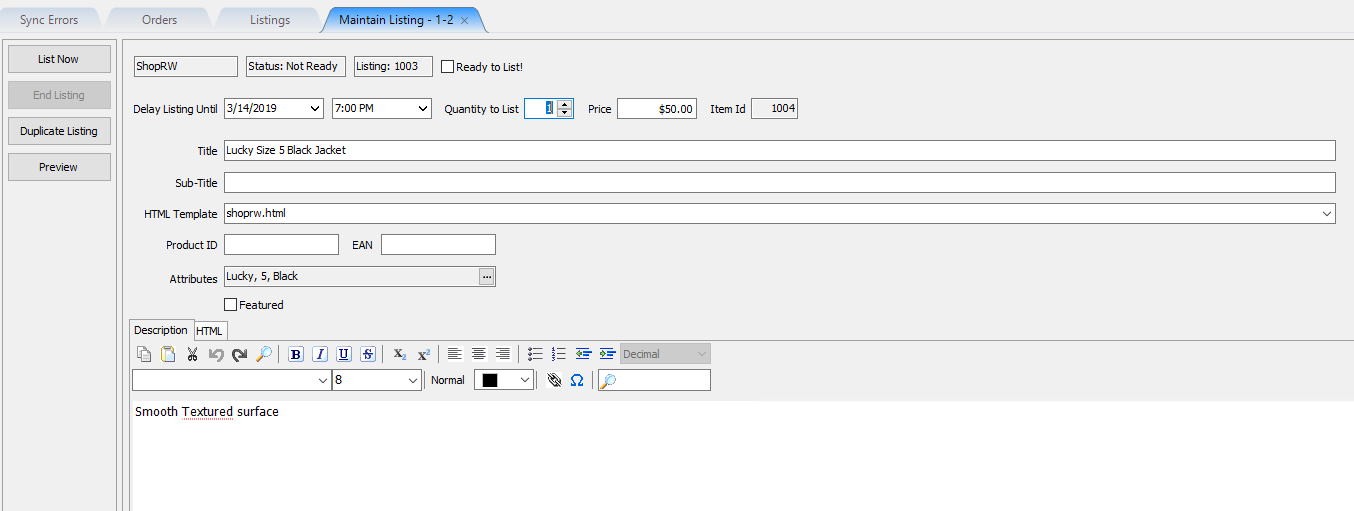
Please visit the either the Creating a ShopRW / Shopify Listing Overview page or the Creating an eBay Listing Overview page for more information on how to continue editing the web item listing.
Related Topics
Creating a ShopRW / Shopify Listing Overview
Creating an eBay Listing Overview
Duplicating A ShopRW / Shopify Listing