Trade Item Entry Process
If a consignor brings a new item that is not part of their current inventory and they want to trade or take cash for the item, this article explains how to do so.
Prior to creating an Item For Trade, if you are planning to give a bonus when a consignor decides to trade, then you will need to setup the Differential Percentage for Trade Items. You can skip the Setting Up Differential Percentage For Trade Items step if you are not giving any bonus for item trade. See Trade Items Overview for more information about Differential Percentage for Trade Items.
Setting Up Differential Percentage For Trade Items
1.In Liberty, click on Setup > Options > Item Entry Options.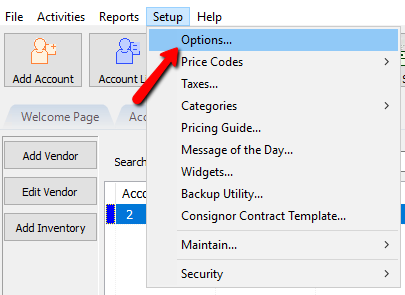
Login if required.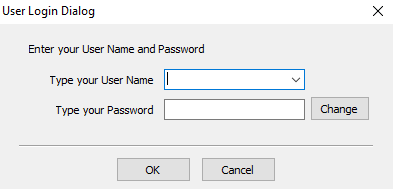
The Maintain Options dialog box will open.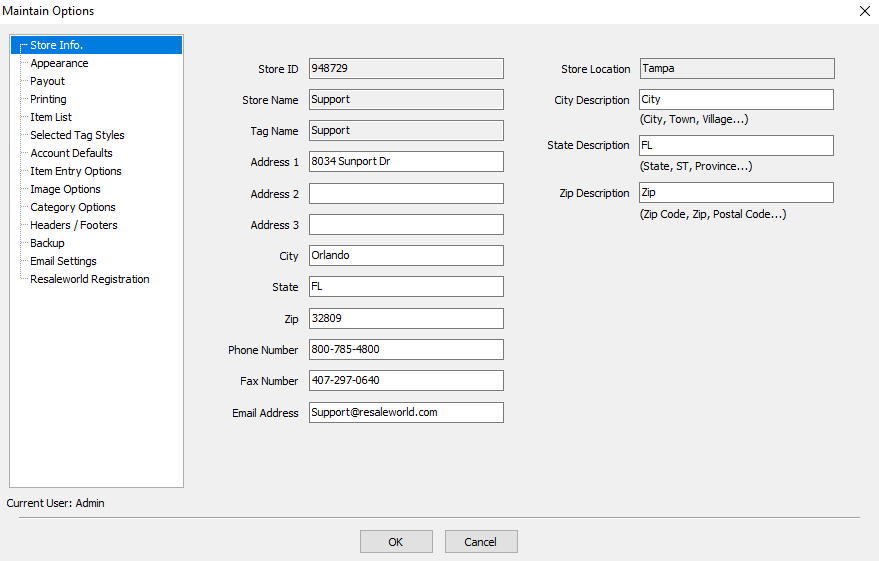
2.Select the Item Entry Options.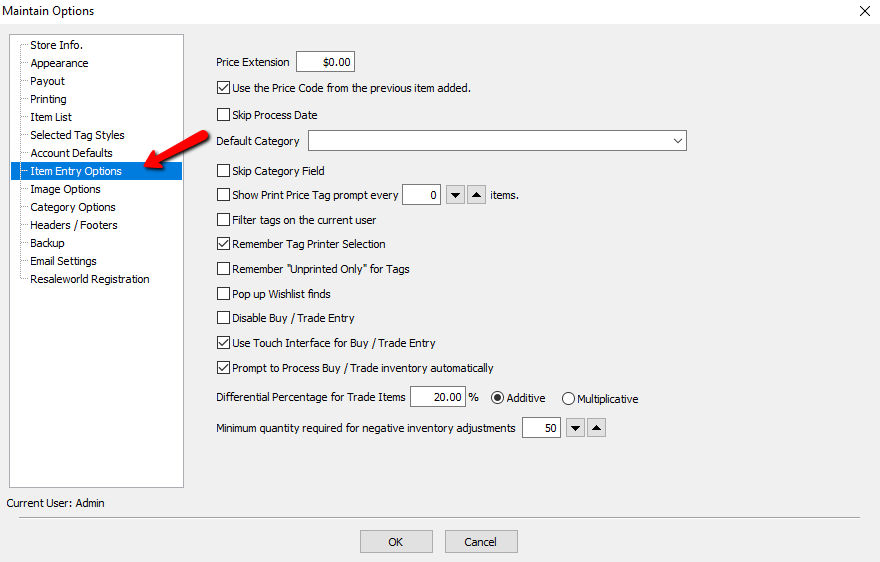
3.Under Differential Percentage for Trade Items text box, you can specify the additional percentage a consignor can receive as store credit for accepting a trade. 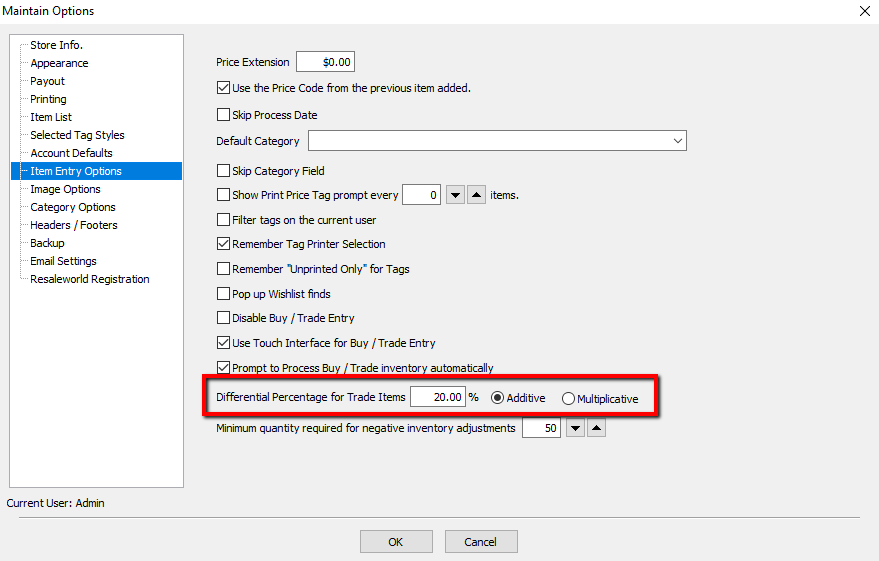
4.Select Additive or Multiplicative. They have different calculations. See Trade Items Overview for an explanation of both options. 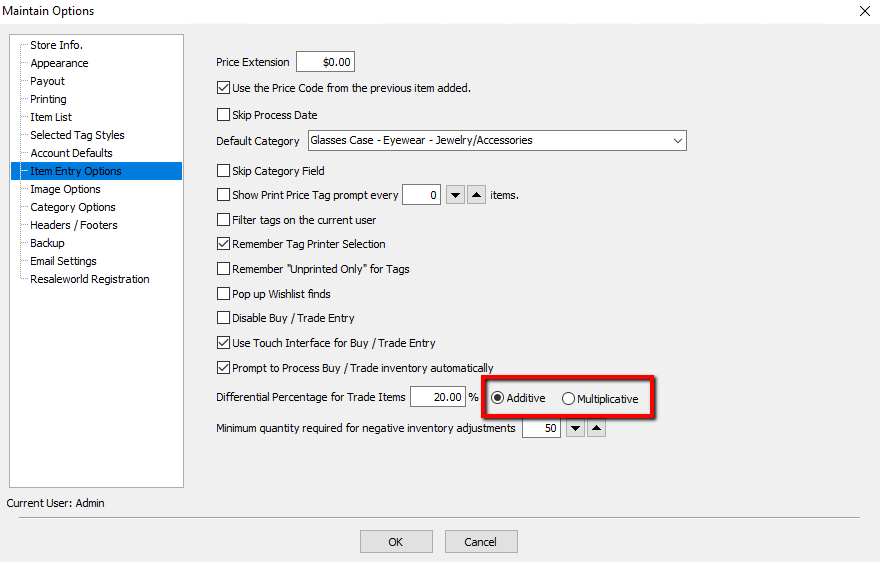
5.Select the OK button when done.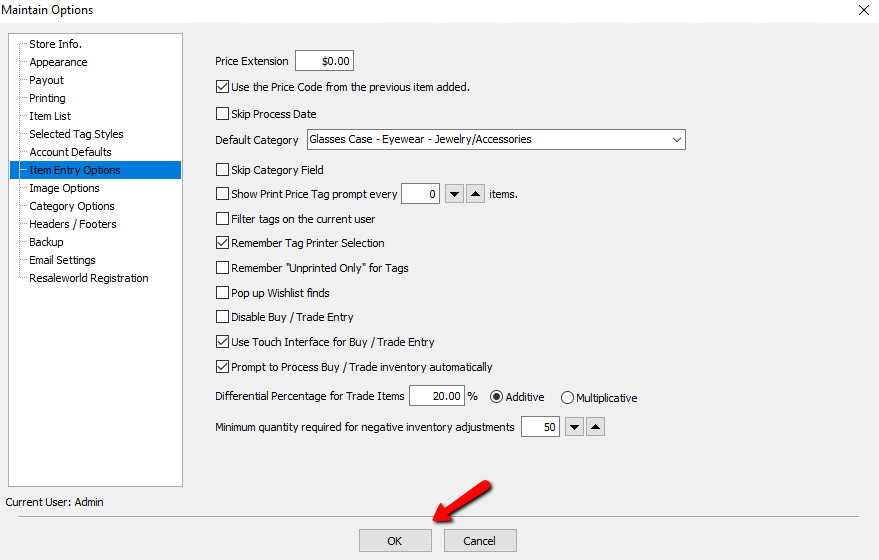
Note: The Differential Percentage For Trade Items only applies if a consignor decides to trade their item.
Creating An Item For Trade
1.In Liberty, select the Account List button.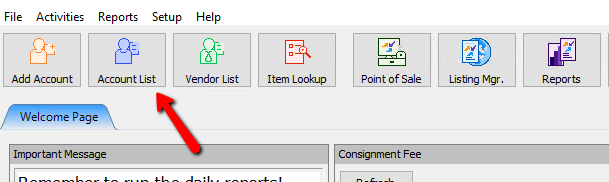
The account list will appear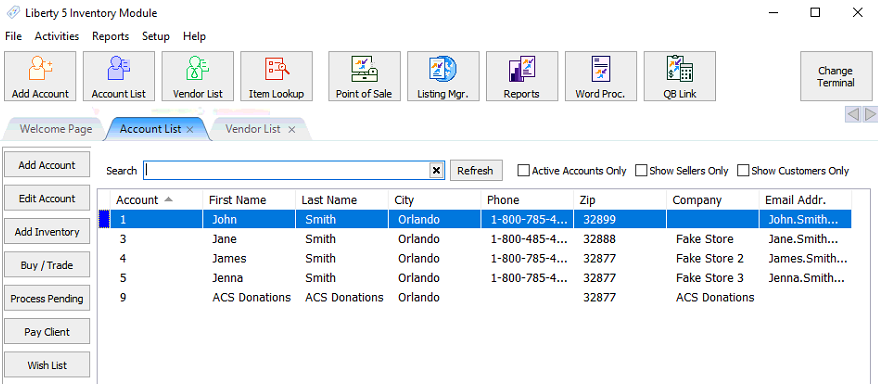
2.Highlight or Select the account where the new item will be added, then select the Buy/Trade button. You can also select the Buy/Trade button from within the account.
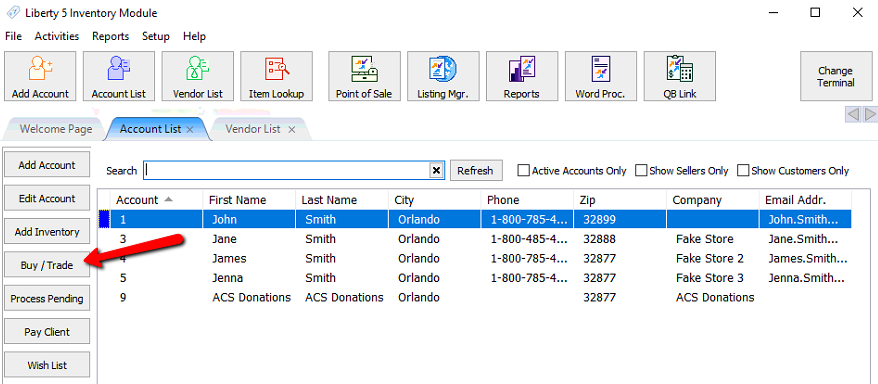
Note: Items that were not added through the Buy/Trade dialog menu, they will not be eligible for Trade.
The Buy/Trade item entry screen dialog appears. 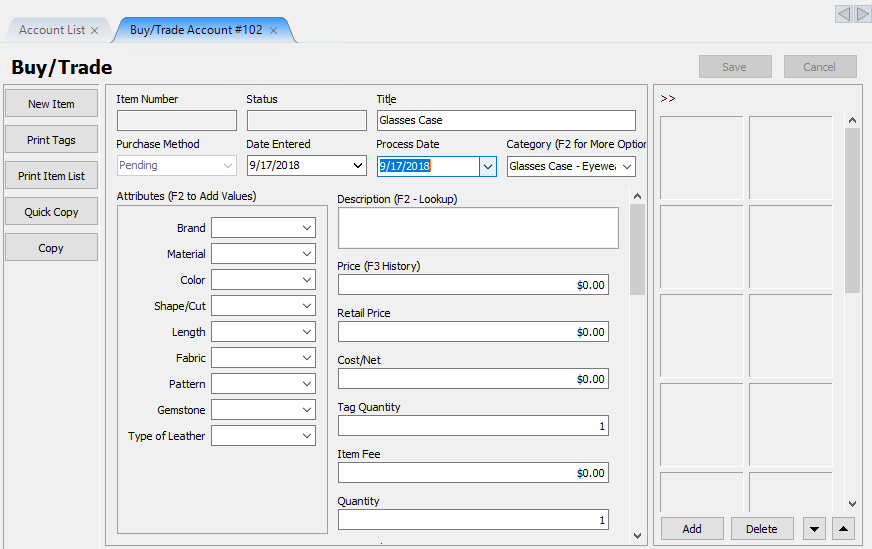
The Buy/Trade item entry screen is identical to the regular item entry screen. For more information on Item Entry and the different fields with this screen, see Consignment Item Entry Window.
If you have the Touch Screen option enabled, the Buy/Trade item entry screen will look like this.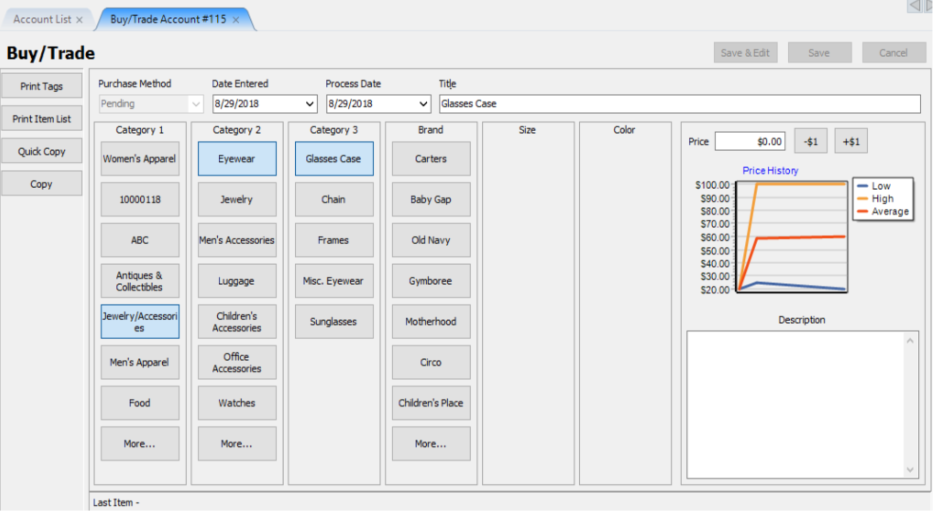
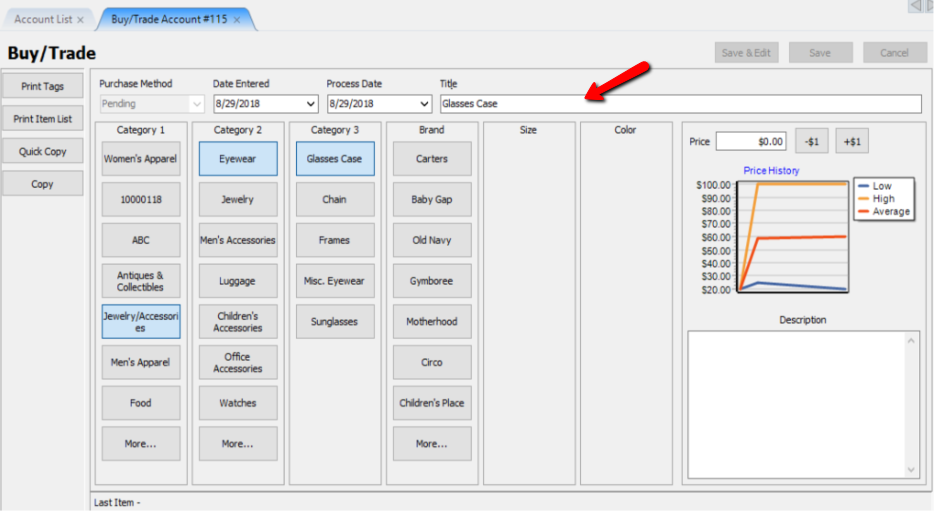
3.Under Title, provide a title for this new item.
4.Select on the appropriate Category 1, Category 2, Category 3, and Brand by selecting the appropriate buttons.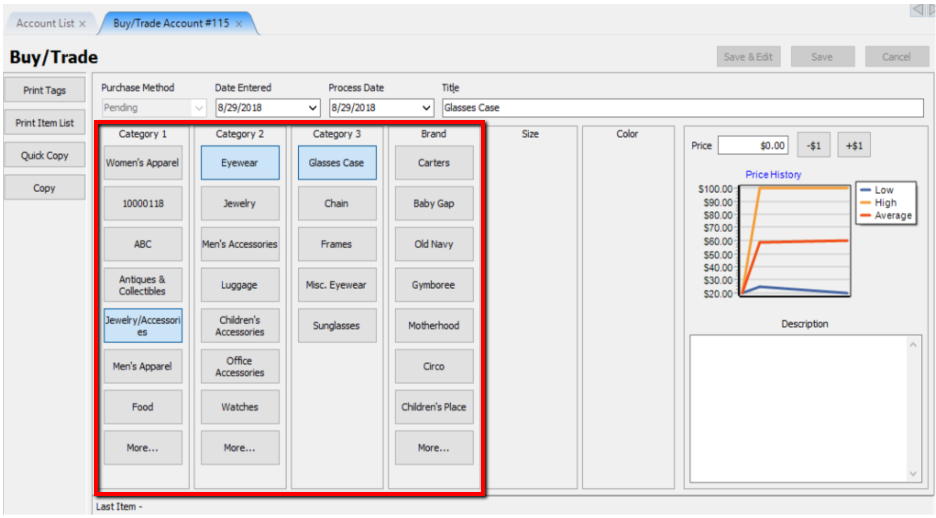
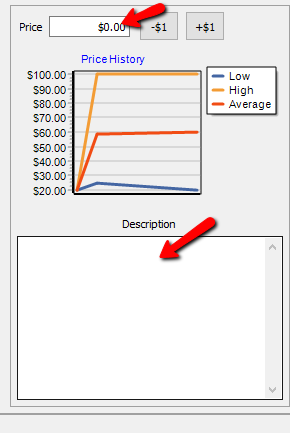
5.On the right hand side, you can specify the Price of an item and also the Description of the item.
Note: Once you set the 3 categories, you will have to specify either one attribute or the price of the item to be able to save the item.
a.If you want to make additionals changes to the item, click on Save & Edit. 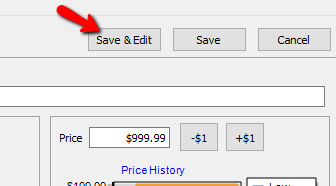
b.Once Save & Edit is pressed, Liberty takes you to the Item Entry screen. Make any additional changes to the item and click on Save. 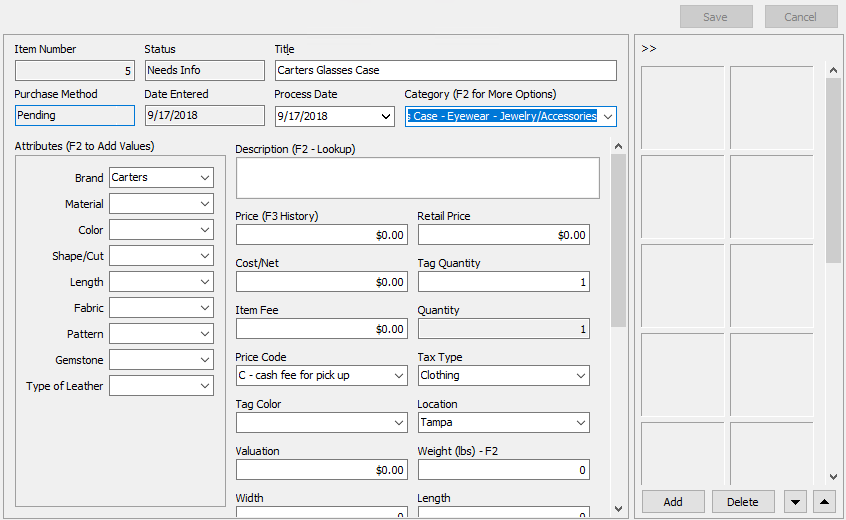
c.Close the Item Entry Screen or click on the Buy/Trade tab.
6.If you wish not to make any additional changes to the item, simply press Save in the Buy/Trade screen.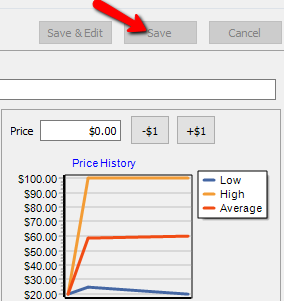
7.Once the item has been added, close the Buy/Trade Account# tab. 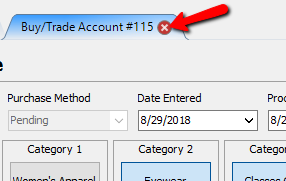
8.You will get a prompt: Would you like to process this inventory now? 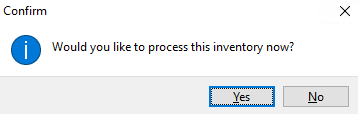
a.If you are ready to process a Trade or Cash for the new item, click Yes.
b.If you want to add more items to trade for this account, click No and repeat the steps above.
c.If you click No at this time, you can always go back to the Account List buttons and select Process Pending to go back to the Trade dialog menu. 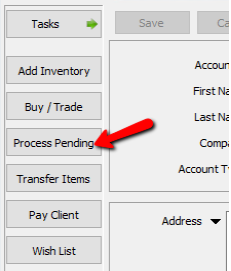
9.If you press Yes, the Process Pending Inventory dialog box appears.
Note: You have to highlight the same account from where the new item was created through the Buy/Trade menu before you press on Process Pending Inventory.
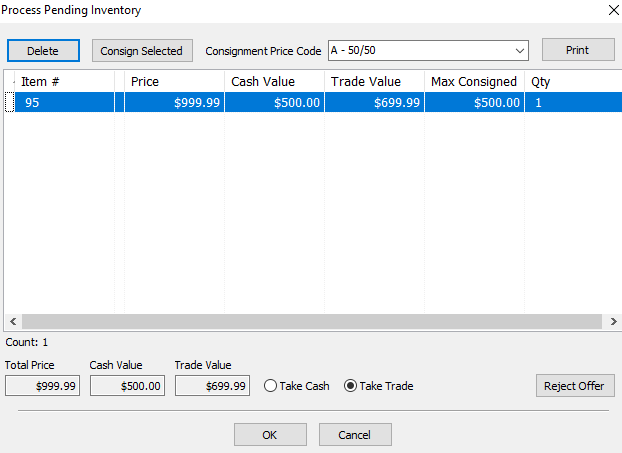
10.From this screen, you can Delete, Consign Selected, Reject Offer, Take Cash/Trade.
a.Pressing Delete will delete the item that you created.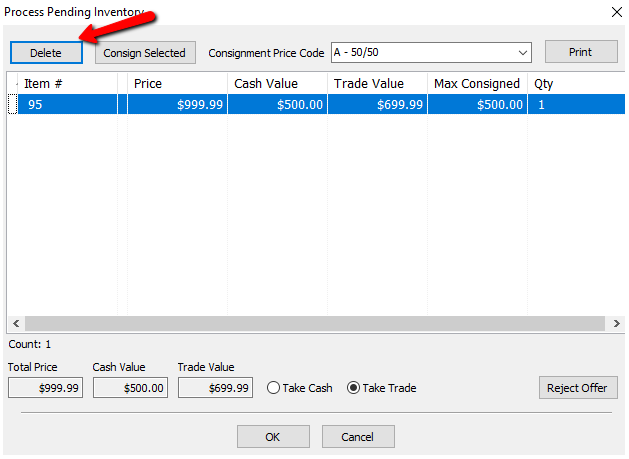
b.If you press on Consign Selected, you can specify what Price Code this item should have from the Consignment Price Code drop down, and the item will be added to the consignors account as a consigned item when you press OK. 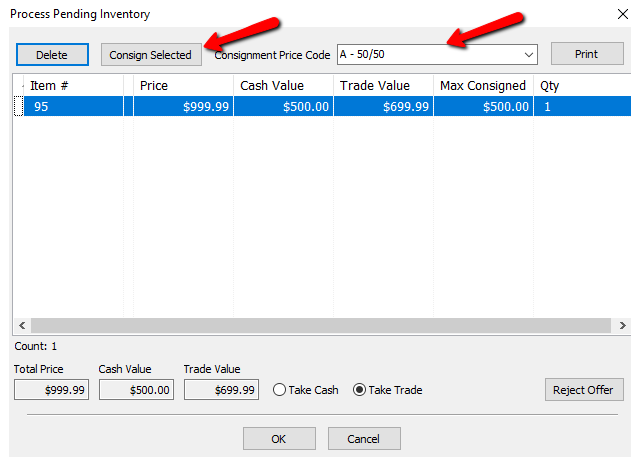
c.If you select Reject Offer, you will get a prompt: Would you like to cancel this purchase/trade and void these items? Press Yes to void, or No to cancel and go back to the trade screen.. 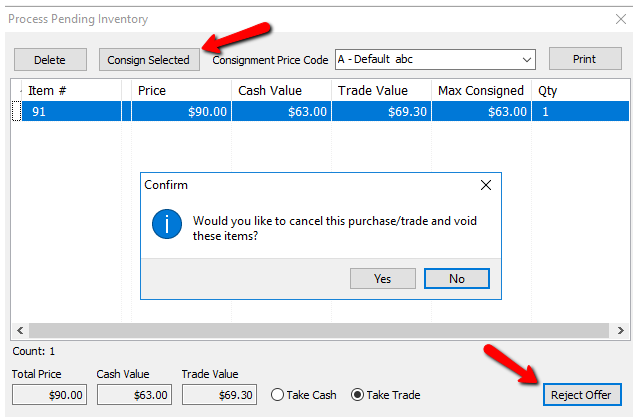
d.If the customer would like a print out of the offers, select the Print button.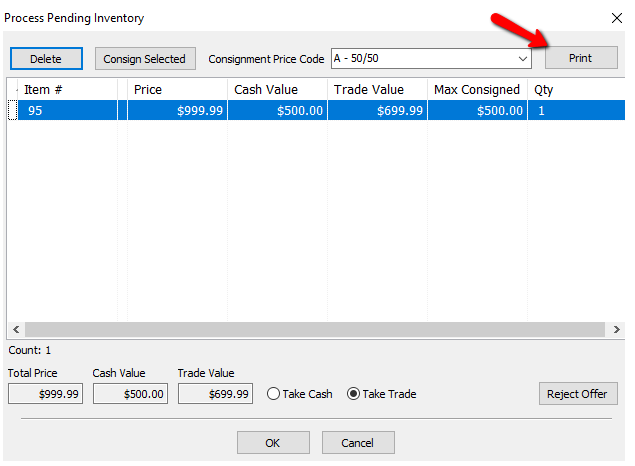
e.Selecting the Cancel button closes the Processing screen and leaves the item in processing status.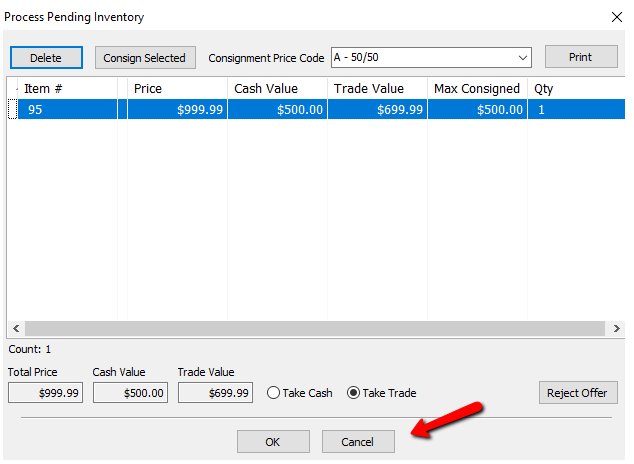
11.If the consignor wants to take the Cash Value, select Take Cash and Press OK.
a.A dialog box appears: Would you like to create the payout now?
b.If you press No, you can pay the consignor later by doing the normal Pay Client routine. There will be a transaction as Outright Purchase on the consignors account for the cash value of the item. 
c.If you press Yes, the Prepare Payout screen appears. 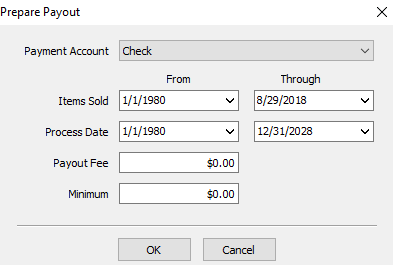
i.Select the appropriate Payment Account (Cash, Check, etc).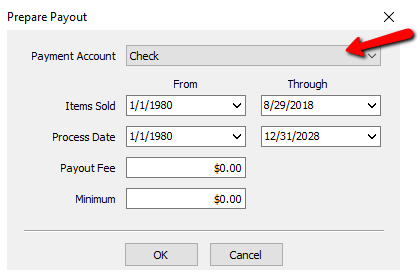
ii.Specify the criteria for Items Sold, Process Date, Payout Fee, Minimum.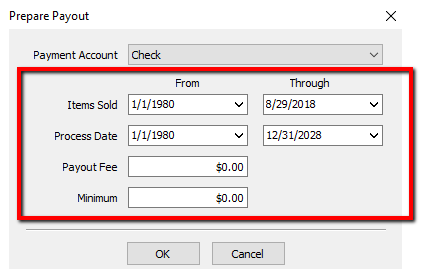
iii. Select the OK button when done.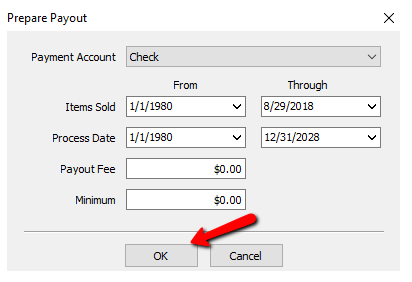
iv.The Post Payout screen appears. 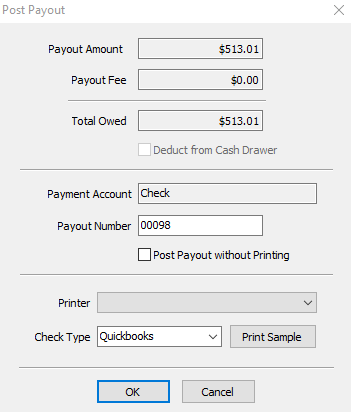
v.If the payout amount looks correct, enter the Payout Number if the one shown is incorrect. 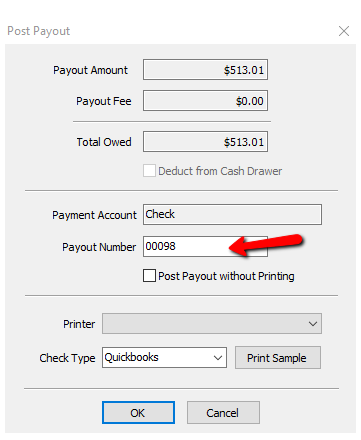
vi.Select your Printer.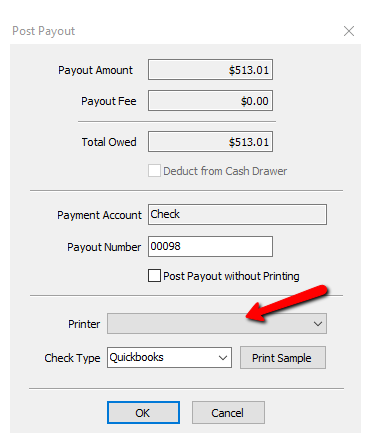
vii.Select your Check Type.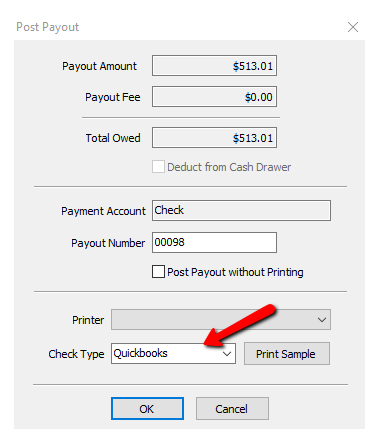
viii.Select the OK button when done.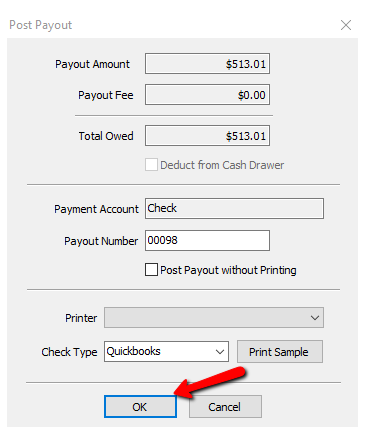
ix.You will get a confirmation box making sure the print out printed correctly. Press the Ok Button if it did, press Cancel if you need to redo it.
12.If the consignor wants to take Trade, select Take Trade and Press OK. This will create a store credit transaction for the amount shown in Trade Value.
13.Once the consignor accepts cash or trade, the item will be placed on the consignors account and it will update accordingly in Liberty with a Purple indicator which indicates the item’s Purchase Method as Purchased.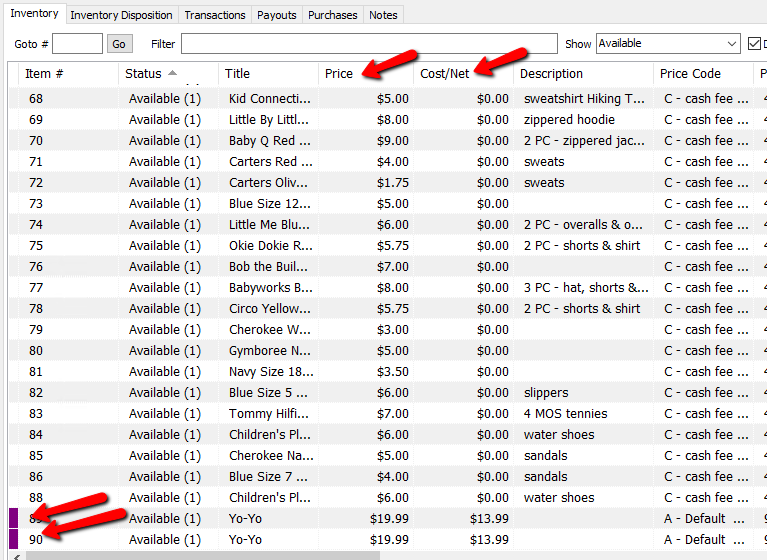
If the items have not been processed, they will appear in the inventory list with a yellow indicator next to them.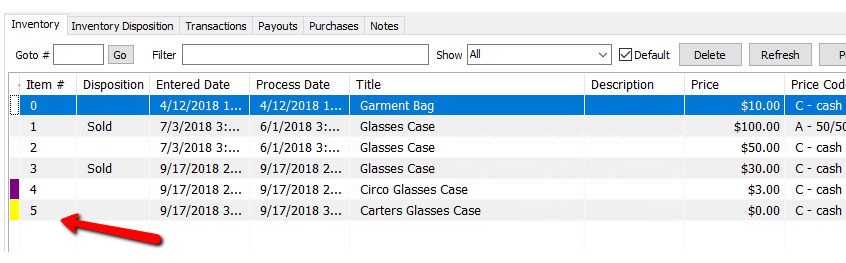
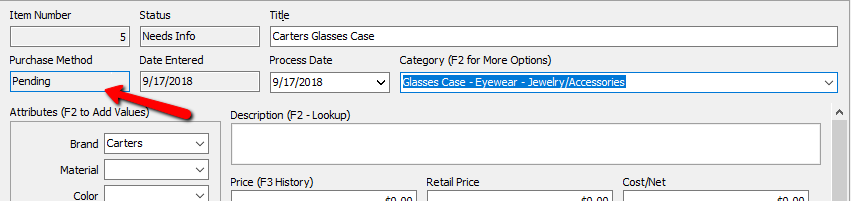
When looking at the details of an item, that has not been processed, it will have a Purchase Method of Pending.