Adding A Website Widget
A website widget allows you to display any website you want in Liberty.
This is useful if you need to have quick access to your personal website like ShopRW, Shopify or any other site you use that is integral to your business.
Another great use is if you subscribe to a web based time clock, your customer’s can clock in directly from Liberty.
1.Open the Inventory Module and then click on the Dashboard tab if you are not already on it.
Click on Setup and then Widget.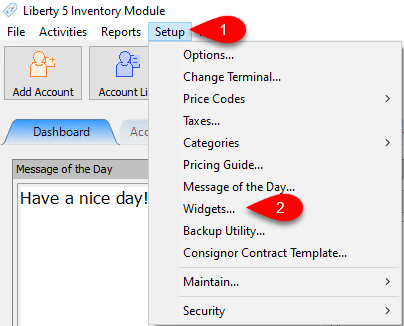
2.Click the Add button. 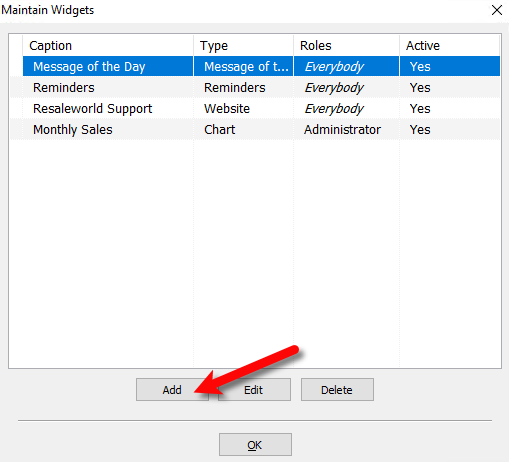
3.Here you will enter in the widget caption and who can access the widget. 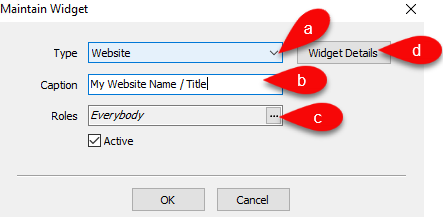
a.Type: These are all the widgets that you can add.
Website is the one you want to select.
b.Caption: Input the title of the widget you would like to use.
c.Roles: Assign who should be able to see this website widget.
d.Click on Widget Details to set other required options.
4.Here you can specify the type of website widget and the URL you want to use, among other options. 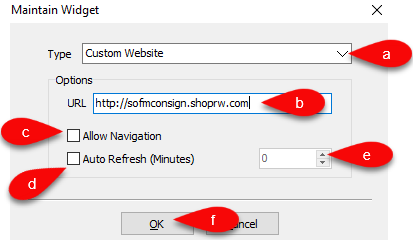
a.Type: Here you have two options you can choose from which are Website and Liberty Support.
Website is set by default.
b.URL: Type in the full URL that you want to have displayed within the widget.
c.Allow Navigation: Check this option if you want to allow the ability to navigate the website within the widget. Uncheck this option if you want the widget to always stay on the same page, even if someone clicks on a link within the page.
d.Auto Refresh (Minutes): Checkmark this and type the number of minutes you want the widget to wait before refreshing the page. Useful if you are looking at web orders on ShopRW or Orders on Shopify and want to see the latest information.
5.The widgets will refresh and then your Website widget will be ready to view.