Adding A Widget
Follow these steps to adding a Widget.
1.In Liberty select Setup > Widgets.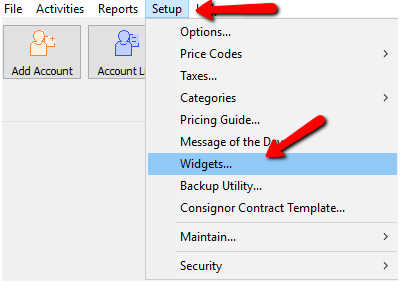
The Maintain Widgets dialog box will open.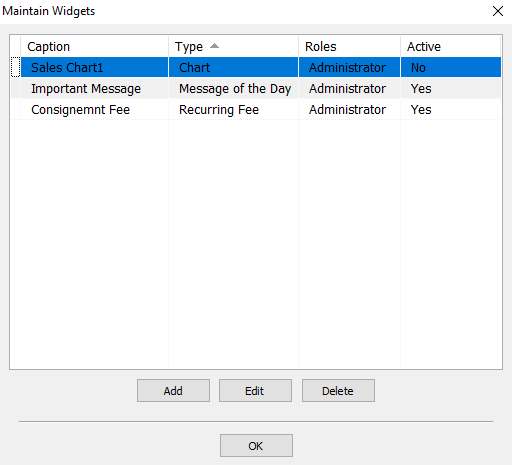
2.Select the Add button.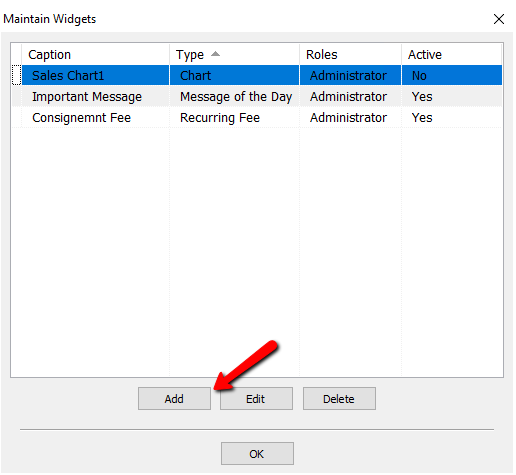
The Maintain Widget details dialog box will open.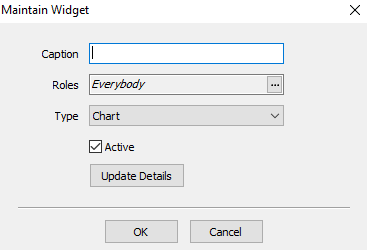
3.Enter in the Caption of the Widget. This will appear on the Welcome Screen.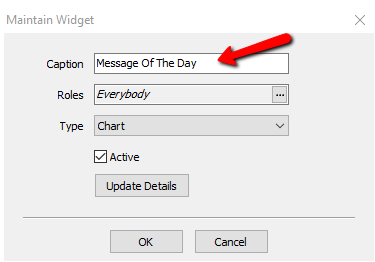
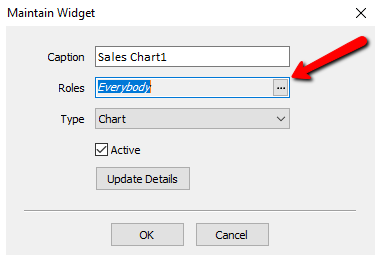
4.Select the Search button to access the Roles. For more information on Roles, please see Maintain Security Roles for more information.
A list of roles will be displayed.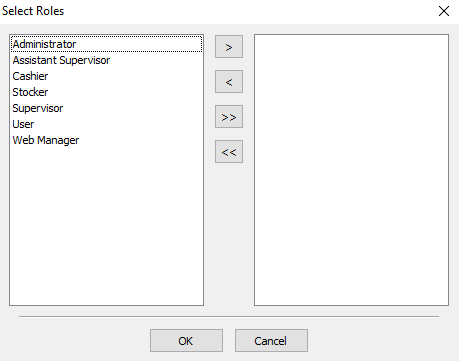
You can move individual Roles to the right or left column by highlighting the role and pressing the single Arrows.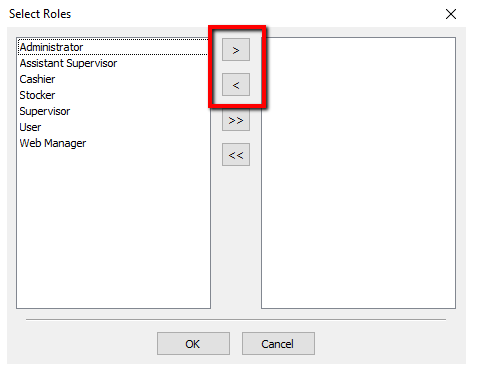
You can move all the roles to the right or left columns by pressing the double arrows.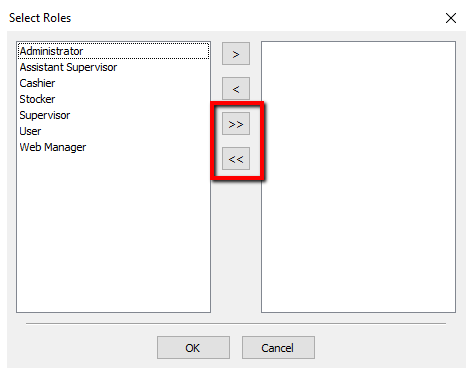
Once you have made your selections, press the OK button at the bottom.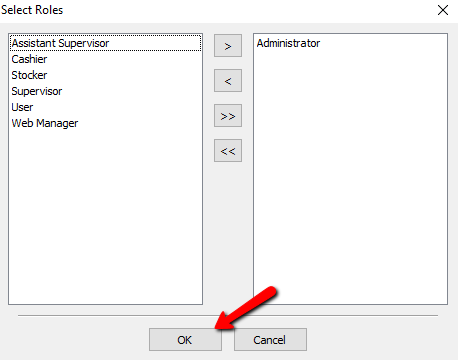
5.From the Type drop down, select the type of widget you are going to create. For more information on the different types of widgets, please see Adding A Recurring Fees Widget, Adding A Reminder Widget, Adding A Chart Widget, and Adding A Message Of The Day Widget.
6.Leave the Active checkbox checked.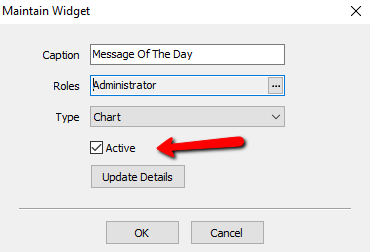
7.Click on Update Details. 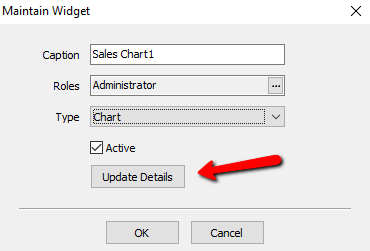
Depending on the type of Widget you are making, a dialog box will open for that type. Please see the details of adding that type of widget.
8.Select the OK button to close the main Widgets Maintenance screen.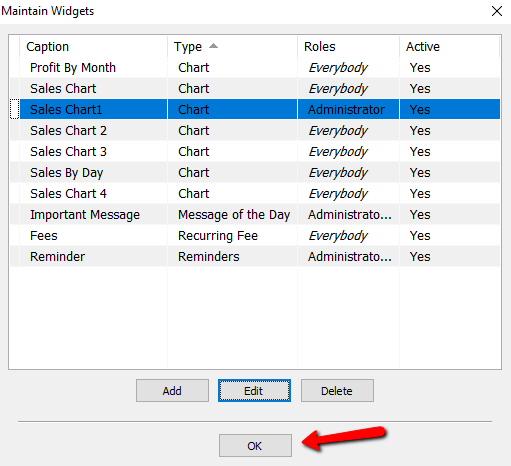
Related Topics
Widgets Overview
Types of Widgets
Adding A Recurring Fees Widget
Adding A Message Of The Day Widget
Adding A Reminder Widget
Adding A Chart Widget