View Transaction History
All transactions, including item sales and returns, deductions such as check fees, credits, etc. are recorded in each accounts’ Transaction History.
Note: There is a Refresh button near the top of the screen. It is sometimes necessary to select Refresh to update the Transaction History window to show recent Transactions.
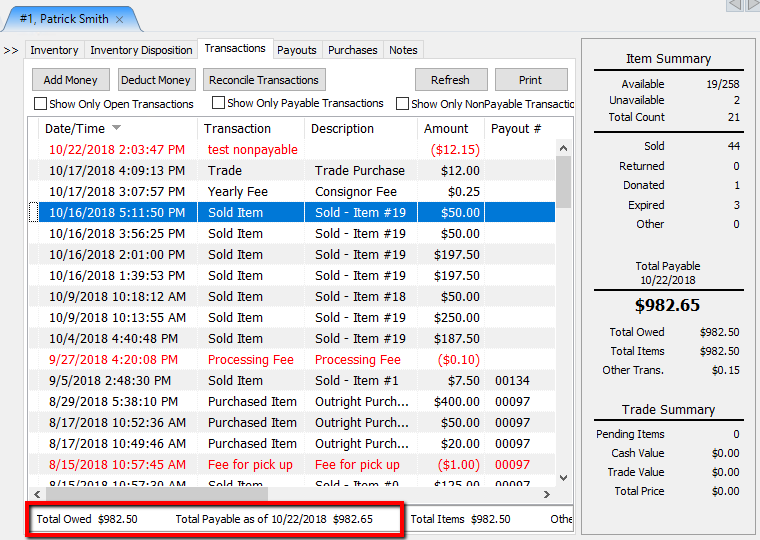
At the bottom of the Transactions window note the following information provided.
●Total Owed : Shows the gross amount payable to the Account Holder. This includes non-payable credit along with payable funds
●Total Payable as of {date} : Shows the net amount due the Account Holder after deductions, credits and any Pay Delays are taken into account. Funds that are available to be payable by cash or check.
●Total items : The value of all items sold in the account.
●Other transactions : Other credits or deductions done through add money and/or deduct money, Listing Fees, Item Deductions, Check Fees...Etc.
Please see Determine Amount Payable to an Account Holder for more information.
To View Transaction History For An Account
1.In Liberty Inventory, Lookup the account.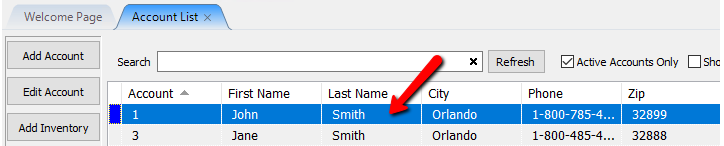
2.Select the Transactions tab.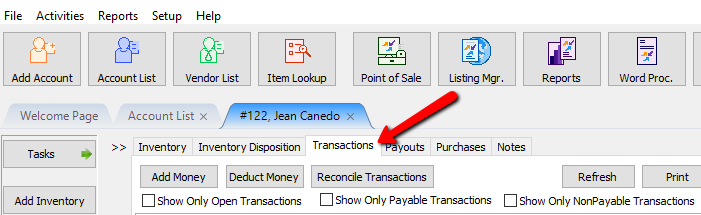
3.The Transaction History for the account will display

Transaction History Fields
●Date/Time : Date and time of transaction.
●Transaction : Type of transaction (Sold, Return, Credit on Account, etc.).
●Description : Transaction description.
Note: Whenever an item is returned, an asterisk will appear in front of the Description. If an item is returned multiple times, the number of asterisks will correspond to the number of times the item was returned.For example, if an item is returned twice, then two asterisks will appear at the beginning of the Description.
●Amount : Transaction amount. Note that all information in negative transactions is displayed in red.
●Payout # : The payout number to which the transaction was applied.
●Item # : When the Transaction is related to a specific item, the item’s number is listed in this field.
●Item name : Name of the Item
●Held : Items may be placed On Hold to prevent them from being included in the next payout to the consignor. As long as an item is On Hold the consignor will not be paid for the item. The word Yes will appear in this field when an item is on hold.
●Note : When a Transaction has a Note, a folder symbol will appear in this field. See below for more information
●Total Owed : Shows the gross amount payable to the Account Holder.
●Total Payable as of (date) : Shows the net amount due the Account Holder after deductions, credits, and any Pay Delays are taken into account.
Adding a Note to Transactions
1.In Liberty, search for the account that has a transaction that needs to be held.
Double click on the desired account to open its details.
2.At the top of the account, select the Transactions tab.
The details of the Transactions tab will open.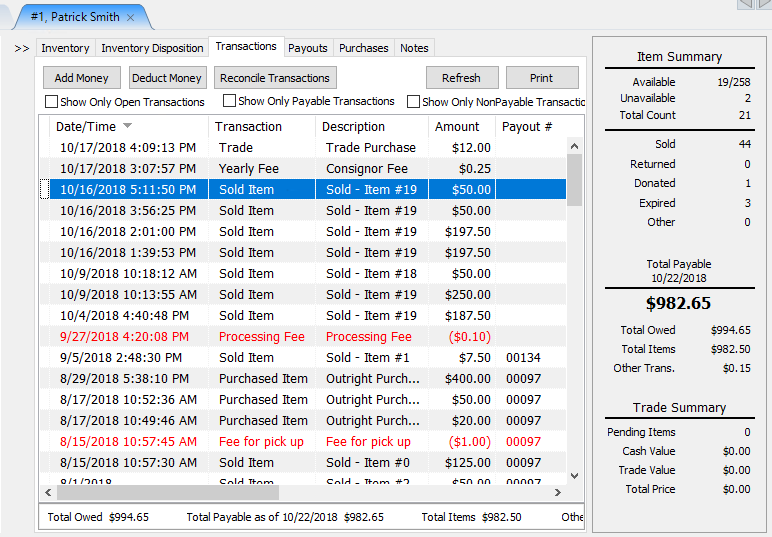
3.In the Transaction History, right-click on the transaction you want to add a note to and select Add/View Note.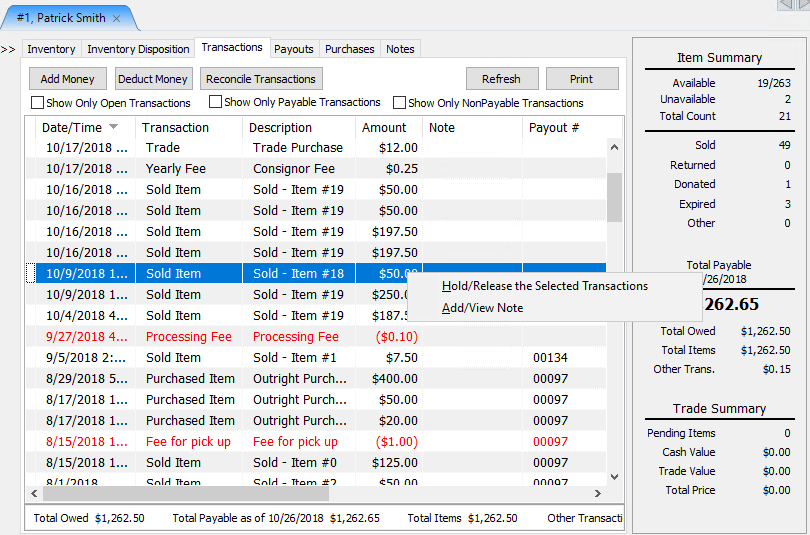
The Edit Item Note dialog box will open.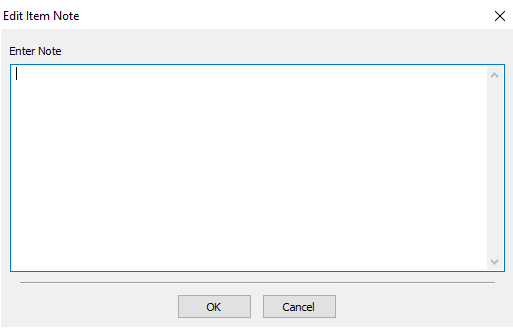
4.Enter the information for the note and select the OK button when done.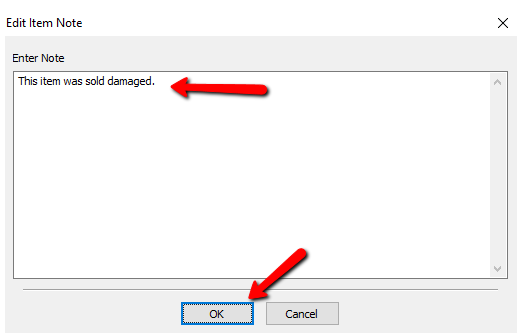
You will see an Envelope Icon under the Note Column indicating there is a note associated with this transaction.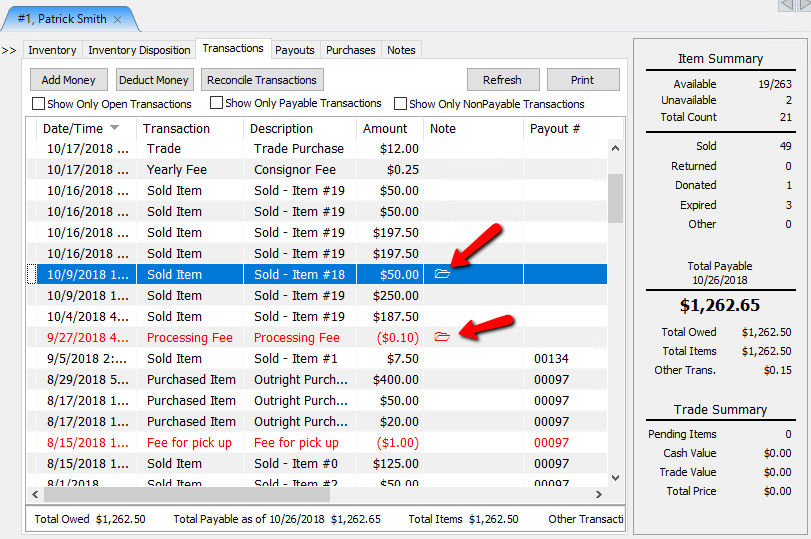
To View a Note Associated with a Transaction
1.In Liberty, search for the account that has a transaction that needs to be held.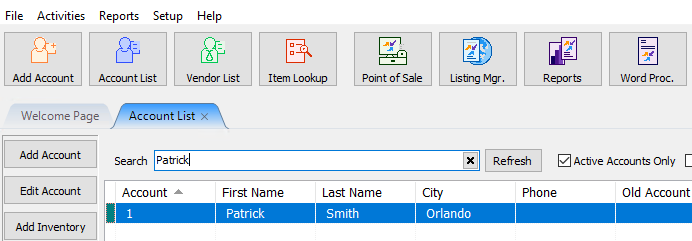
Double click on the desired account to open its details.
2.At the top of the account, select the Transactions tab.
The details of the Transactions tab will open.
3.In the Transaction History, right-click on the transaction you want to add a note to and select Add/View Note.
The Edit Item Note dialog box will open.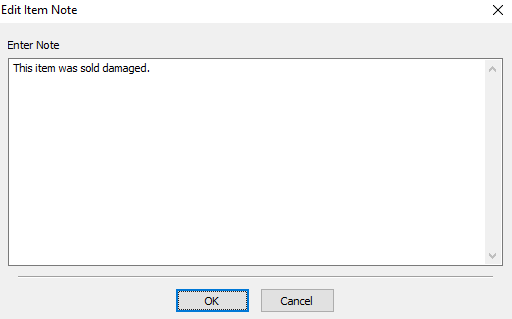
4.Make any necessary changes and select the OK button at the bottom.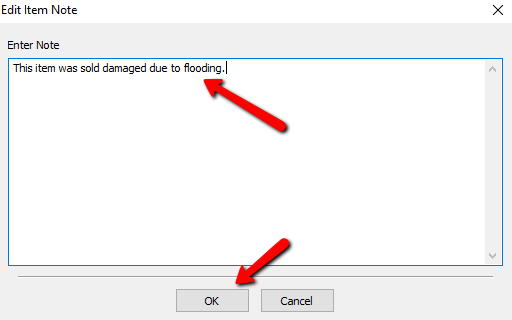
How To Hold Transactions
Holding a transaction makes that transaction unpayable. This may be done when there is a discrepancy in an item that was sold, or money is owed to the store.
1.In Liberty, search for the account that has a transaction that needs to be held.
Double click on the desired account to open its details.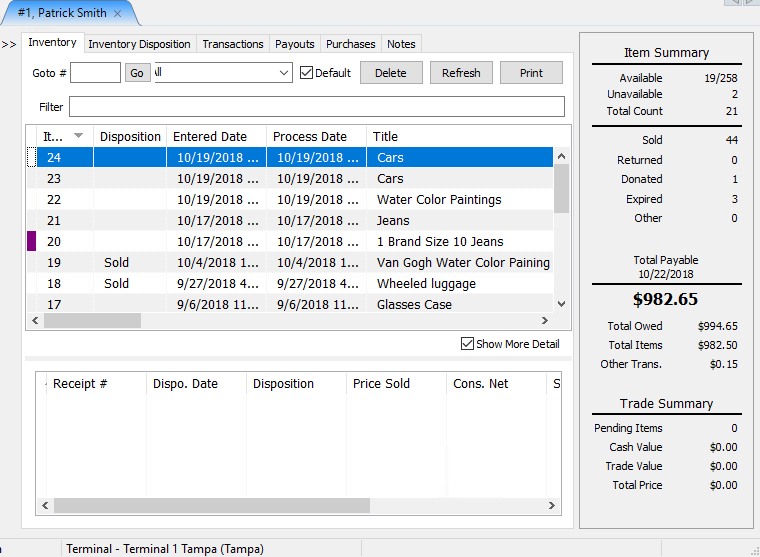
2.At the top of the account, select the Transactions tab.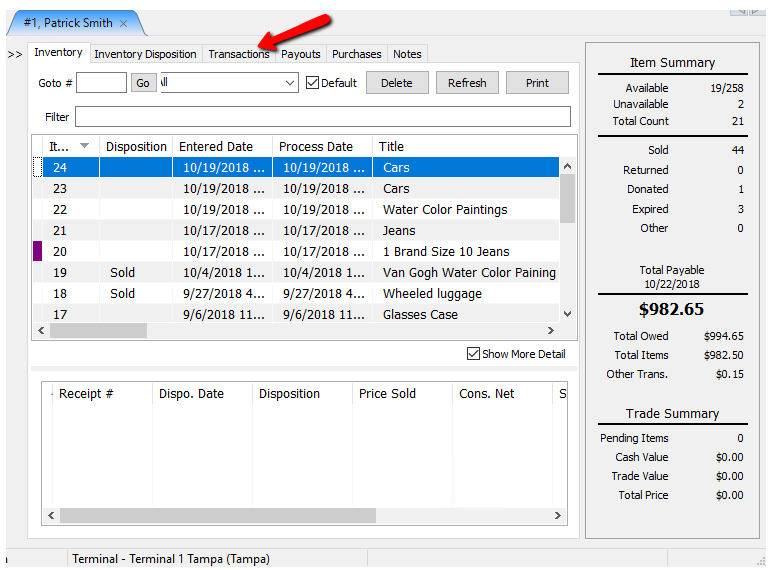
The details of the Transactions tab will open.
3.In the Transaction History, right-click on the transaction you want to hold and select Hold/Release The Selected Transactions.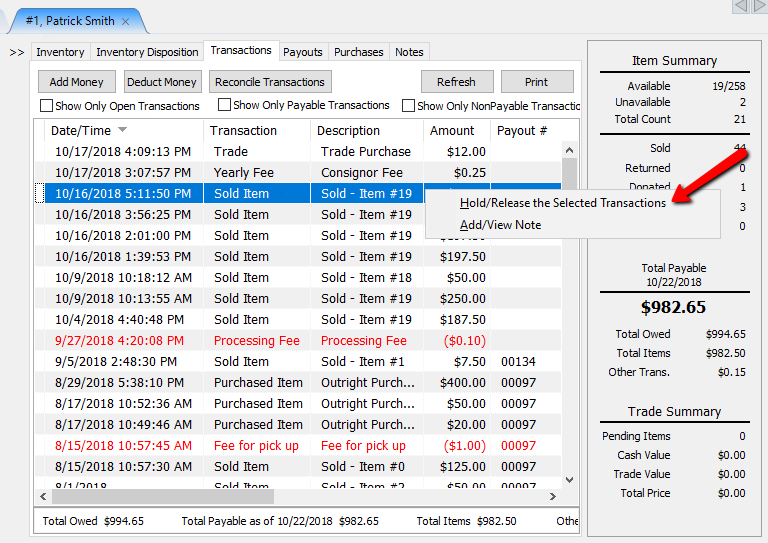
Note: The amount of the available payable store credit went down by the amount of the held transaction however the amount owed is still the same because it is still money owed to the consignor and it is just being held for now.

How To release Transactions
Holding a transaction makes that transaction unpayable. This may be done when there is a discrepancy in an item that was sold, or money is owed to the store.
4.In Liberty, search for the account that has a transaction that needs to be held.
Double click on the desired account to open its details.
5.At the top of the account, select the Transactions tab.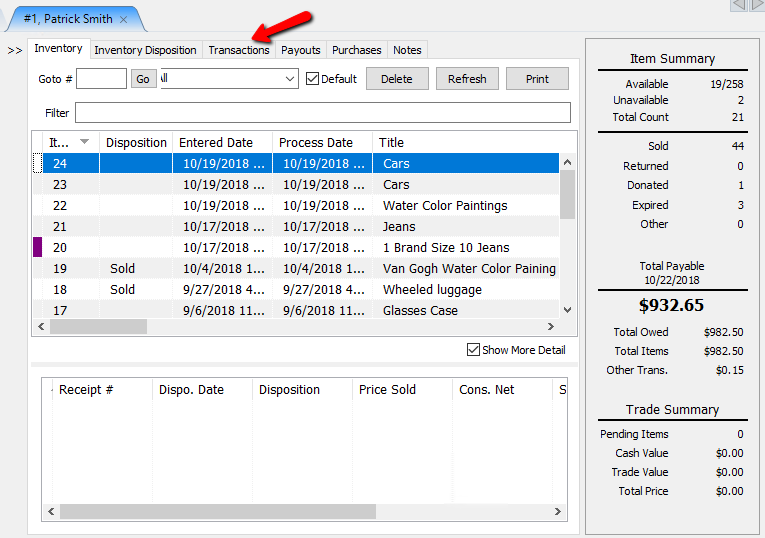
The details of the Transactions tab will open.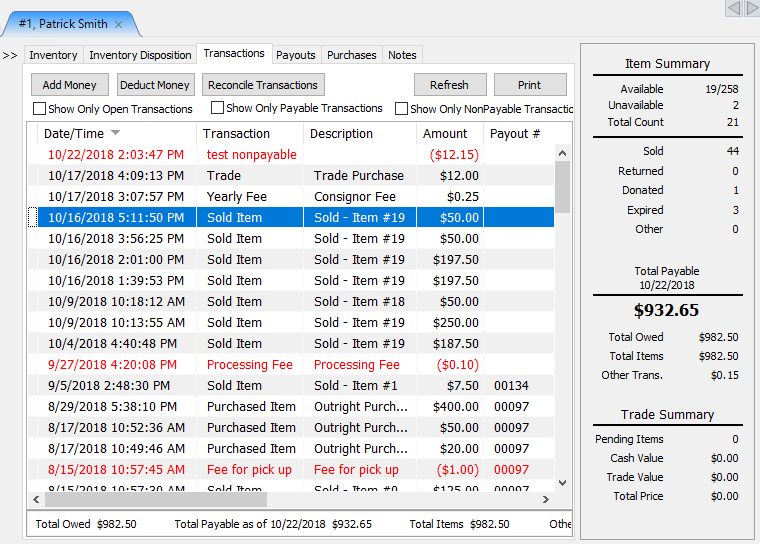
1.In the Transaction History, right-click on the transaction you want to hold and select Hold/Release The Selected Transactions.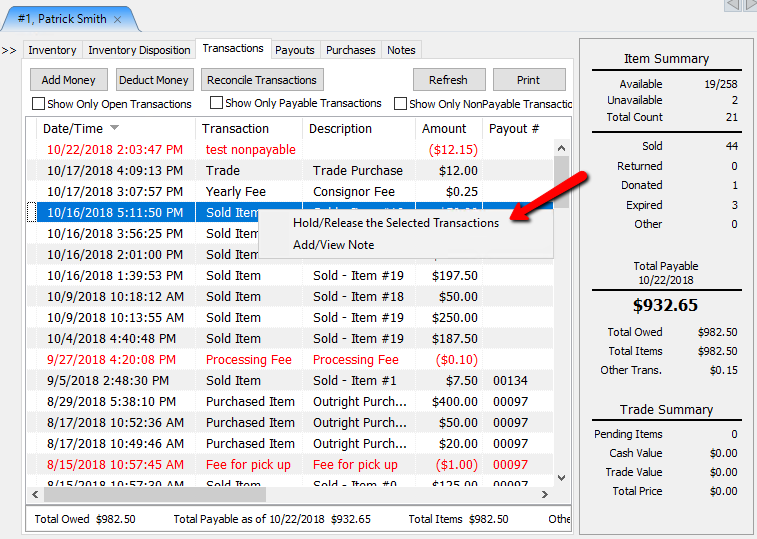
Note: The amount of the available payable store credit went up by the amount of the held transaction however the amount owed is still the same because it is still money owed to the consignor even when it is on hold.
You can also view or print the transactions for an account using various reports.