Viewing Inventory
You can learn many things about items, including their current status (available, sold, etc.), order status, description, price, etc. in the Inventory windows. Two windows show information - the Inventory and Inventory Disposition window.
The Inventory Detail display shows all information about an item. The Inventory Disposition Detail display shows a subset of the information contained in the Inventory Display. It is designed to make it easier to look at information about an item's Disposition.
A key field displayed in the Disposition Detail display is the Disposition Field.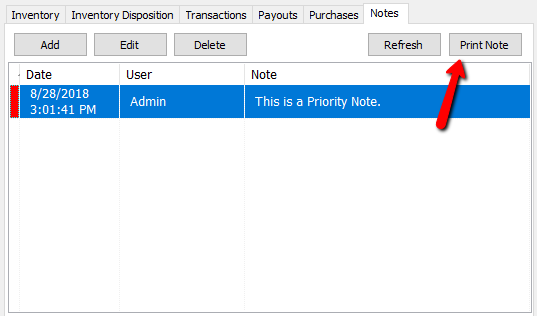
Disposition is similar to Status, but whereas an item's Status is either Available or Unavailable, an item's Disposition can be Sold, Sold Online, Donated, Returned, Expired, on Layaway, Sold, etc. An item's Disposition is more specific than an item's Status.
Both inventory windows default to showing all items, but can be set to display specific types of items by using Filters. For instance you can view just items sold, or just items sold and not paid, or just returned items, to name a few.
Note: There is a Refresh button near the top of the screen. It is sometimes necessary to select Refresh to update the Inventory window to show recently added or updated items.
Tip: You can reorder and change the size of the fields listed in the Inventory window.
To change the field order, click and drag the field labels (the header at the top of each column) to the left and right. Do this by grabbing the field you would like to move by clicking the left mouse button, holding it and then moving the field.
To change the size of a field, hold the mouse directly over the vertical line separating each field label. The mouse pointer will change to a vertical line with two arrows pointing outwards. Click and drag the field to resize it.
Note: The changes you make here are Sticky - the software remembers what you did so you don’t have to redo this process.
To View Item Status Using The Inventory Window
1.Right-click anywhere over the item list area of the window (the area where the items are actually listed) and select Filter List.

2.Choose a Filter from the list provided. The Inventory Display will change to show just those items with the Status selected. The filter selected remains in effect until you change it or quit the program. When you quit the program the filter returns to All, which is the default filter.
To Print a Filtered Inventory List
1.Select the appropriate filter as described above.
2.Select Task > Print > Print Inventory Display, or right-click anywhere over the item list area of the window (the area where the items are actually listed) and select Print.
Or
Note: The Contains filter searches only the Description field.
Note: The To Return filter lists all items that have passed their Pickup Date. See Define Consignment Splits for more information about setting Pickup Dates.
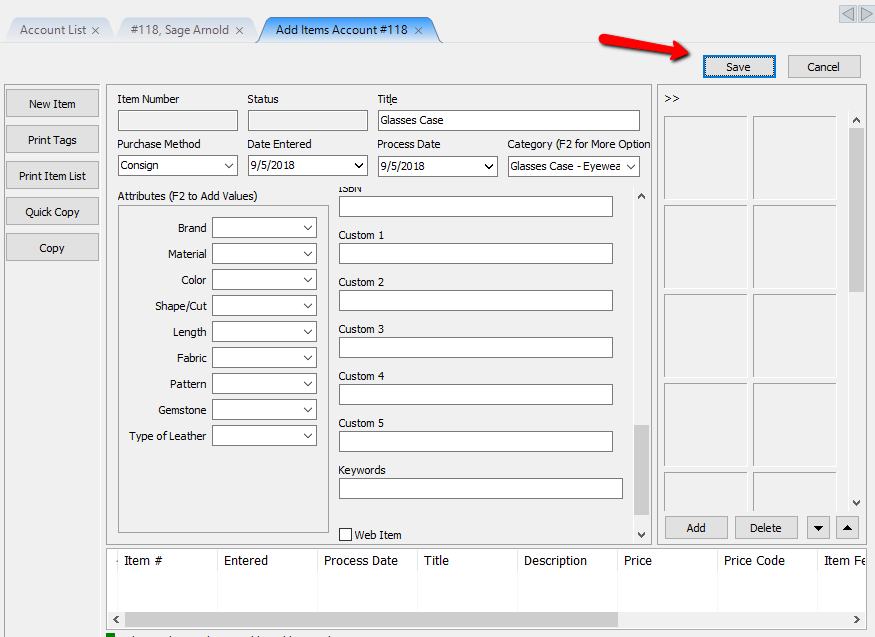
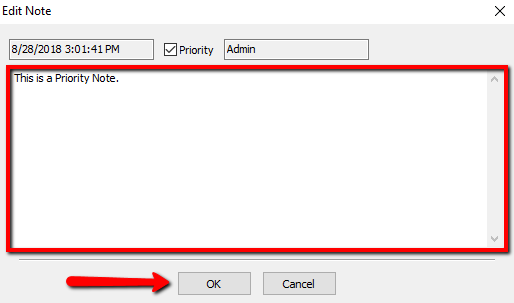
To Add A Note To An Item
1.From the Inventory window, right click on the item to which the note is to be added.
2.Select Add/View Note.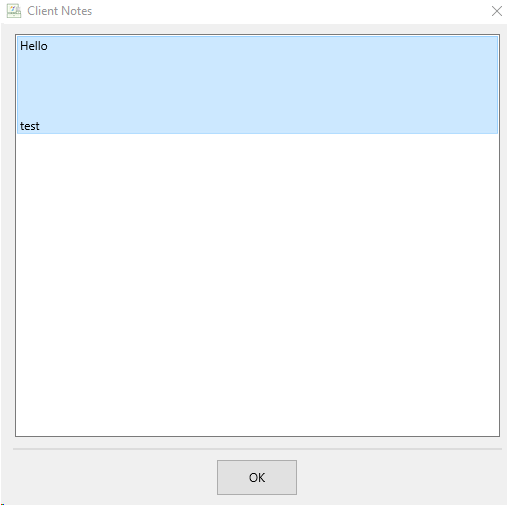
3.Enter the note, then click OK.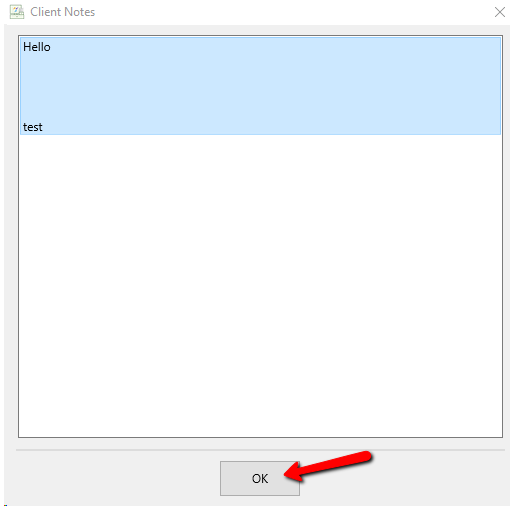
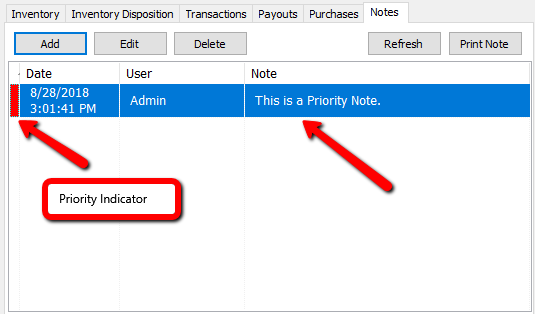
A folder icon will appear in the Note Column indicating there is a not associated with this item.
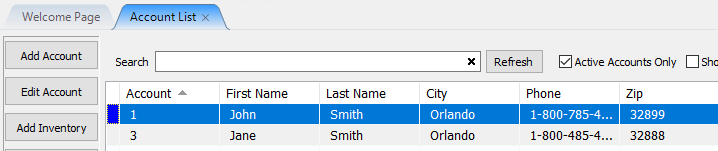
Inventory Window Fields
●Item Number : Assigned by the system. Each account starts at item number 1.
●Status : Current status of the item. Status types include Available, Needs Info, and Unavailable.
The status Needs Info indicates the item is missing important information and cannot be sold until that information is entered. An item without a price, for example, would have a status of Needs Info.
●Date Entered : Date the item was actually added to the system.
●Process Date : The date in which items go on the floor to be sold. By default this will be the same as the Entered Date.
●Description : Free text description of the item from the Description field.
●Title : A phrase created by Liberty that combines the Category 3, Brand, and Primary Attribute (see Categories Overview). The purpose is to create a consistent way to reference items.
●Price : Original asking price for the item.
●Sale Date : Date and time item sold.
●Last Net : The amount to be paid to a consignor for a sold item.
●Last Sale : Amount the item sold for in the last sale.
●Price Code : The Price Code associated with the item.
●Note : Any notes associated with an item will have a folder icon in this field.
●Item Fee : Use this field to enter an additional fee for the item. See the section on Price Code for information on Web Fees and Final Value Fees.
●Payout : Payout number of check or cash statement for which the item was paid.
●Cost/Net : This field is only filled in for one of a kind items, and shows one of two things:
○For items with a Status of Sold, it is the amount the consignor receives for the item.
○For items with a Status of Available, the amount in this field represents a Preset Net. See Add Consigned Items for more information about Preset Nets.
●Quantity : How many of an item you have for the line item entry.
Note: Like items (items that are exactly the same) can either be entered in one at a time with each line having a quantity of 1 or they can be entered as one line item with a quantity of more than 1.
●Retail Price : Value of an item sold through a retail outlet. This price may be printed on the price tag.
●Disposition : When an item is Posted, it will have a disposition. This indicates why the item is not longer available. Common dispositions are Sold, Layaway, Donated. See Post an Item as Donated, Returned (to the Consignor), or Other for more information on posting items.
●Location : The Store Location that this item is located at (used for multiple location stores).
●Added By : The user who added the item to the system.
●Orig. Qty : The original quantity of the item when first entered into Liberty.
●Updated By : Who updated the item last.
●Last Update : When the last time the item was updated.
●Tag Color : The color of the tag associated with the item.
●Expires : The date the item expires and 100% of the profits go to the store.
●Auction Quantity : Indicates the number of that item up for auction on eBay
●Recommerce indicator : There will be a color indicator at the beginning of the item. A Half box filled with blue and any other color indicates a Recommerce Item. See Color Coding belore for more details.
Color Coding
Some items in the Item Lookup field will have color codes at the beginning of them. Here is a list of Color Codes you might see.
●White/Light Gray (No color) : This is a consigned item.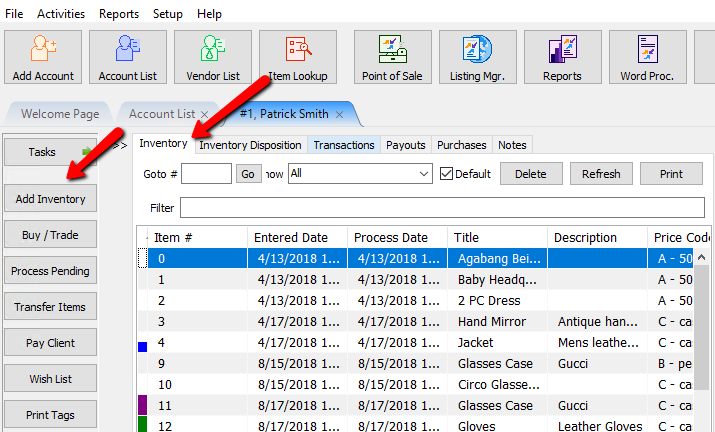
●Half Blue (With any other color) : Blue indicates the item is a Web Item. Blue can be combined with another color.
Example: This is a Consigned Web Item.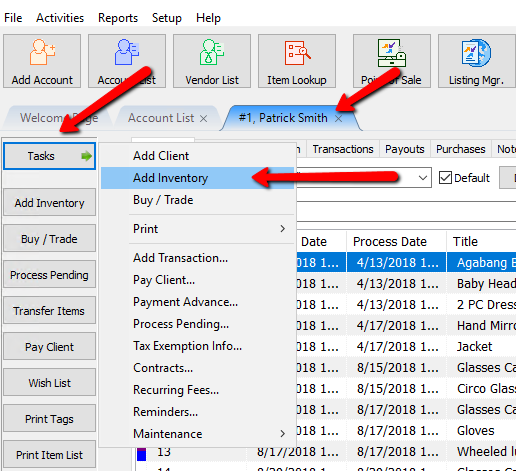
Example: This is a Purchased outright Web Item.
●Yellow : Yellow indicates a pending Buy/Trade item.
●Purple : Purple indicates a Purchased outright item.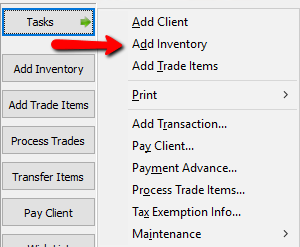
●Green : Green Indicates a Store Owned Item.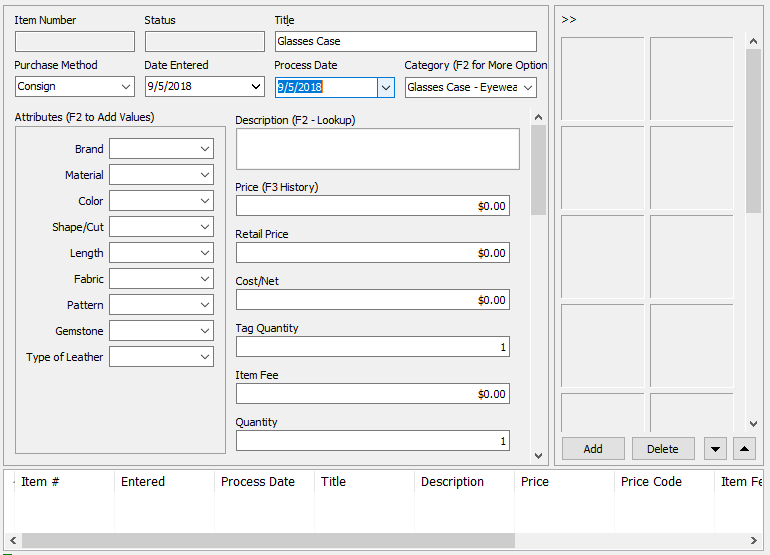
●Gray : Gray indicates Retail Items.