Using the Wish List
When an item is added to a Wish List, a search automatically takes place. The Wish List searches Consigned items. It does not search Retail items.
To Add A Customer Request For An Item To The Wish List
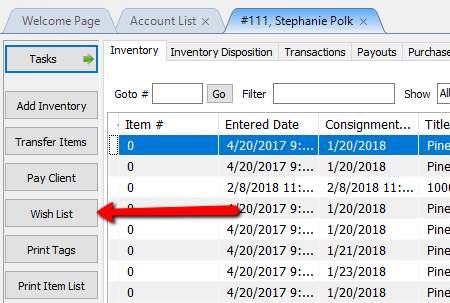
1.Lookup the Account for which the Wish is to be added.
2.Click on the Wish List button on the left.
The Wish List dialog will display.
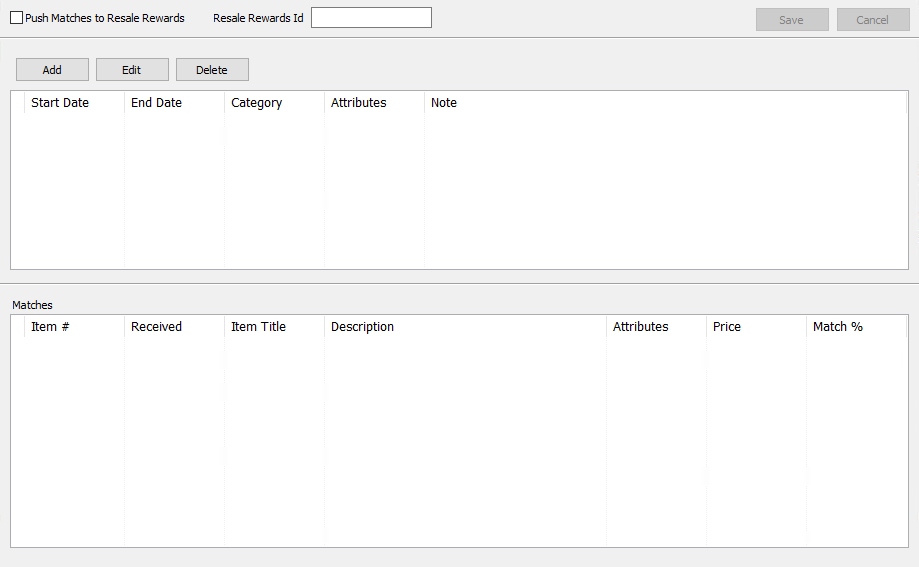
● Click the Add button. 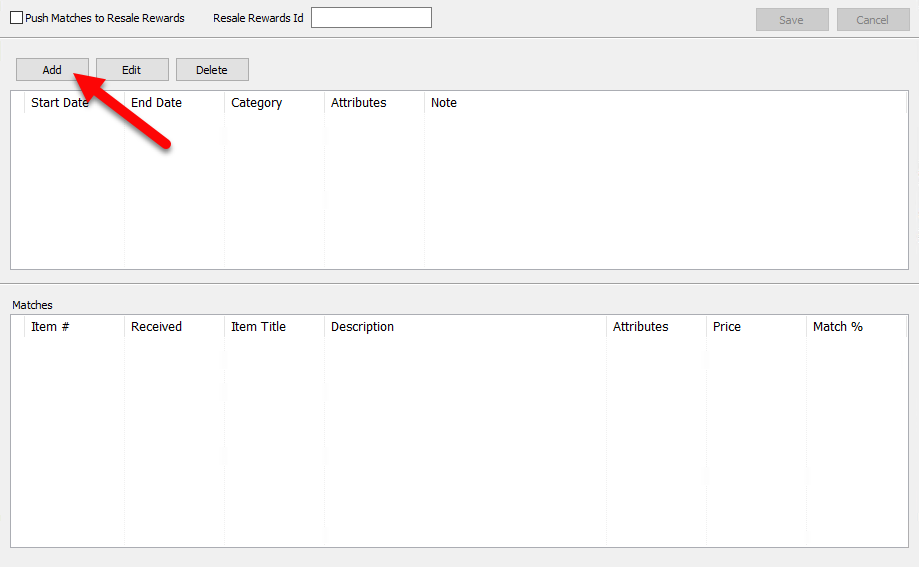
The Wish List Item request box will open.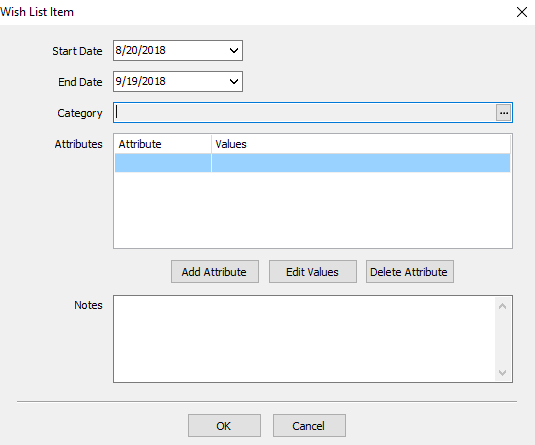
●Start : This is the date the Wish will start
●End : This is the date the Wish will end.
●Category : This is the category the Wish List will look at for the type of that is requested.
Example: If my customer is looking for Autographs of famous sports figures, then I might select the category Antiques & Collectibles/Autographs/Sports. If I am looking for just Autographs of famous people, then I can leave the Sports selection off so I would just have Antiques & Collectibles/Autographs. if I am just looking for Antiques, then I might just select Antiques & Collectibles as my category.
Note: Being as specific as possible will ensure you find the right item for your customer. The more information the customer gives you on the item they are looking for, the more information you have to add to the wish and potentially find the right item for them.
●Notes : Notes can be added to further define what the customer is looking for.
3.Enter in the Start and End dates.
4.Press the Search button (the button with the three dots) in the Category field to pull up a list of categories to select.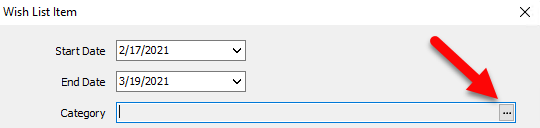
5.Select the categories you want for this Wish then press the OK button.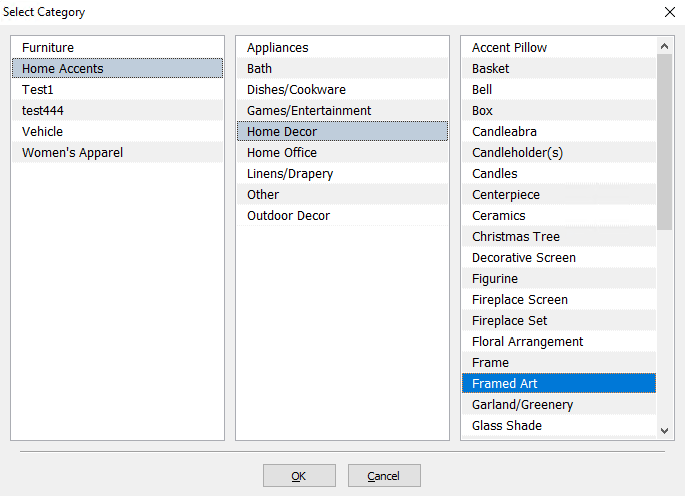
Note: The second and third column may not have any information in if you are on a 1 or 2 level category structure.
5.Optional, Enter the Attributes of the item wished for. Click the Add Attribute button. 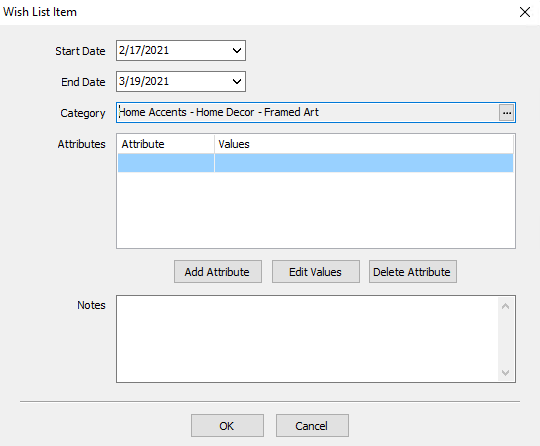
6.Select your Attribute and press OK.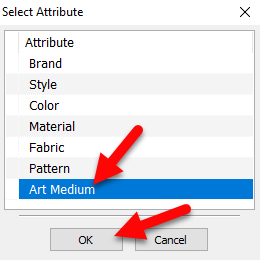
7.Select the values you want for the Attribute and apply them by moving the values to the right hand column. Values can be moved by either double clicking on them, or by pressing the move arrows in the middle. More then one value for the attribute can be selected. In the image below we are selecting Circa 1970’s and Circa 1980’s as the values for Circa.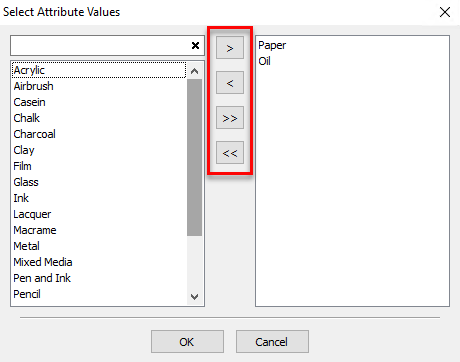
8.Press the OK button when you are done selecting your values.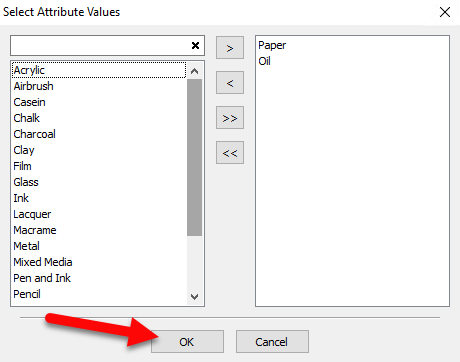
You should see your attributes and any corresponding values associated with them..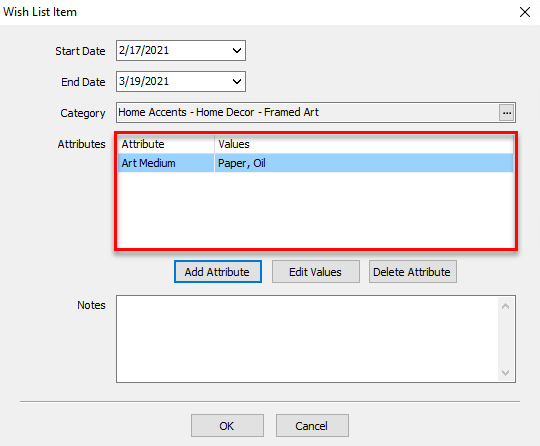
9.Press OK button Again to go to the Wish List home screen.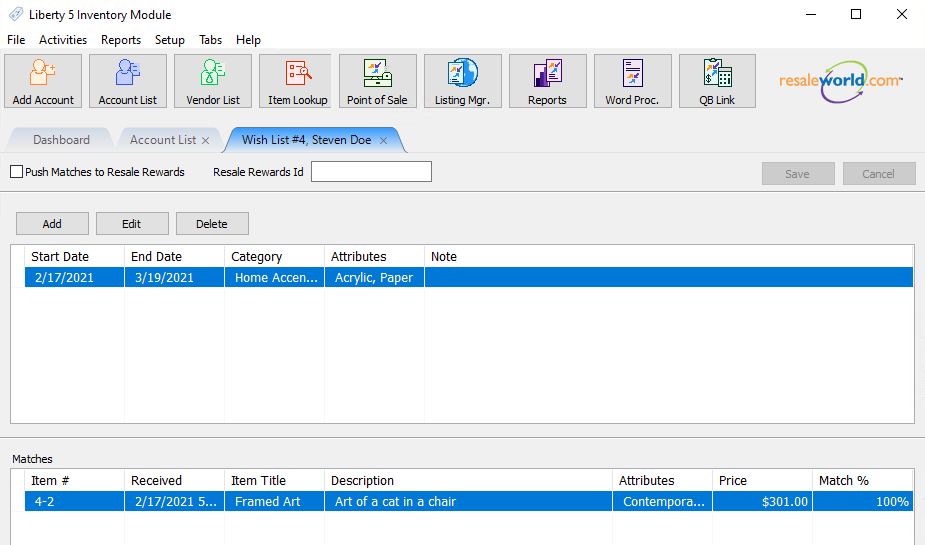
The Wish will appear on the customer's account Wish List home screen.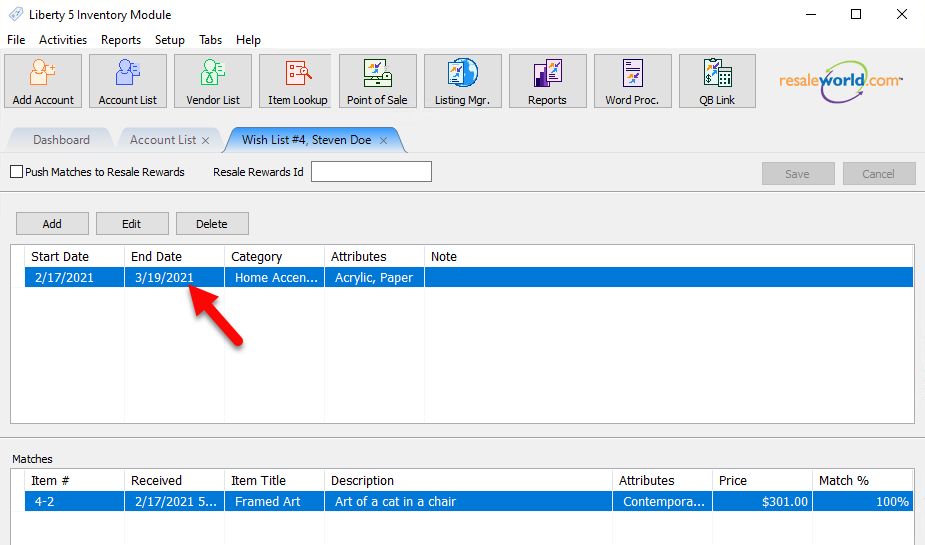
To Edit A Wish List Request
1.Lookup the Account for which the Wish is to be added.
2.Select Task > Wish List or click the Wish List button. The Wish List dialog will display.
3.Highlight the Wish List Request to be edited.
4.Make the necessary changes.
5.Select the Save button.
To Delete A Wish List Request
1.Highlight the Wish List Request in the list of Wish List Requests. (The List is located in the panel below the Add, Edit and Delete buttons.)
2.Select the Delete button.