Liberty Item Entry Application Setup Overview
This will article will cover step by step, setting up the Liberty Item Entry Application using a standard internal (inside of the store) setup.
Here is the video that covers this content:
Setting Up The Liberty Item Entry App On Your iDevice For Use Inside Of Your Store
Downloading the Liberty Item Entry Application From The Apple App Store
1.Open the App Store.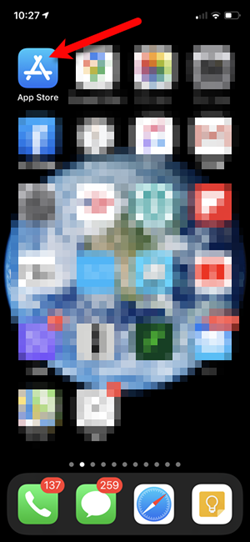
2.Tap the Search button at the bottom right. 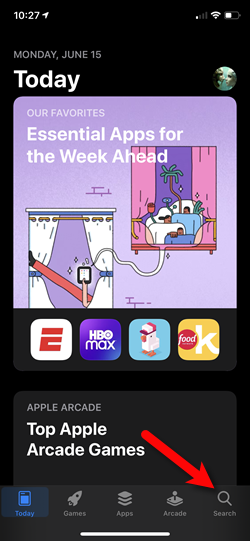
3.Tap on the Search field at the top. 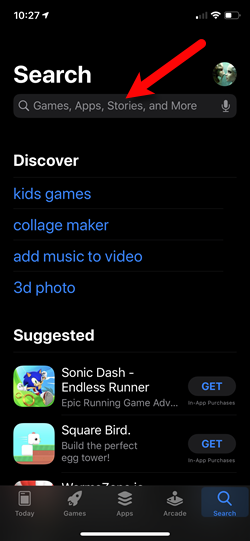
4.Type Resaleworld into the search box and then tap on resaleworld.com, inc. 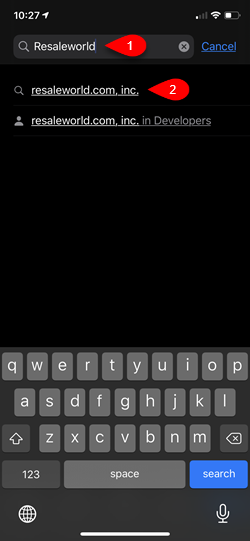
5.Tap the Install option.
You will then be prompted to sign in with your Apple ID and Password.
This is required in order to install the app even though the app costs nothing. 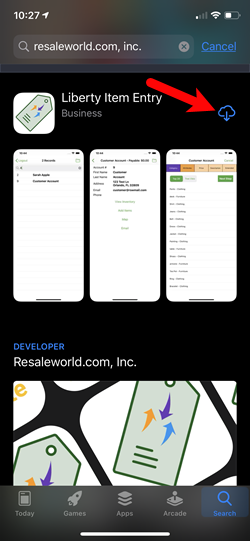
6.Once you see the OPEN button, the installation has been completed.
You can tap your Home button or swipe up from the bottom if you do not have a Home button to get back to your Home screen. 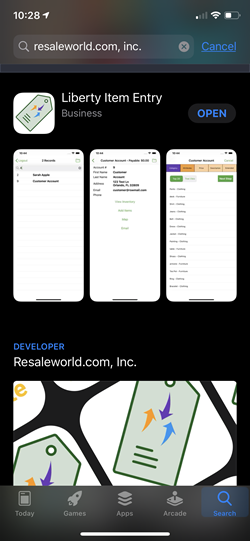
Setting Up The Item Entry Application For Internal Use (Inside The Store)
Creating a Device Key for your iDevice
1.On your Server computer, click the Start Menu and then type Mobile.
Then click the Liberty Mobile Admin app. 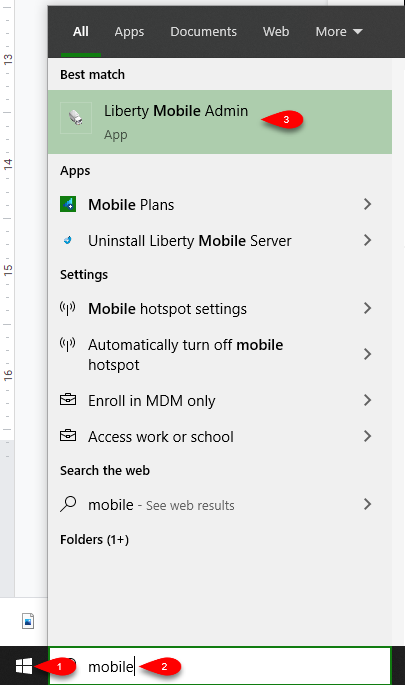
2.Click on Maintain Authorized Devices. 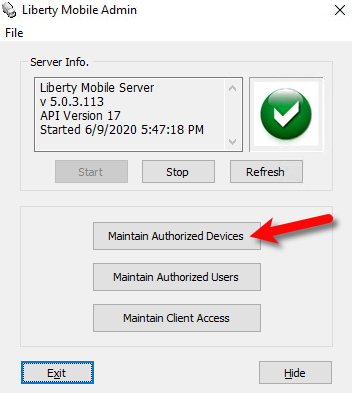
3.Sign in with an admin account. Non-administrators do not have the ability to access this area. 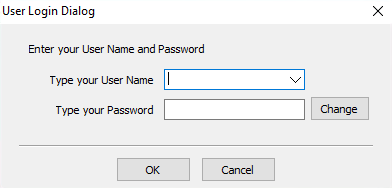
4.Click on Add Device.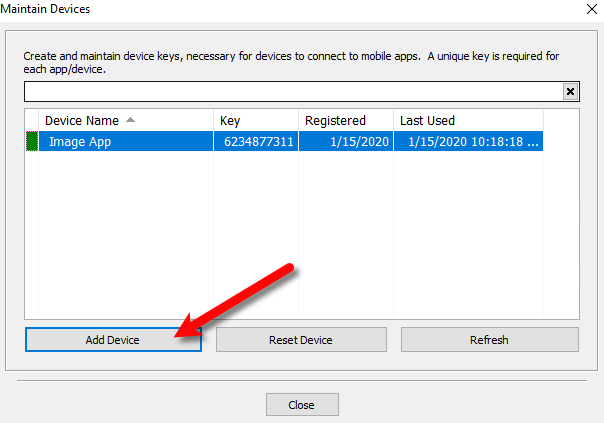
5.Enter what you would like to name the device.
Examples include owner of the device’s name and the model.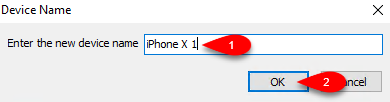
6.Make a note of the device key as you will have to enter it into the iDevice’s key field, then click the OK button. 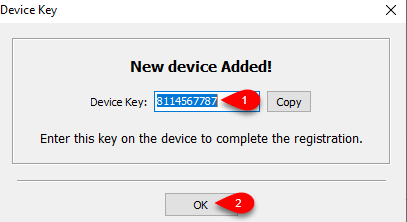
Getting the IP Address Of Your Server
1.Click the Start menu on the server computer and then type Settings, then click the Settings app. 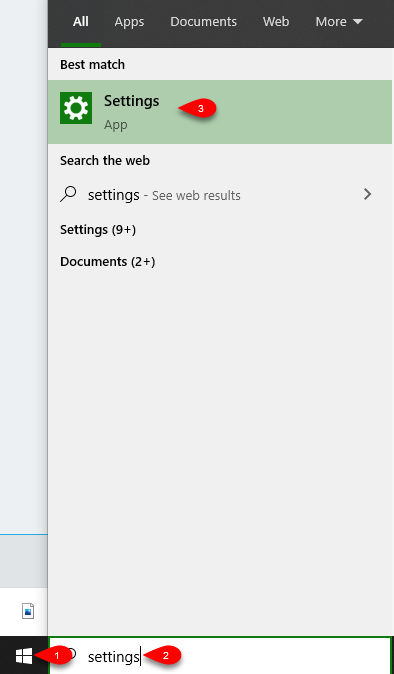
2.Click the Network & Internet settings applet. 
3.Click on View your network properties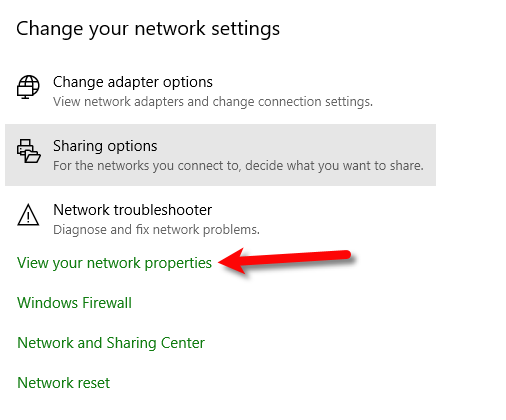
4.Note your Server’s IP address. 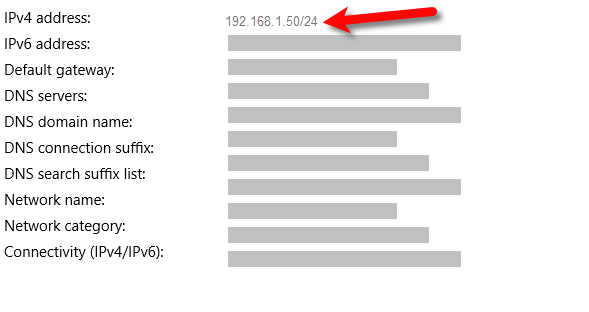
Connecting The Item Entry App To Your Server Computer
1.Now, back on your iDevice, search for the Item Entry app icon and tap on it. 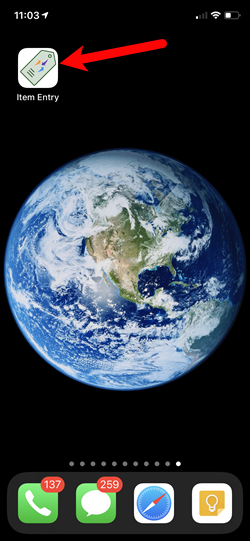
2.Tap the Im Ready! option. 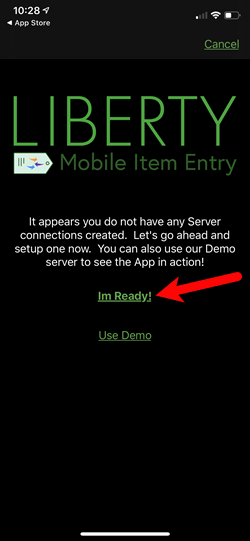
3.You will now need to fill in the following fields:
1.Description:
Internal means that this connection is for use only inside of the store.
2.Server Address:
Your Server’s IP address retrieved from a prior step.
3.Key:
The device key you created from the Liberty Mobile Admin app.
Note: It is normal to not be able to see exactly what you are typing except for the last character in the Key field. This is a secure field.
4.Tap the Submit button. 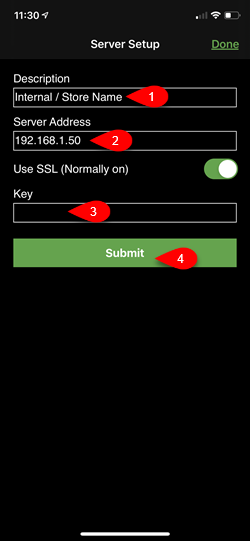
4.Type in the username and password you use to sign in to Liberty, then tap Save Credentials and tap the Submit button.
Note: It is normal to not be able to see exactly what you are typing into the password field. 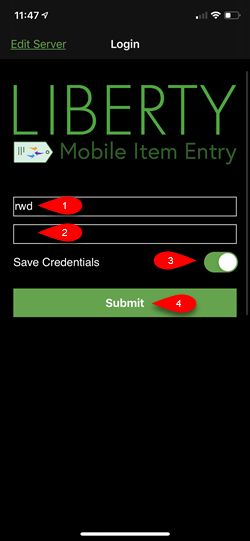
5.If you see the Search screen then you have correctly set-up your Liberty Item Entry app with your Server.
Related Topics
Downloading the Liberty Item Entry Application From The Apple App Store
Creating a Device Key for your iDevice
Getting the IP Address Of Your Server