Creating A New Word Processor Letter
Whenever you create a letter, postcard, contract, memo, etc. in the Word Processor it is referred to as a letter.
Creating A New Letter
1.From within Inventory Module select the Word Processor button.
The Word Processor dialog box will open.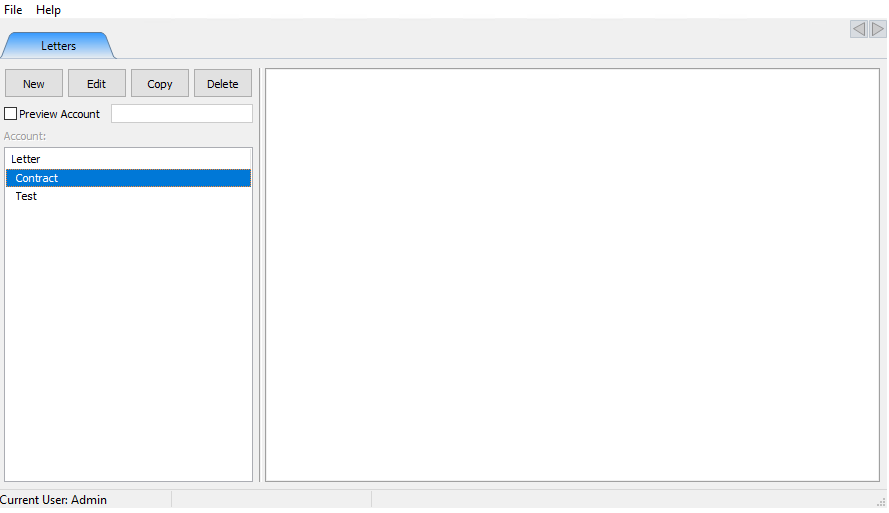
2.Select the New button.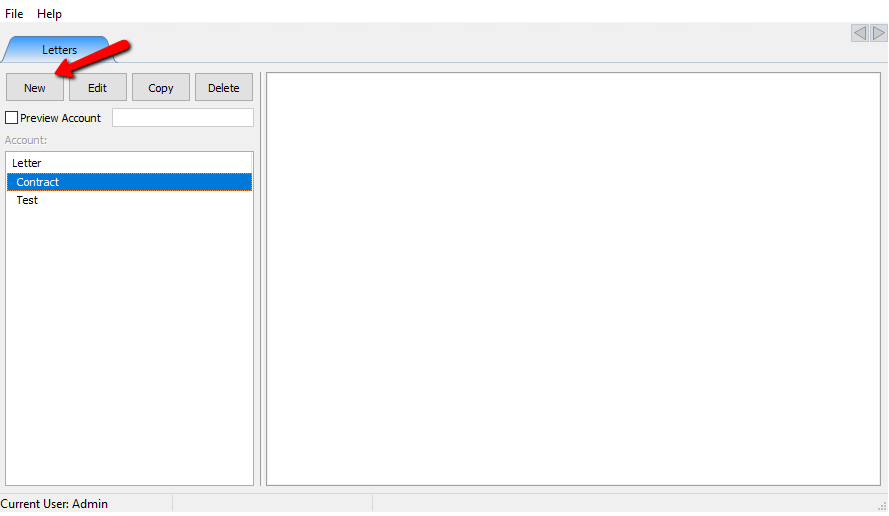
The New Letter Naming box will open.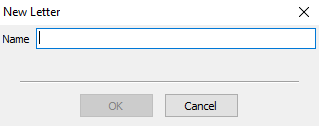
3.Enter in a new name for the letter and select the OK button.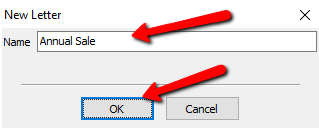
A Blank Letter will open. under a new tab.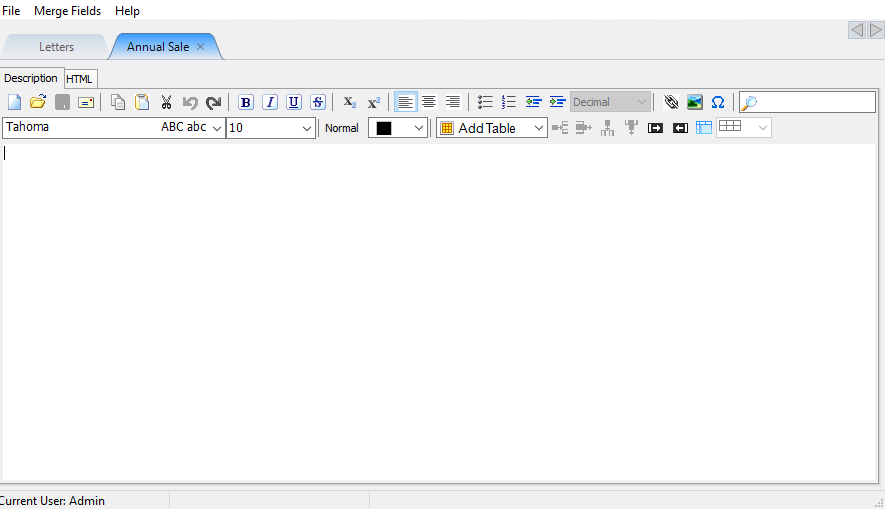
The menu for creating a letter is standardized across most word processors. Highlighting your mouse over one of the icons will give you a popup telling you what that function is. Below is a list of the functions starting with the top row from left to right.
Note: The Description Tab is a WYSIWYG editor. If you are more advanced and would like to add custom coding to you letter, select the HTML Tab for HTML coding.
●New : Selecting the New button will start a new word processor document.
●Open : Select Open to open and continue a saved document.
●Save : Use the Save button to save the existing document you are currently working on.
●Publish : Select the Publish button to Print or Email the current letter. For more information on Publishing a letter, see Publish Types.
●Copy : Copies the selected text to the clipboard. (Text can also be cut and copied from other programs.) Unlike Cut, the original text is NOT deleted.
●Paste : Inserts the contents of the clipboard to where the cursor is currently positioned. Use this after text has either been cut or copied. Text may be cut or copied from another program and pasted into your Liberty letter.
●Cut : Copies the selected text to the clipboard. (Text can also be cut and copied from other programs.) Caution: When you cut text, the original text is deleted from the letter.
●Undo : Reverses the most recent action taken. For instance, if you delete a paragraph, then immediately change your mind, select Undo to put the paragraph.
●Bold : Takes currently selected text and makes it bold. To select text, either a) left click and drag the cursor over the text so that it is highlighted, or b) place the cursor at the beginning of the text you wish to select, press the <Shift> key, then press the <Right Arrow> key. (Try using the other arrow keys, as well as the <Home> and <End> keys and watch what happens. Also try holding down the <Shift> key and the <Ctrl> key at the same time as you press any of the <Arrow> keys.)
●Italics : Takes the currently selected text and italicizes it.
●Underline : Takes the currently selected text and underlines it.
●Strikeout : Takes the currently selected text and puts a line through it implying that the text is wrong and was recently deleted or marked as such.
●Subscript : Subscripts appear at or Below the baseline.
●Superscript : Subscripts appear at or Above the baseline.
●Left Alignment : Aligns all text to the left margin.
●Center Alignment : Centers all text evenly between left and right margins.
●Right Alignment : Aligns all text to the right margin.
●Unordered List : Organizes a list using Bullet Points.
●Ordered List : Organizes a list using Numbers.
●Decrease Indent : Moves the indented text to the left.
●Increase Indent : Moves the indented text to the right.
●Ordered List Drop Box : When selecting Ordered List, you can use this dropbox to change the type of ordered list type between Decimal (Numbered), Upper and Lower Case Lettering, and Upper and Lower Case Roman Numerals.
●Link (Web Link) : Use the Link button to insert a Weblink to an external source on the Web.
●Image Insert : Use the Image Insert to insert an image into the letter.
●Symbols : Selecting the SYmbols menu will give you a list of symbols to select from.
●Search : using the Search field will search the document for what was typed in the search field.
●Font Type Box : Select the font type box and from the dropdown, chose the font type you wish to use.
●Font Size : Select the font size box and choose the size of the font you wish to use.
●Header : Click the header dropdown and select from Normal to Header 5.
●Font Color : Click the font color drop down box and select a color for the font.
●Table Dropdown : Select the table Dropdown to create a table.
●Insert Row : Use the Insert Row button to add a Row to your Table.
●Remove Row : Use the Remove Row button to remove a Row from your table.
●Insert Column : Use the Insert Column button to add a Column to your Table.
●Remove Column : Use the Remove Column button to remove a Column from your table.
●Merge With To The Right : Highlighting a section of the table and selecting this button will merge the current field with the field to the right of it.
●Unmerge With To The Right : Highlighting a merged section of the table and selecting this button will unmerge the current field with the field to the right of it.
●Show/Hide Gridlines : At this point we do not know 100% for sure this is a Hide/Show Gridlines. it is currently broken. Once we have verified what it does, we will need to update this section and remove the red text from the top.
●Table Settings : Select the table settings to change the width, color, size, and text of the table.
5.Type out your letter using and format it using the WYSIWYG menu above. Furthermore you can use Merge Fields to further customize your letter. See Below for more information on Merge Fields and Merging Information Into Documents.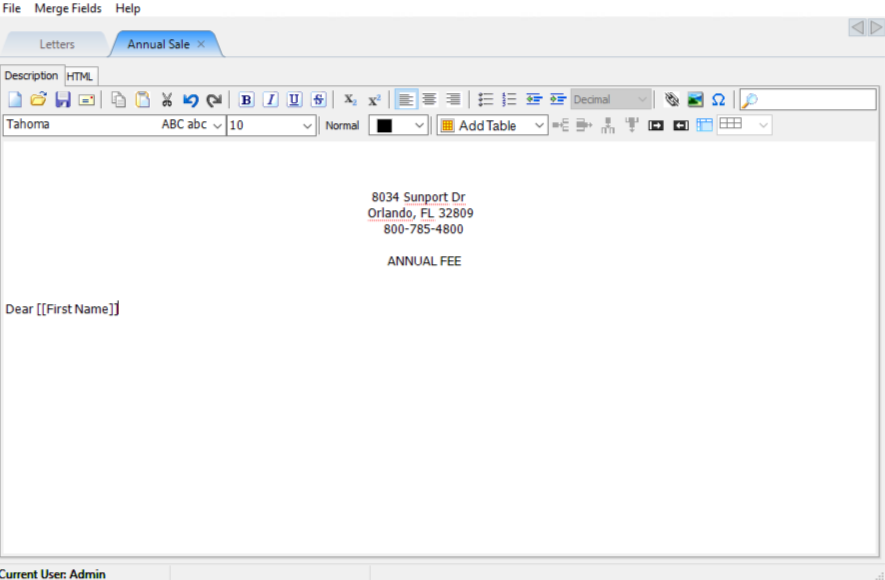
Merge Fields
Use the Merge Fields feature to combine data such as names and addresses from Liberty's client account database with information contained in Word Processor Style letters. For example you could use Merge Fields to send the same letter to multiple people, with each letter personalized with the individual's name and address.
Example: Click on Insert Merge Field and then on First Name. [[First Name]] will appear in the letter.
Note: If you prefer, you may type the Merge field into the text of your file as long as the format is perfect. In other words, typing [[CITY]] would work, but typing CITY without the brackets would not work.
For more information on Merge Fields, See Merging Information Into Documents.
Related Topics
Merging Information Into Documents
Publish Types
Printing Merged Letters from Client Accounts
Printing Documents