Printing Or Emailing A Letter Using The Publishing Wizard
There are Two ways to Publish a Letter.
●From The Main Word Processor Screen: Highlight the letter you wish to Publish. Select File > Publish or Ctrl + P.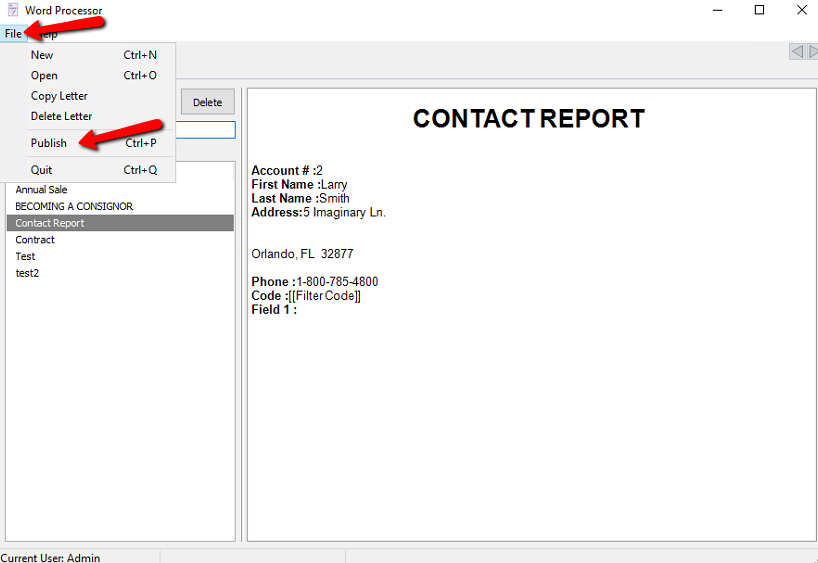
●From The Word Processor WYSIWYG Editor : Select the Publish button.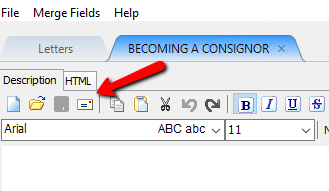
The Publishing Wizard will open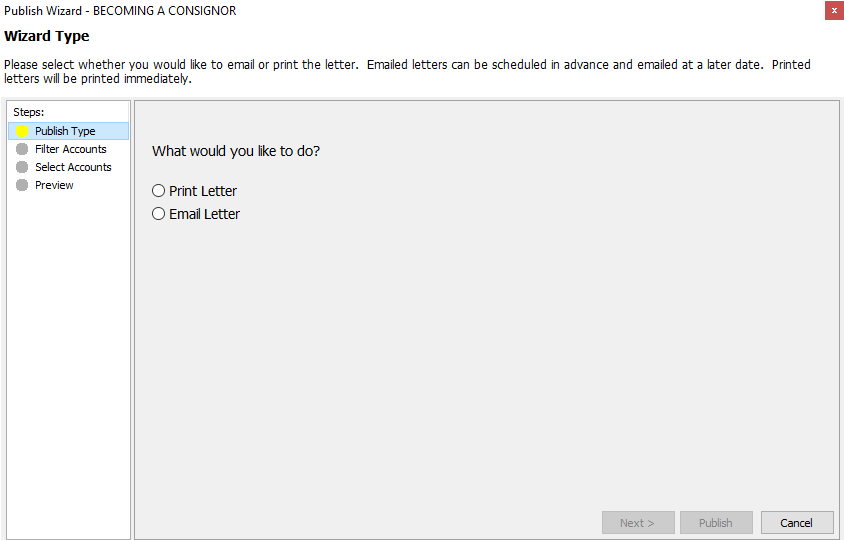
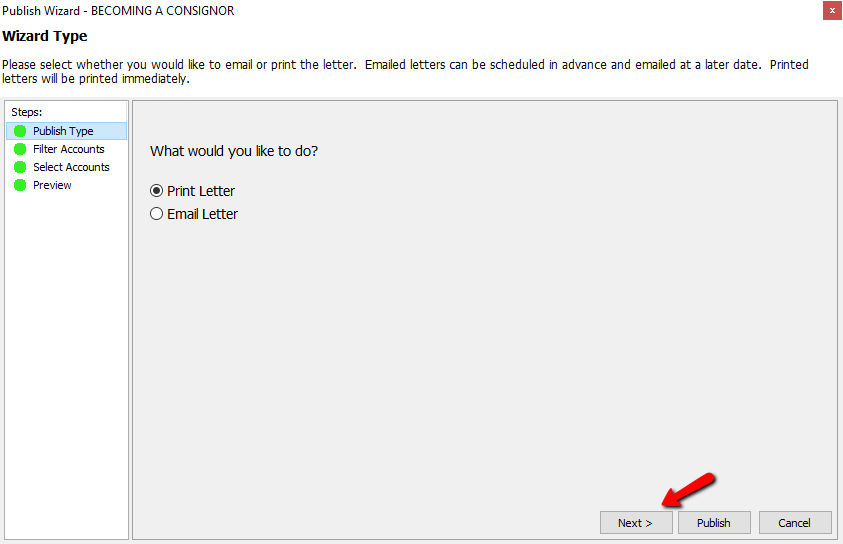
There are two Publishing Types:
●Print Letter
●Email Letter
Both options have the same steps to complete except Print Letter has one more additional step.
1.Select your Publishing Type then press the Next button at the bottom.
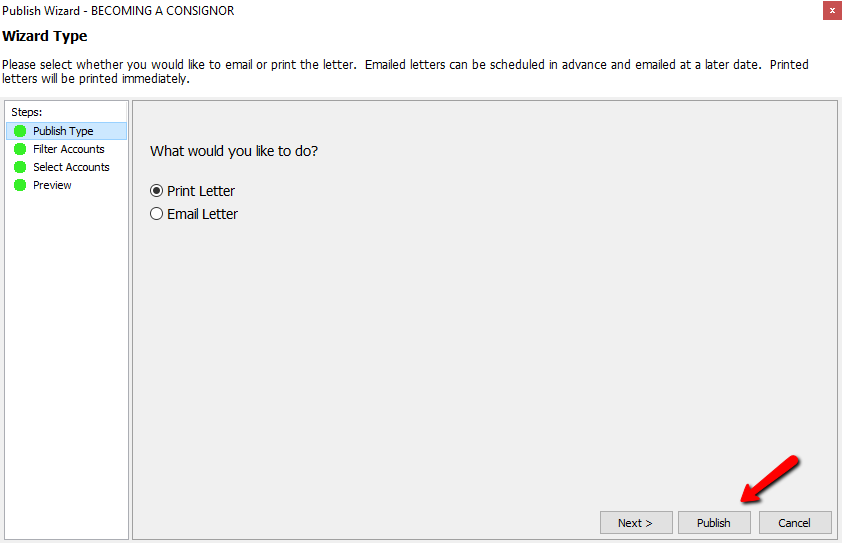
Note: At anytime during the publish process, you can skip all the steps and choose the Publish button.
Selecting filters will open a list of filters to choose from. Put a checkbox in the filters you wish to use and select the OK button.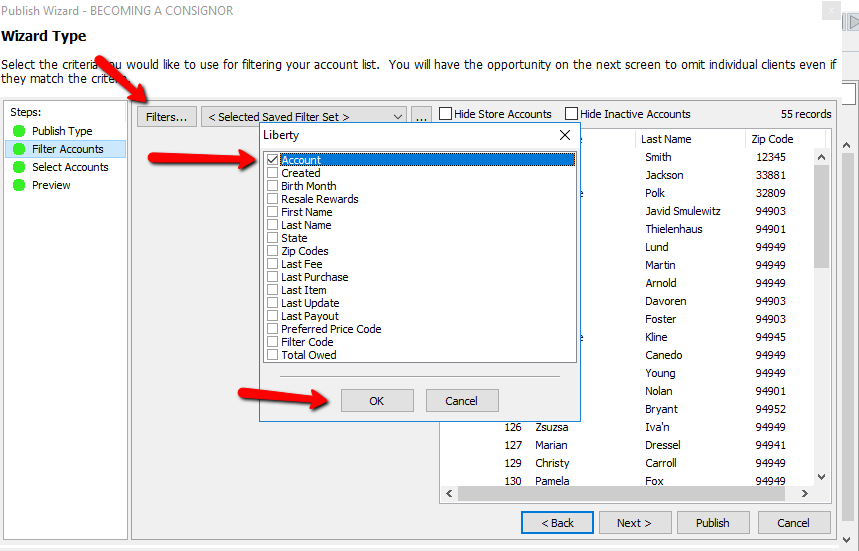
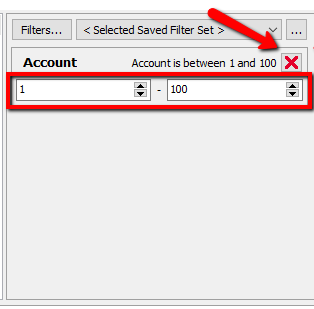
This will add the filter. Each filter can be modified to fit the criteria you are looking for. If you wish to delete the filter, click the red X in the upper right corner.
If you wish to save this list, you can click on the Browse button.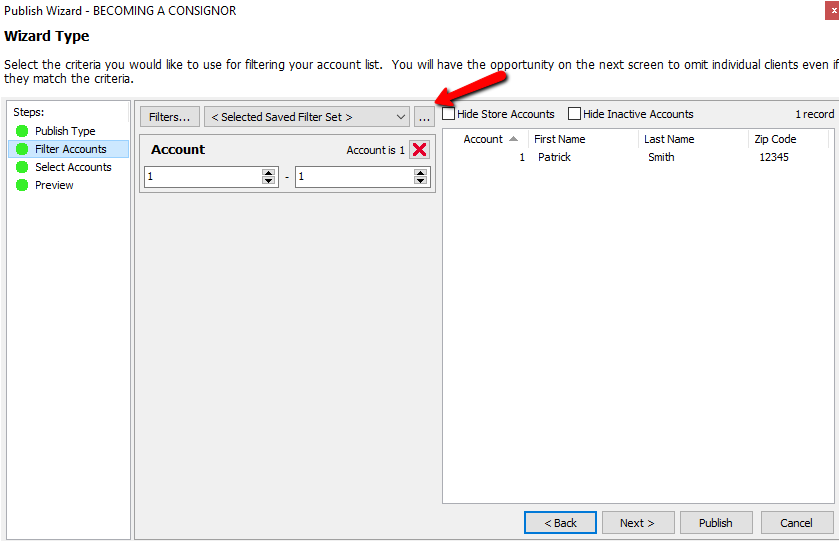
This will open the Manage Saved Export Criteria dialog box. 
Select the Save Current List button to save the list you just created.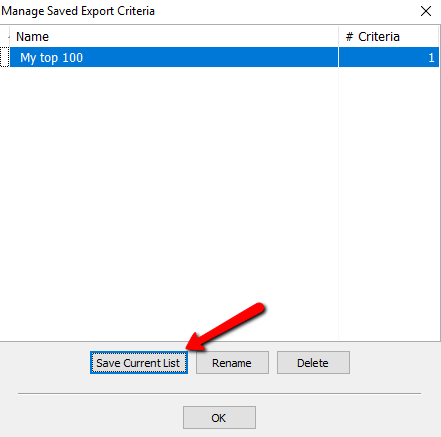
You will be prompted to name the current list.Enter a Name and select the OK button.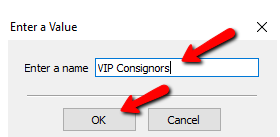
You will see your created list in the Manage Saved Export Criteria dialog box. You can highlight and select the Rename button to change the name of you can highlight a list and select the Delete button to remove it. Select the OK button when done.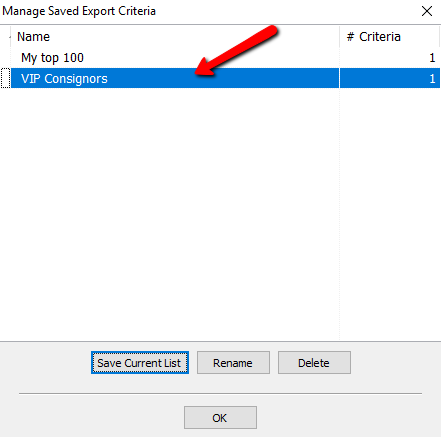
Once your list is saved, you can click the Drop Down selection to open that list.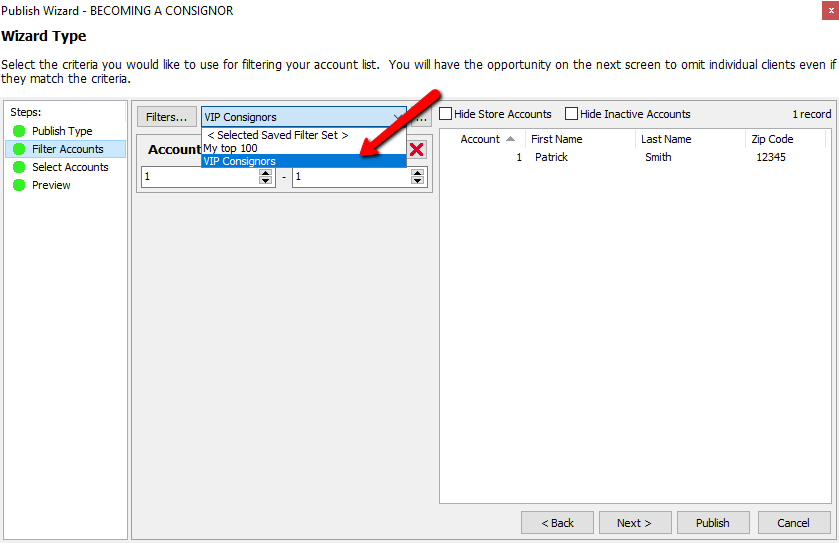
Checking off either of these buttons will hide the appropriate accounts.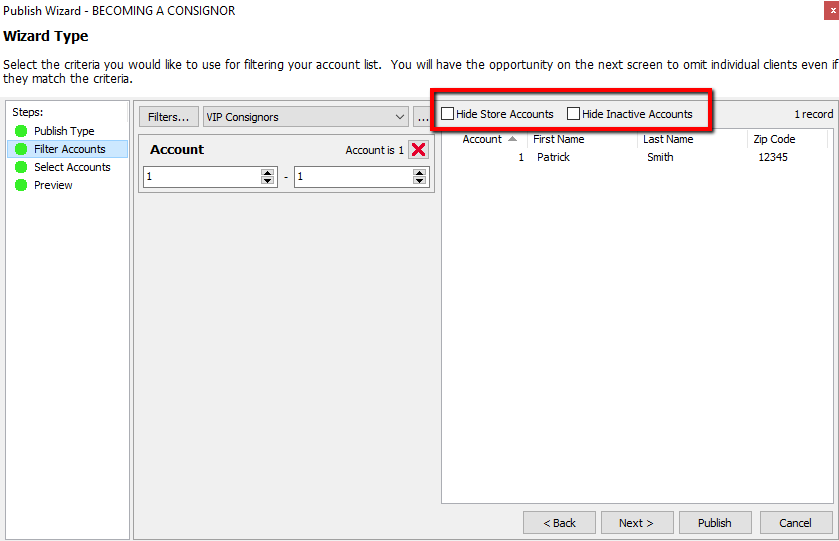
2.Select the Next button to continue to the Select Accounts Screen.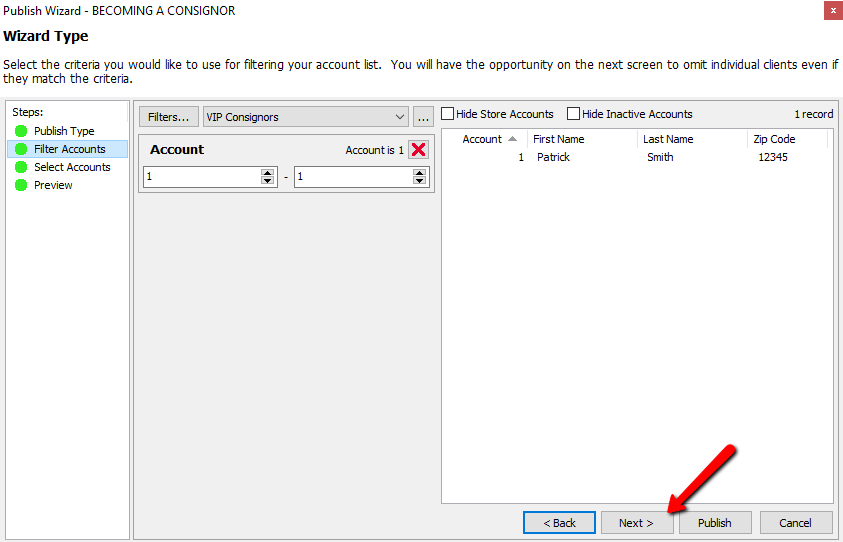
From this screen we can manually add and remove accounts. Highlight the account on either side and press the Left or Right Arrow button to move them left or right. Selecting the Triple Arrow buttons will move All the accounts left or right. Select the Next button or click the Next step in the list to continue. Select the Back button or Previous step if you feel you made a mistake.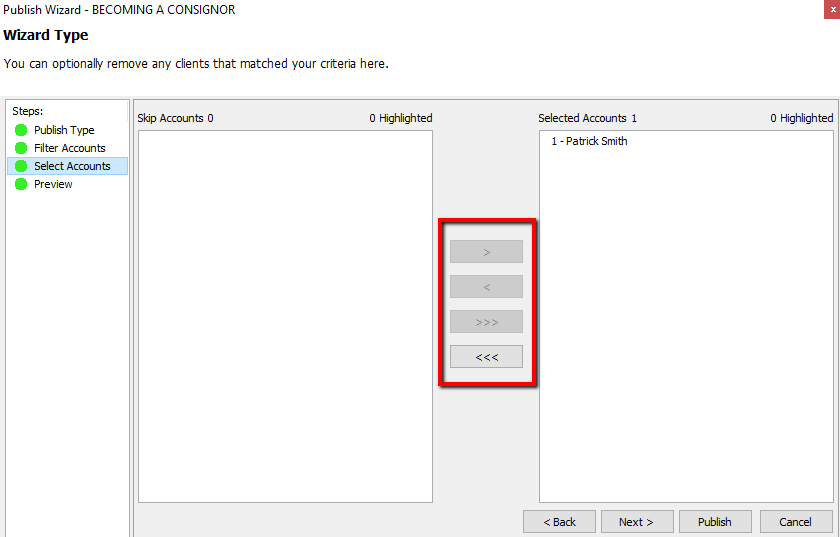
3.Once you have selected your accounts, select the Next button.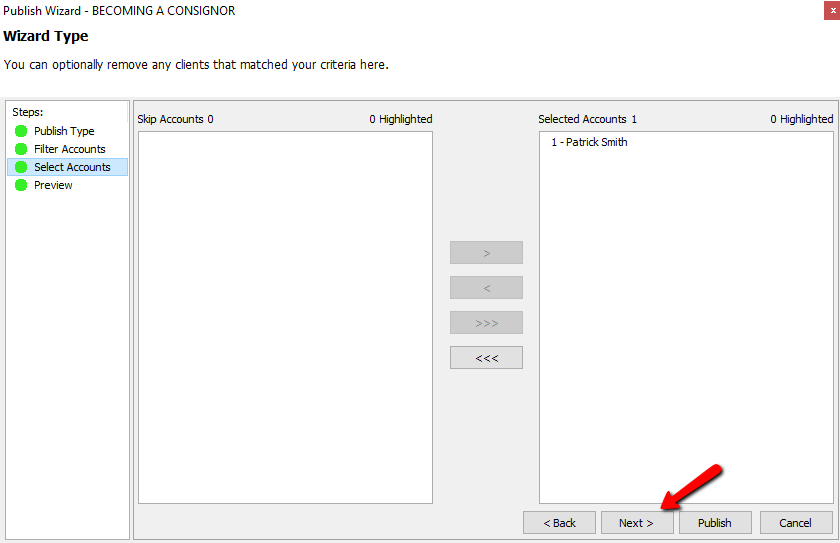
From the Preview Screen you can check off Preview Account.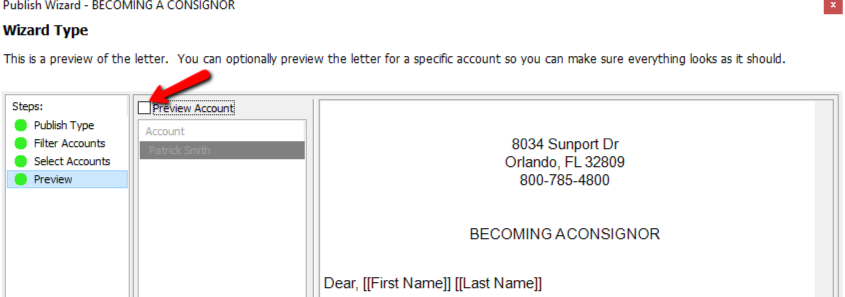
You will be able to see the Merge Field information and see what the letter will look like when sent.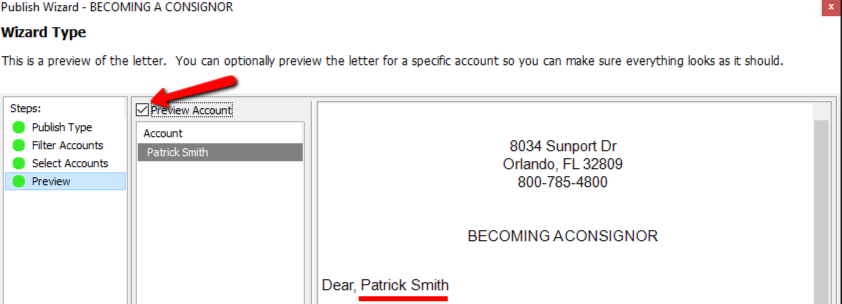
4.Select the Publish button when done.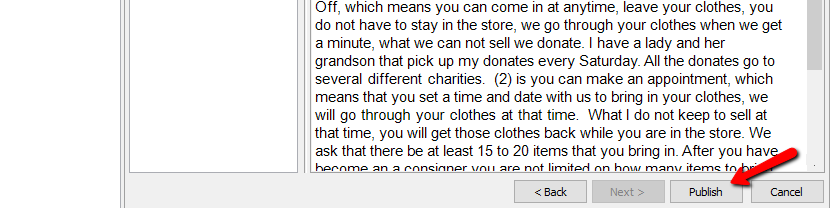
If you are Printing the Letter, then you will be prompted with Printer settings. make the necessary selections and select the OK button.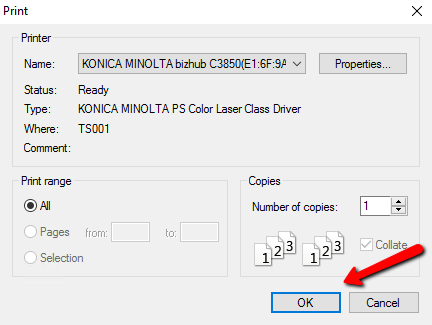
If you are emailing the letter, you will get a list of options to choose for the emailing schedule.
●Subject : Enter the Subject of the email.
●Begin Sending On : Enter in the date and the time to start the emails.
●Total Emails Generated : This will tell you how many emails are to be sent out.
●Queue All At The Same Time : This will send all the emails at one time to your email provider.
●Distribute Over 1 Day : This will send the emails over the course of 24 hours.
●Distribute Over 3 Days : This will send the emails over the course of 72 hours.
●Distribute Over 1 Week : This will send the emails over the course of 7 Days.
Select the OK button when done.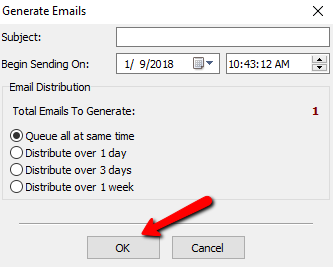
You will get a screen showing you emails are being generated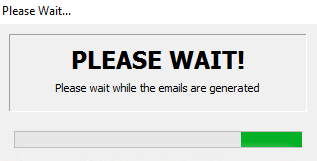
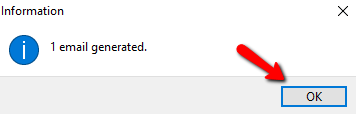
When done a confirmation box will show how many emails were generated. Click the OK button when done.