Liberty API Setup
If you would like to view all setup information on one page, please visit the following article:
Consignor Center Store Setup Overview
To get started with Consignor Center, we have to setup Liberty to link with https://consignorcenter.com
1.Open the Liberty REACT
2.Click on Setup then Liberty API Setup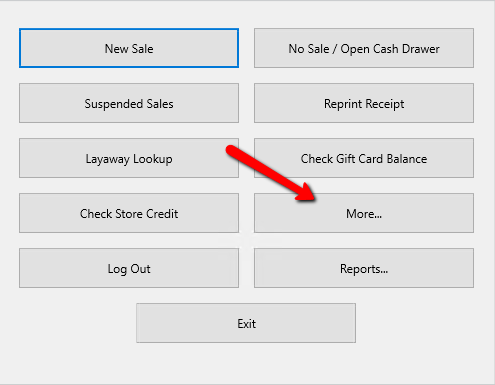
3.Click the Activate Consignor Center button.
This will send over the key along with linking Consignor Center to the customer’s database. 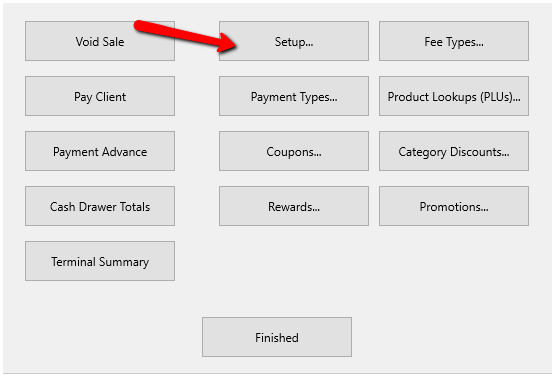
4.Now we can setup each location separately if we want to. 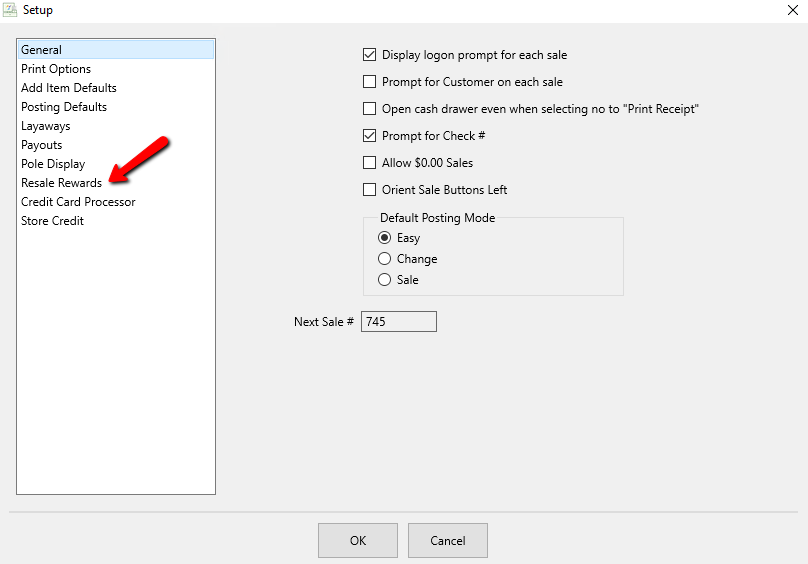
1.You can select the location you want to start with eventually working through each one.
2.Show this location in Consignor Center Search indicates whether you want the location to appear as a separate store within the same group of stores, available to a customer.
Note: Even though each store will be shown on consignor center, they will all appear together. Selecting any store connects the consignor to the same database since it is a single Liberty Cloud location in most cases.
3.Display Name indicates the full name you want the location to show up as in Consignor Center. If your store has a specific name your customers recognize the location as, you can type that into this field.
4.Address indicates the address shown for the selected location. This is required and must be properly formatted with your exact store’s location address or else the map showing your store’s location will not function properly.
5.Phone # indicates the phone number shown for the selected location.
5.Loading store logos can be easily done through this area as well.
1.Select if you want to Use Location Specific Logos which will allow you to load a separate logo per store.
You can also choose to Use the Same Logo across multiple stores.
2.Click the Load button to locate and add the logo.
6.Use the left File Explorer area to find where your logo image is for the store you selected or if you opted for a single logo across all stores, this will be your logo.
Click the Open button. 
7.The Logo Image should now appear in the image viewer to indicate this is now loaded.
Now we can click on the Dashboard menu option to work on the next area’s settings. 
Now, we can take a look at what the Consignor Center Dashboard will look like as a consignor:
Consignor Center Dashboard View
