Using the Item Import Utility
The Item Import utility is used to import items laid out in a CSV file format. This is great for people who have a CSV spreadsheet of items they want to import into Liberty without having to hand enter each individual line item. You can also use this to import items from another software we do not currently have a conversion utility for.
How to Import Items
1.Click Activities, Inventory and then Import Items.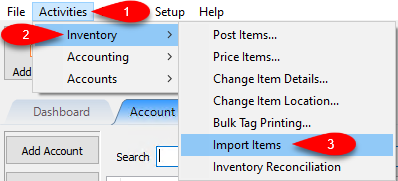
2.The Item Import Utility Dialog box will open. 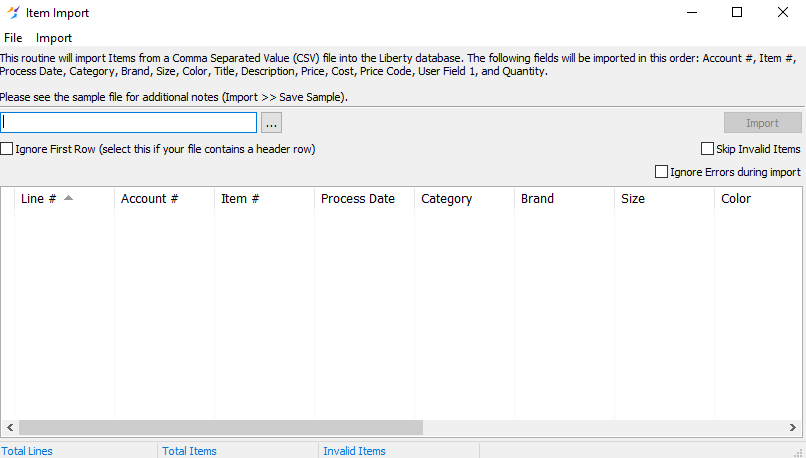
3.You can click on Import and then Save Sample to get an example CSV file with some instructions in the header explaining how the CSV file should be formatted. 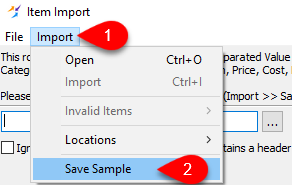
4.You will be asked to specify a location to save the Sample CSV File.
For easy access, select the desktop and name the CSV file appropriately and then click the Save button. 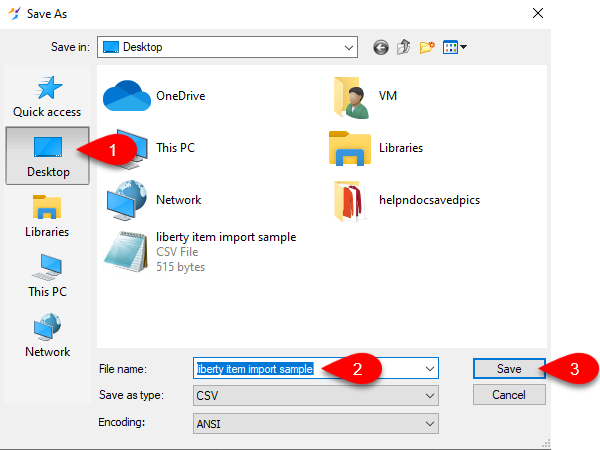
5.Double-Click on the created CSV file. You will need to install program like Microsoft Office or Open Office to easily edit the CSV file if you do not have a program already.
6.After reading all the header information, you can remove all the grey highlighted text from the Sample CSV. 
7.You should be left with the following information on Row 1:
●Account #: Each Line/Row must contain the Account Number of the account you are placing the inventory in. This must be filled in or else the inventory will not import.
●Item #: This is the Item Number you are assigning to the item. If this is left blank, the import will automatically fill in the Item Number with the next one that is available on the account.
●Process Date: This is the date you wish to start the item’s consignment period at. You can use this to control when markdowns start and when the item actually is set to appear on the store floor for sale.
●Category: This is defined as Category Level 1;Category Level 2; Category Level 3 or Department;Section;Type of Item. The semicolon separates the different levels of category. An example would be Woman’s Apparel;Tops;Shirt.
●Brand: This is the brand of the item. Examples include Nike, Lucky, Adidas,Gucci and Movado.
●Size: The size of the item. Examples include S,M,L,XL, XXL, Petite,1,2 and 3.
●Color: The color of the item. Examples include blue,green,gold,red,orange and black.
●Title: The title of the item. This appears in the inventory module to help identify the item and also will appear as the title of the item on a web listing.
●Description: This helps describe the item in a way that the attributes cannot. Examples include if the item has a design featured on it or if an additional item like a belt is included.
●Price: This is the price that the item is being sold for.
●Cost: This is what the item cost the store to receive.
●Price Code: This is a letter code that is attached to the item that determines what the split will be when the item sells, among other software controlled defaults.
●User Field 1: A physical barcode or item number already associated with the item can be inputted into this field to allow the item to be rung up in the POS. Simply press the U key before ringing up the custom barcode/item number.
●Quantity: Specifies how many of the same item the store has to sell.
Example CSV Sheet:
Note: Any field that has a "/" inputted as text must be contained within quotes or else it will not be imported. Example: Blue/Green needs to be inserted into the color field as “Blue/Green”.


8.Once you have inputted all the inventory you wish you import, save the CSV file and then click the Browse (...) button on the Item Import window to select the file for import. 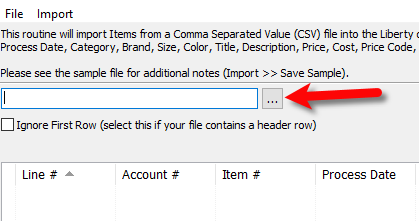
9.If you saved the file to your desktop, you can navigate to the desktop and then select the CSV file and then click Open. 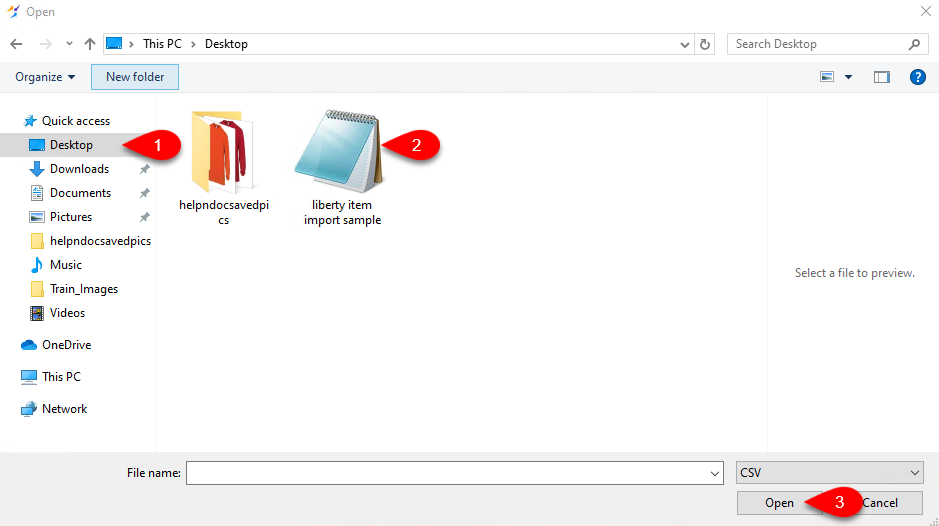
10.You will see that the Item Import program shows you how the items will be imported. If your CSV file contains a header row, you will see that Line 1 will have a red indicator next to it. Click the Ignore First Row box so that the software ignores the header row and removes it from the display. 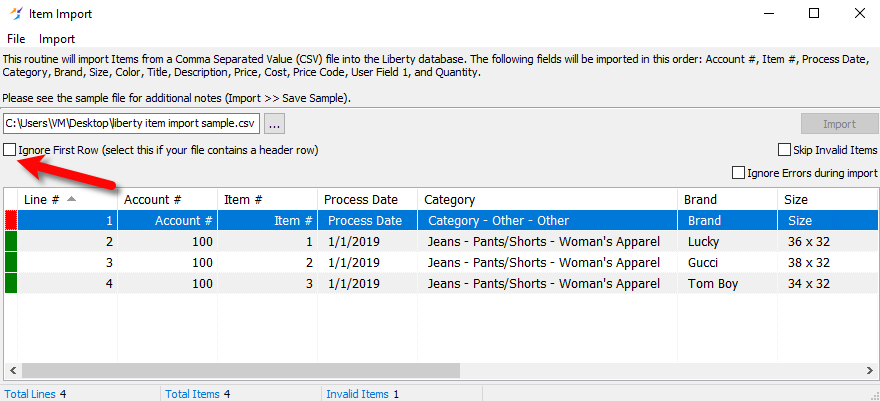
11.Skip Invalid Items allows you to import items even if there are problematic entries. If there is a problem with one of your items and you do not have this box checked, the Import button will be greyed out until you correct the problem.
Ignore Errors during import will allow your import to continue, even if an error is encountered. The errors will be available in a log file if this option is checkmarked. If this option is not checked, the import process will stop if an error is encountered. 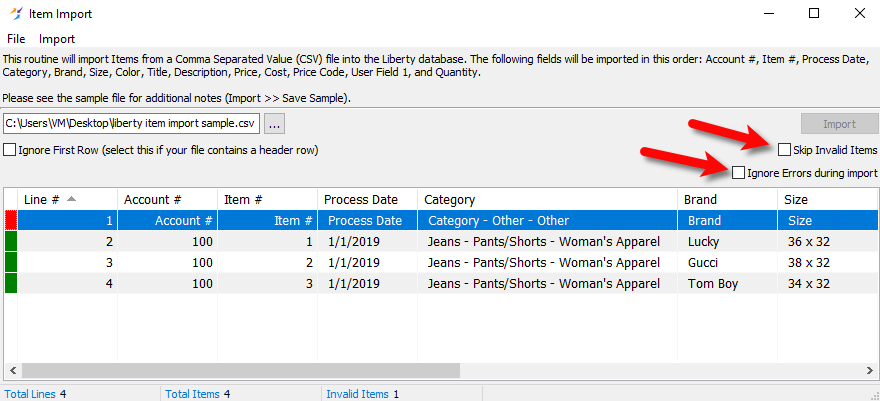
12.Click the Import button when you are ready to import your items. 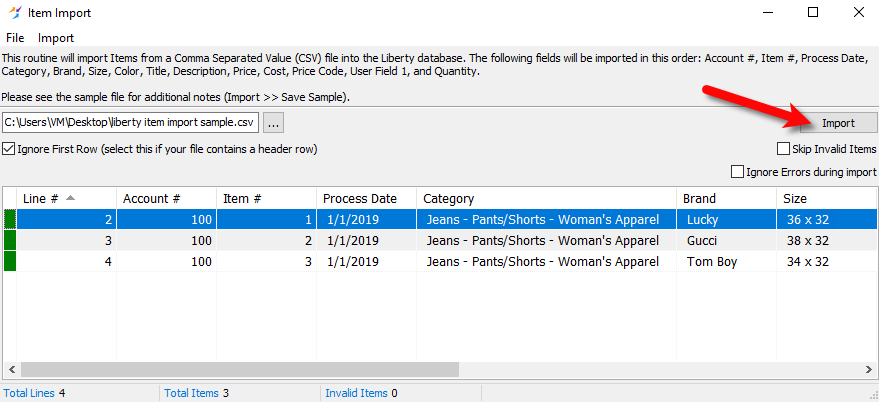
13.An information dialog box will pop up when the Item Import is completed. Click the OK button. 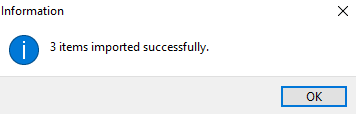
14.Imported items will now appear in their appropriate accounts as specified in the CSV file. 
Related Topics
Creating New and Maintaining Existing Accounts
Changing (Editing) Account Information