Select Categories When Entering Items In The Item Entry Window
When entering items there are two methods to choose a category in item entry:
1.Type the Category into the Category Field.
2.Select a Category from the Select Category dialog by hitting F2 key.
The Select Categories dialog box will open.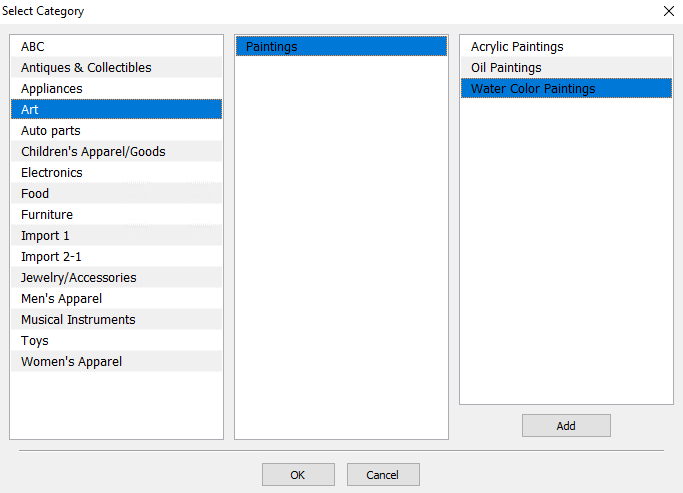
Navigating The Select Categories dialog box
Before navigating the Select Categories dialog box, it is important to know what you are looking at.
●Left Column : List all Category Level 1 Category items.
●Center Column : List all Category Level 2 Category items.
●Right Column : List all Category Level 3 Category items.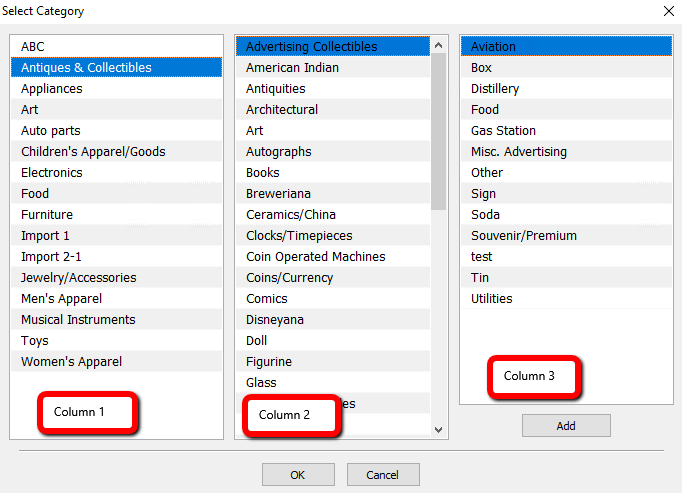
There are two ways to navigate the Select Categories dialog box.
a.Type The Name Of The Category : By default when you open the category editor, the default column your cursor will be in is the 1st column.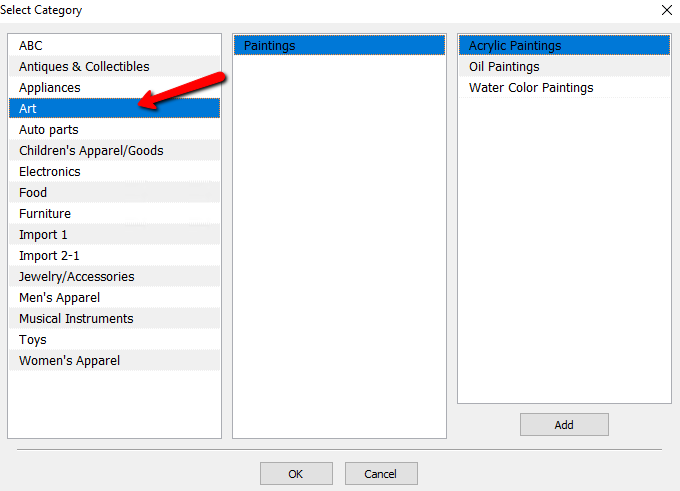
Without touching the mouse, I can navigate to another category by typing the name of that category.
Example: Typing “Men” automatically highlights the Men’s Apparel category.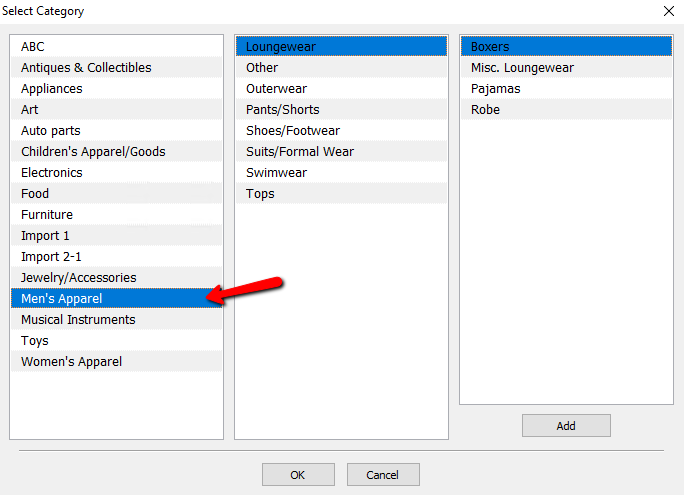
3.To move up and down a column, use the Up Arrow, Down Arrow, <Page Up> and/or <Page Down> keys.
Example: After going to the Men’s Apparel category in the above example, I press the down arrow on my keyboard to get to Women’s Apparel.

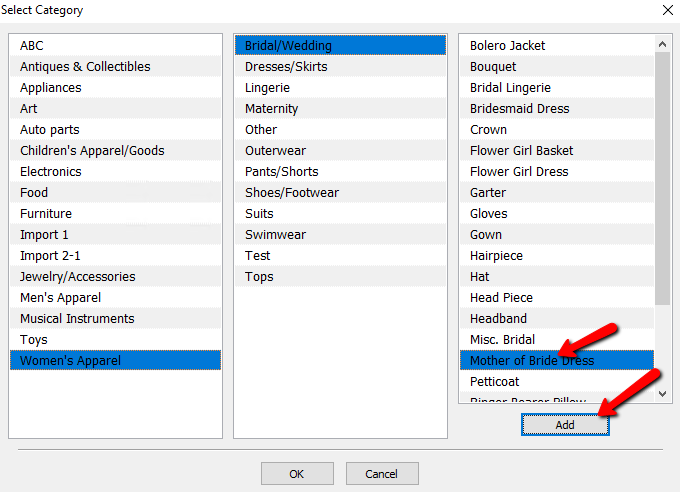
4.To move from one column to another press the Tab Key on the Keyboard.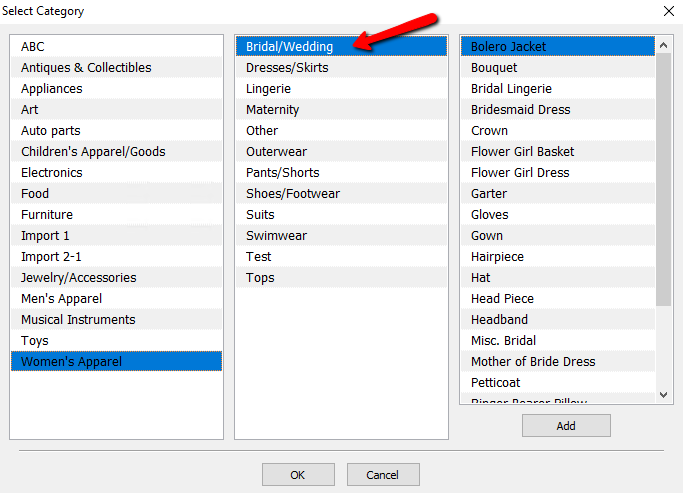
5.To navigate to the Add button, press the Tab Key while the focus of categories is in the Level 3 Column.