Add An Account
Here is the video that covers this content:
You must create accounts for clients or businesses that provide goods for sale in your store. Once you have created a client account, you can add inventory received from that client from either Liberty Inventory or Liberty Point of Sale. You can also create accounts for customers. Doing so will allow you to market more effectively to your clientele by tracking customer purchases, develop mailing lists, etc.
To Create An Account
1.To create an Account in Liberty:
a.Click on Add Account button at the top left of the screen (located just under the Main Menu).
b.Select File > Add Account.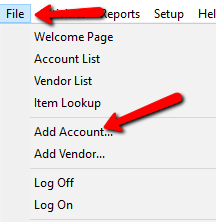
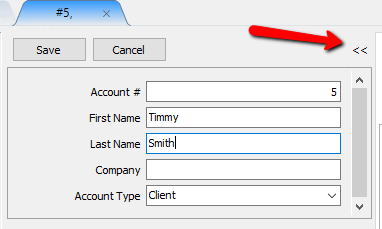
2.The Add Account dialog will display.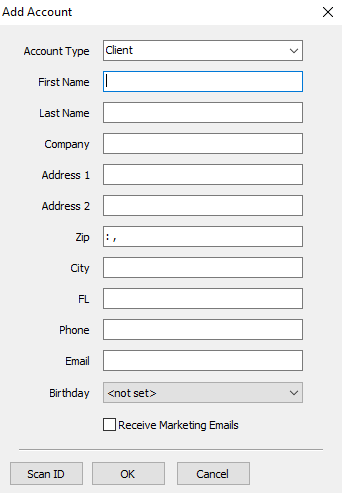
3.Select the type of account from the Account Type drop-down box. There are two types of accounts from which to choose:
a.Client: For consignors and customers.
b.Store Account: Use to create accounts for merchandise purchased by the store, such as from liquidators, garage sales, owners’ and/or employees’ personal belongings, etc.
Note: Once you have added items to the account, the Client Type cannot be changed.
4.Manually fill in the remaining fields for this account (First Name, Last Name, Address, etc) or Select the Scan ID Button and scan the customers ID Card or driver's license to populate the fields in Liberty using a 2D scanner.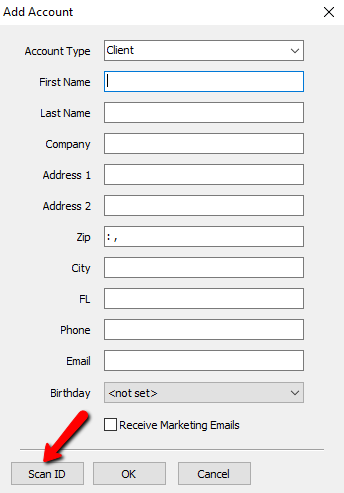
Note: If the zip code you enter is new, the New Zip Entry dialog box opens. Once you enter the zip code, city and state information, Liberty remembers this information and will fill in the City and State field for you automatically each time you add a new account. Zip Code Maintenance is performed by select Setup > Maintain > Zip Codes.
Select the Receive Marketing Emails Check Box if the customer would like to contacted by marketing emails generated through Liberty.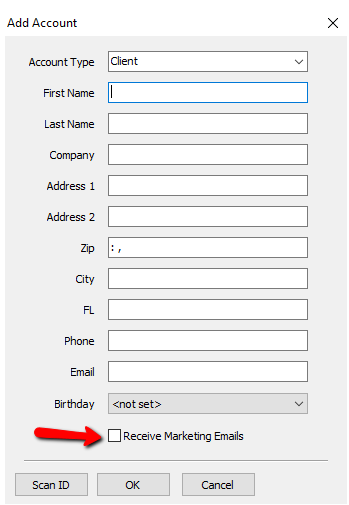
5.Once you click the OK button, the new account created opens on a new tab.
Notice that the account number is automatically assigned. The number used is based on the contents of the Next New Account # field. You may change the account number at this point if you wish.
Note: Once the account opens in a new tab, if you don’t see the column where it lists all of the account information, you must click on the icon “<<” to be able to see the account details.
6.Select the Form of Acquisition from the drop-down provided. There are three choices:
a.Consign: Choose when items are consigned (the client is paid only if and when an item sells).
b.Purchase: Choose when the client is paid immediately for items.
c.Store Owned: Choose when items are owned by the store, but the purchase of the items was handled outside of Liberty, and thus there should be no payable balance for these items.
7.Add more information at your discretion about the account, such as additional addresses and phone numbers, etc.
8.When finished, click the Save button.
Related Topics
Edit Account Information
Enter Additional Addresses, Phone Numbers, and E-Mail Addresses