Receive Retail Inventory
When a Retail Item is first added, its Quantity on Hand is zero (0). To increase the quantity to 1 or more, use the Receive Inventory routine.
To Set The Inventory Level Immediately After Adding The Item
1.Immediately after saving the item, select the Receive Inv. button on the left.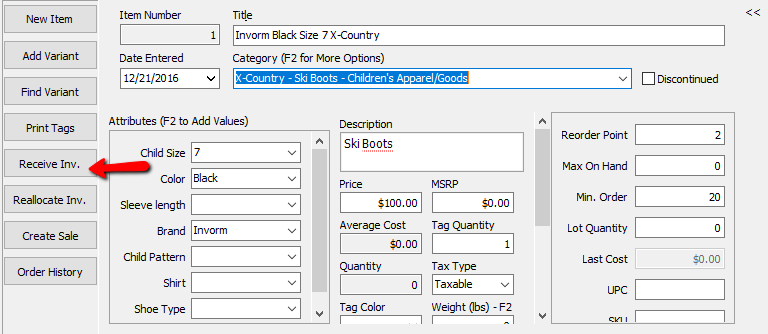
The Receive Order dialog box will open.
2.Fill in the fields of the Receive Order dialog box
●P.O. Number : A P.O. Number uniquely identifies a purchase order and is generally defined by the buyer.
●Location : Enter in the Store Location these items will be located.
●Quantity Received : The number of items received in the order.
●Unit Cost : Unit Cost is what it cost per individual piece.
Note: When entering Unit Cost do not enter in the total for the items. Enter the cost of what it would be to order 1 of that item. Example: If you purchased 10 bottles of water for a total of $10.00, the the Unit Cost would be $1. (10.00/10 = $1.00)
●Date Received : Date in which the items were delivered.
●Date ordered : Date in which the original order was placed.
●Update Tag Count To (Checkbox) : If you need to change the amount of tags to be printed, select this box and add the quantity in the Numeric Field.
3.Press the OK button when done.
To Receive Subsequent Retail Inventory
1. Lookup the Retail Account you wish to add inventory to. Click the Vendor List button at the top of Liberty.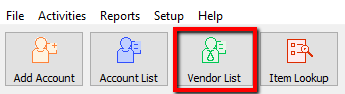
2.The Vendor List tab will show. Type the account information in the search field. Double click the account you want to open.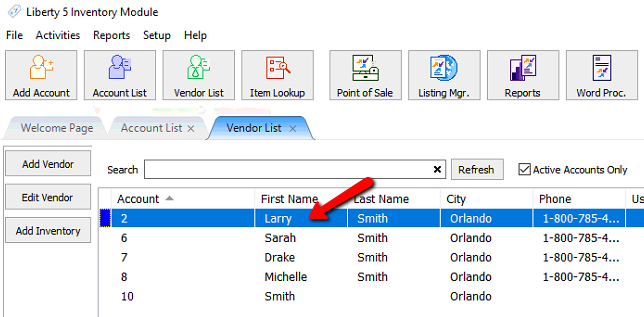
3.Once the account is open, there are two ways you can initiate the receiving of inventory process.
a.Highlight the item you need to receive inventory for and Select the Receive Inv. button on the left.
b.Find and double click the item you want to edit.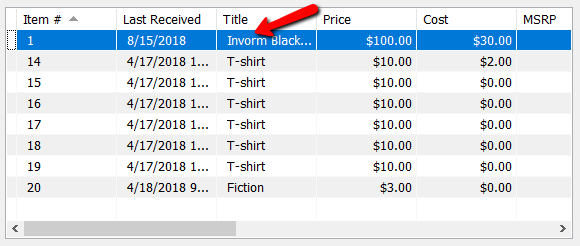
Once the item is opened, select the Receive Inv. button on the left.
The Receive Order dialog box will open.
c.Fill in the fields of the Receive Order dialog box
●P.O. Number : A P.O. Number uniquely identifies a purchase order and is generally defined by the buyer.
●Location : Enter in the Store Location these items will be located.
●Quantity Received : The number of items received in the order.
●Unit Cost : Unit Cost is what it cost per individual piece.
Note: When entering Unit Cost do not enter in the total for the items. Enter the cost of what it would be to order 1 of that item. Example: If you purchased 10 bottles of water for a total of $10.00, the the Unit Cost would be $1. (10.00/10 = $1.00)
●Date Received : Date in which the items were delivered.
●Date ordered : Date in which the original order was placed.
●Update Tag Count To (Checkbox) : If you need to change the amount of tags to be printed, select this box and add the quantity in the Numeric Field.
4.Press the OK button when done.
Related Topics
Definition of Consigned, Purchased, Trade, Store Inventory, and Retail Items
How To Use Find Variant To Add Retail Variant Items
Creating a Shopify/ ShopRW Listing With One Variant Type
Creating a Shopify / ShopRW Listing With Two Variant Types