How To Add Retail Variants
Retail variants are unique to retail items. They allow you to take items that are of the same brand and associate different attributes, mainly size and color.
You will need to create or select the account you wish to work with first.
1.Click on the Vendor List, then Search for the account you wish to open.
Once you have found the account you want to open, double click on it. 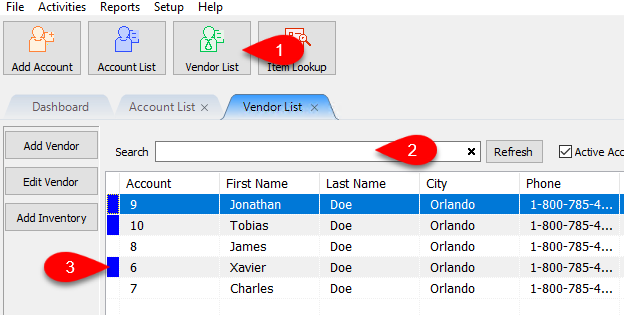
2.You will need to Add Inventory or Edit and existing item.
You can double click on one of the under the inventory area of the account to edit an item. 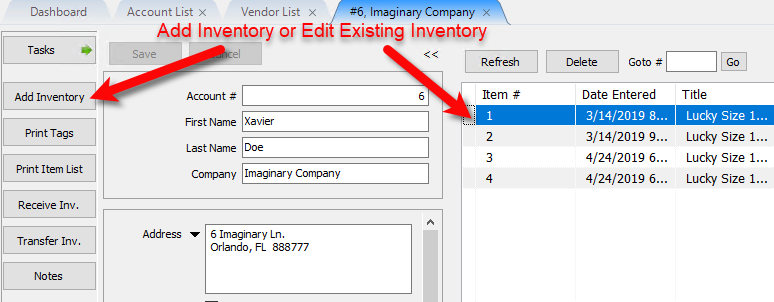
3.If you are entering a new retail vendor item, please visit the following articles for information on how to create new retail vendor inventory:
Adding Retail Vendor Inventory
Receiving Retail Vendor Inventory
Note: Make sure that the Retail Item being added is one that does not have the web item box checked.
4.After you have added a new retail inventory item and received inventory or edited an existing retail inventory item, click the Add Variant button. 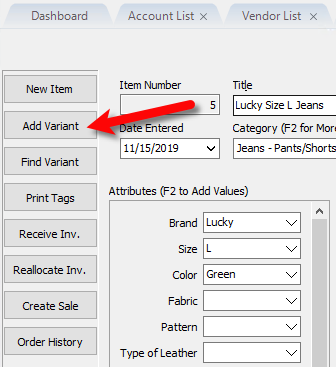
5.Change the attributes to match the new variation of the item you have entered. Common examples are Size and Color.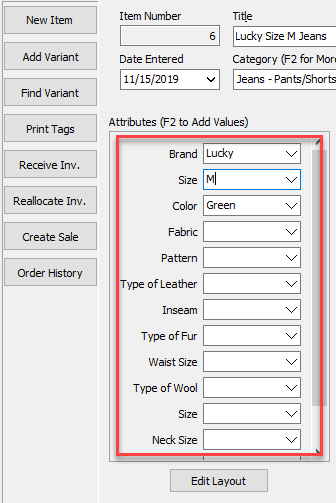
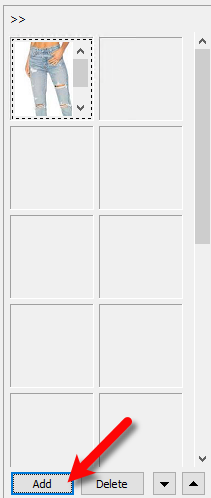
6.You can also choose to add different images to the variant items.
Click the Add button under the image pane.
Note: If you are planning to add these variant items on shopify and you are changing just one attribute, you can add different images to each individual variant item. If you plan to change more than one attribute, like Size and Color, it is recommended that you add all variant images to the parent item.
7.Use the left pane to select where the folder where the variant images are located, then you can select the images you wish to attach to the item and click the Open button. 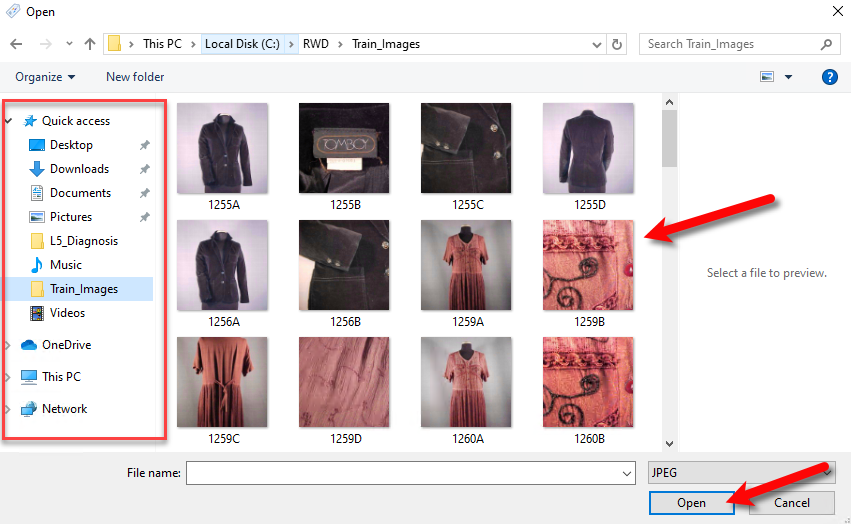
8.Click the Save button. 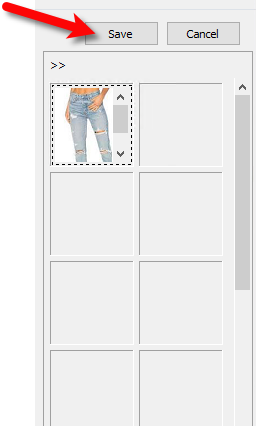
9.Look towards the bottom left at the Variants area and verify that the new variant was added with the appropriate changed attributes. 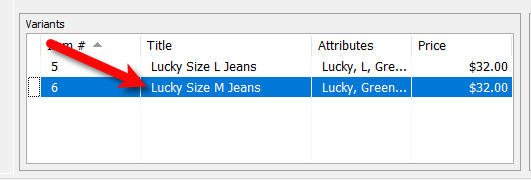
10.You must now receive inventory for the variant item, click the Receive Inv. button on the left button bar. 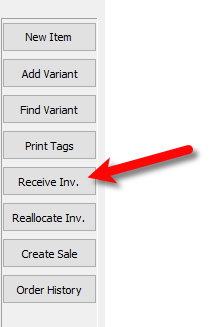
11.Fill in the details of the Receive Order dialog box and then click the OK button. 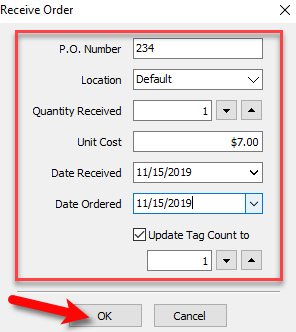
You have now successfully created a Retail Variant.
Related Topics
Definition of Consigned, Purchased, Trade, Store Inventory, and Retail Items
How To Use Find Variant To Add Retail Variant Items
Creating a Shopify/ ShopRW Listing With One Variant Type
Creating a Shopify / ShopRW Listing With Two Variant Types