Exporting For the First Time To Quickbooks Desktop
1.Open Intuit Quickbooks and make sure that the Company File you are syncing to is open. 
2.You can verify the Company File that is open by looking at the top left corner of the Intuit Quickbooks application. 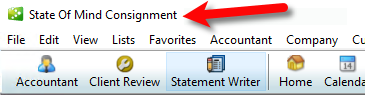
3.Open the Liberty REACT Inventory Module and then click on the QB Link icon. 
4.If you see any Red entries, they will need to be corrected first.
Click once on the Red entry and then click the Edit button. 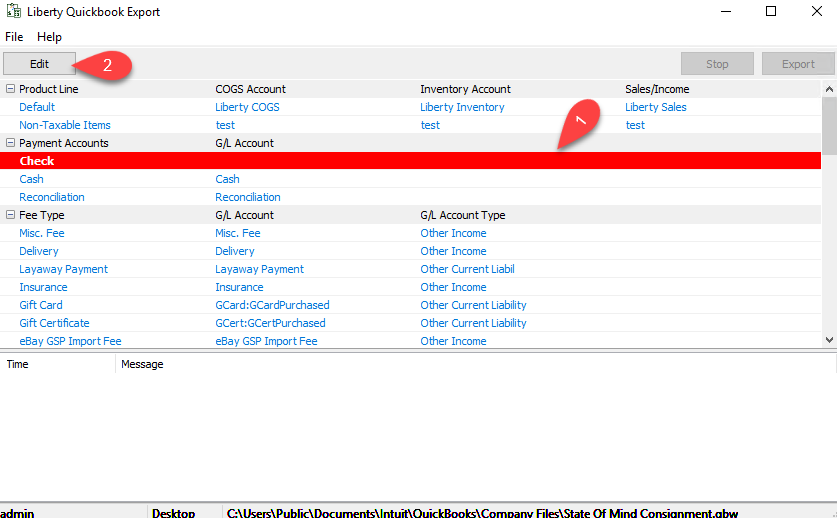
5.Type in the G/L Account name you would like Liberty to create or sync into if Quickbooks has the account already created.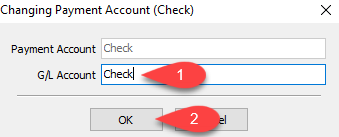
Note: To export into sub-accounts, simply use the colon (:) symbol between two accounts Example Bank of America:Check
6.Scroll down until you get to the bottom and make sure there are no more Red entries missing required information. 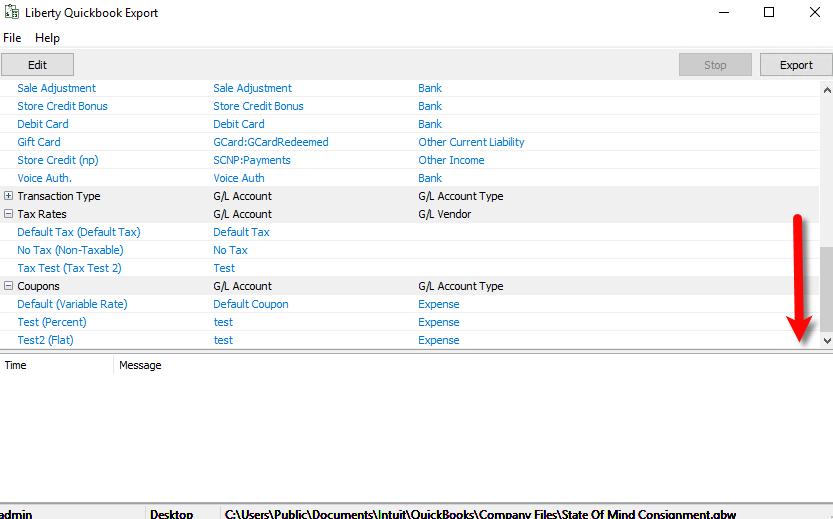
7.Click the Export button. 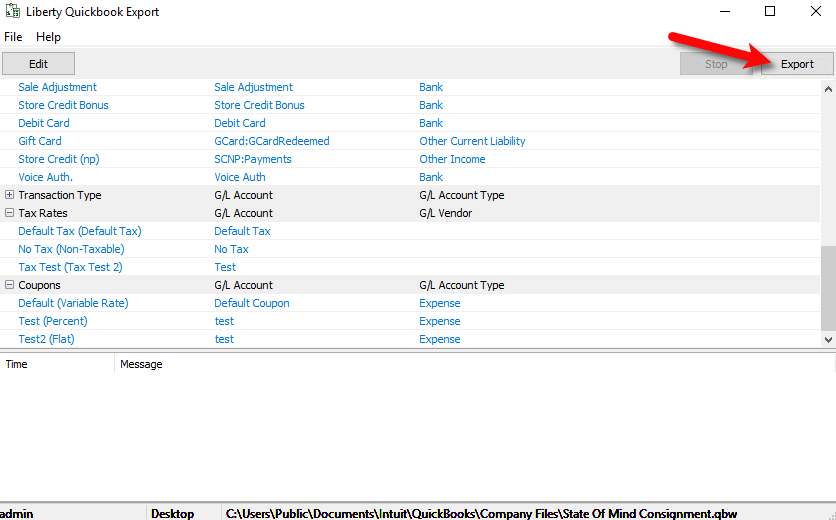
8.You will now be prompted for the start date you wish Liberty to export from.
Click the Month Year option at the top to quickly flip through the past years. 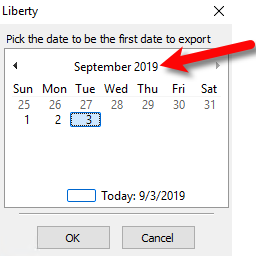
9.You can use the left or right arrows to move backwards or forwards between the different years.
Once you have found the year you wish to export from, select the Month you want to start the export sync from. 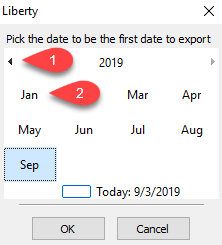
10.Select the date of the Day you wish to export from and then click the OK button. 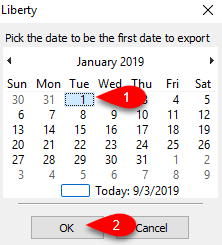
11.Confirm that the date is correct on the following prompt and then click the Yes button. 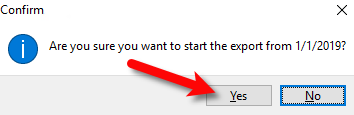
12.We now must give Liberty REACT permission to export to Intuit Quickbooks without having the Quickbooks program open in the future. You can use any of the other options if you wish, just keep in mind you will have to have Intuit Quickbooks open if you do.
Click Yes; allow access even if Quickbooks is not running, then click the Continue button. 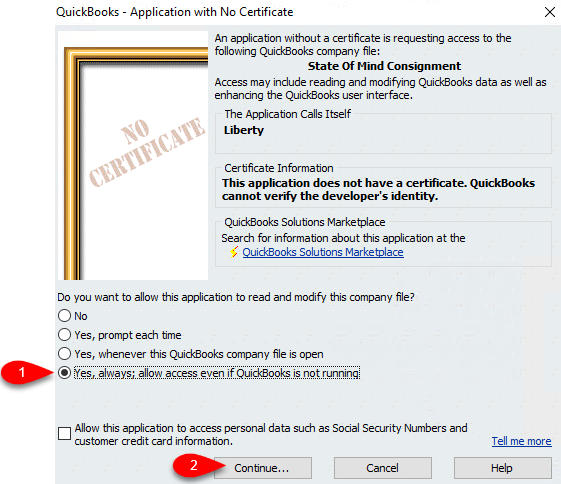
13.When prompted Are you sure you want to allow access?, click the Yes button. 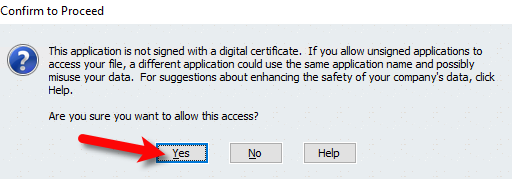
14.Click the Done button. 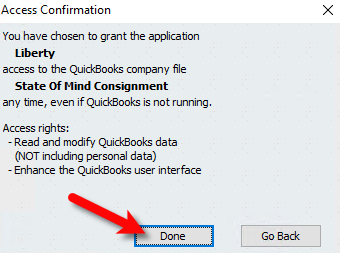
15.The Liberty Quickbooks Link will now sync to your company file from the date you selected prior. 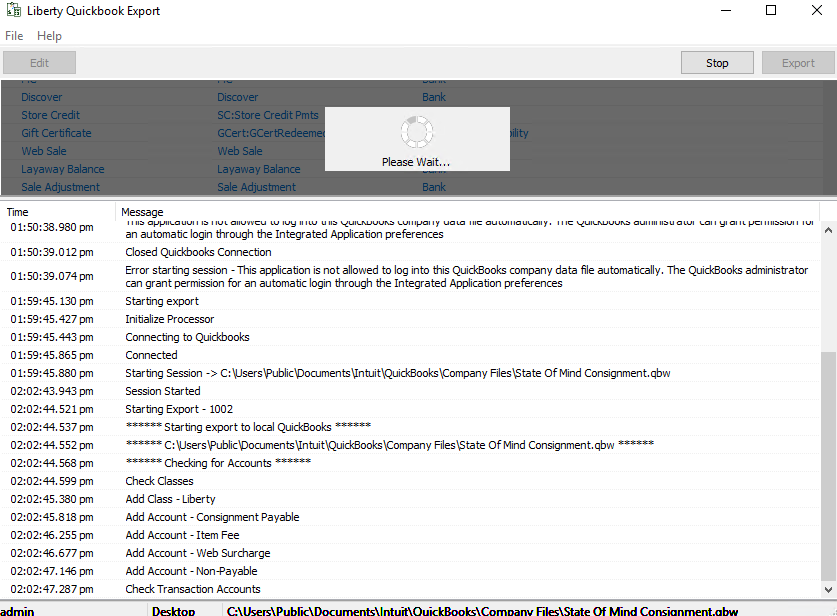
16.When you see The sync has been completed successfully, this means that the export is finished.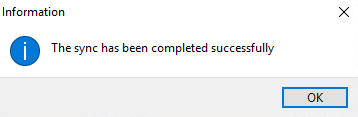
Note: If you see a message stating that there was an error during the export, please visit our Troubleshooting Quickbooks article.
Related Topics
Exporting to Quickbooks Desktop Software Using The Quickbooks Link Overview
Company File Selection and GL Account Settings
Setting Up Your Quickbooks Company File
How To Initiate Subsequent Syncs To Quickbooks Desktop Software