Printing Options
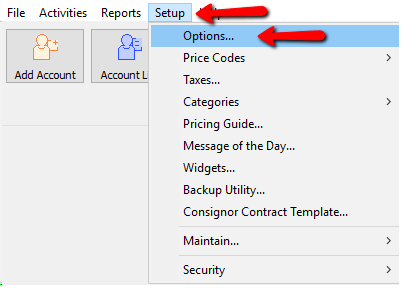
1.To get to Options go to Setup > Options.
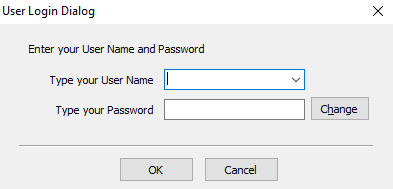
2.Login if prompted to do so.
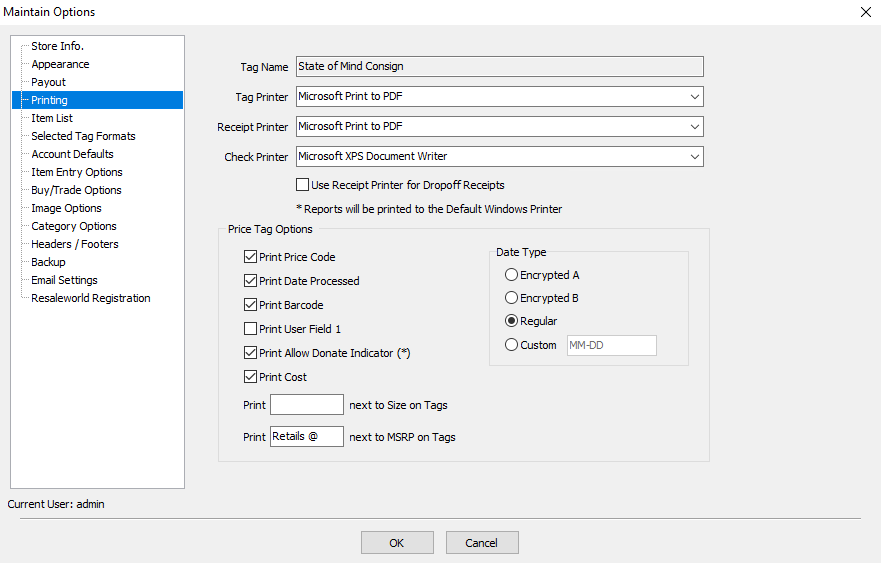
3.From the Menu options select Printing.
●Tag Name : This is the name of the store that prints on the tags. This can not be manually changed. Please contact Resaleworld if you wish to change the Tag Name.
●Tag Printer : Click the drop down to get a list of printers to select. Highlight and click on the printer you wish to use for the tag printer.
●Receipt Printer : Click the drop down to get a list of printers to select. Highlight and click on the printer you wish to use for the receipt printer.
●Check Printer : Click the drop down to get a list of printers to select. Highlight and click on the printer you wish to use for the check printer.
●Use Receipt Printer for Dropoff Receipts : Toggles if Dropoff Receipts printed by the Inventory Dropoffs print from the selected Receipt Printer.
Note: Reports will always print to the default printer defined by Windows.
Price Tag Options
●Print Price Code (Check Box) : Checking this will print the Price Code Letter on the tag.
●Print Date Processed (Check Box) : This is the date the consignment period starts.
●Print Barcode (Check Box) : This will print a barcode to be used with a POS scanner
●Print User Field 1 (Check Box) : If User Field 1 is used on an item, checking this off will allow that information to be printed on the tag.
●Print Allow Donate Indicator (*) (Check Box) : Checking this will print and Asterisks (*) on the tag indicating it is a donatable item.
●Print Cost (Check Box) : Select to show the Cost of the item on price tags. For consigned items, the Cost is only printed if a Preset Net is entered.
Price tags for items with a Preset Net contain a series of numbers instead of the letter(s) denoting the Price Code. This series of numbers is the Preset Net to the consignor in coded form. $450.00 will appear as 100450001. Drop the 1's and leading 0's, place a decimal two places in from the right, imagine a dollar sign dancing in front of your (consignor's eyes in this case) and you have $450.00.
●Print _____ Next To Size On Tags : This is the wording that will go on the tag to indicate the Size.
Example: If Sz is placed in this field and the size of an item is a 12, the tag will print Sz: 12
●Print ______ Next To MSRP On Tags : This is the wording that will go into the Retail field.
Example: If Retails@ and the MSRP is $200, then the tag will says Retails@ $200.00
Date Type
●Encrypted A : Select to use a six-digit date code. This option starts with the Regular date format, removes the forward slash marks and the first number in the year, and then adds a 1 to the beginning and end of the remaining numbers.
Example: 07/31/00 becomes 173101.
●Encrypted B : Select to use a letter number combination for the date. This option substitutes the month for a letter, where A=January, B=February, etc. The letter is followed by the day of the month and year is dropped.
Example: July 31, 2000 becomes G31.
●Regular : Select to print a date in the MM/DD/YY format.
●Custom : This feature gives you the ability to customize the format of your item’s process dates that are shown on printed price tags.
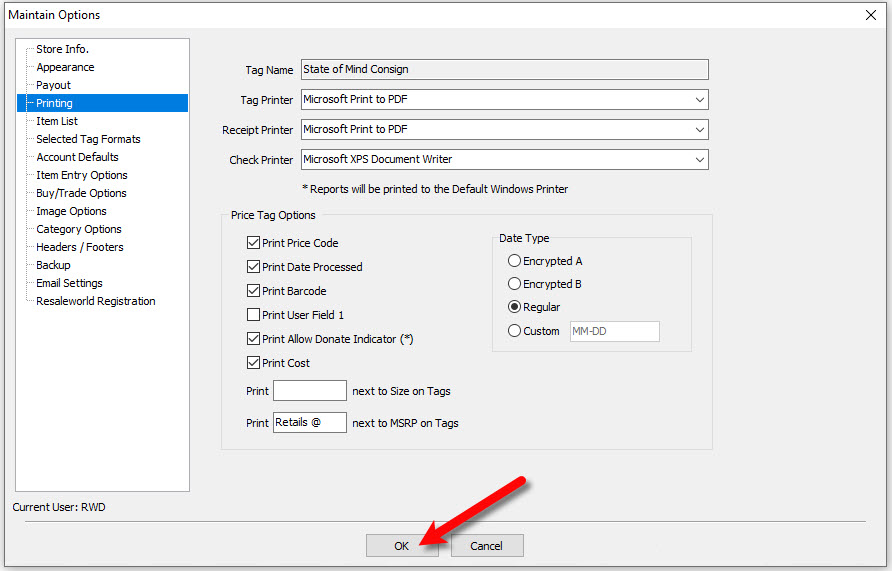
4.When done, select the OK button at the bottom.
