Pick Up And Expire Options
Pickup Period
Stores often allow consignors to Pickup items that do not sell after a certain time period.
When a Pickup Period is established, the date on or after which an item may be picked up if it does not sell is printed on the Consignor’s Item List. The Pickup Date thus informs the client when the consignment period is over for particular items.
Setting Up Pickup Period
1.From Inventory Module, select Setup > Price Codes > Price Codes.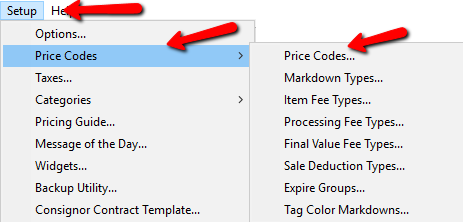
2.Select the Price Code from the left side to implement a Pickup Period. 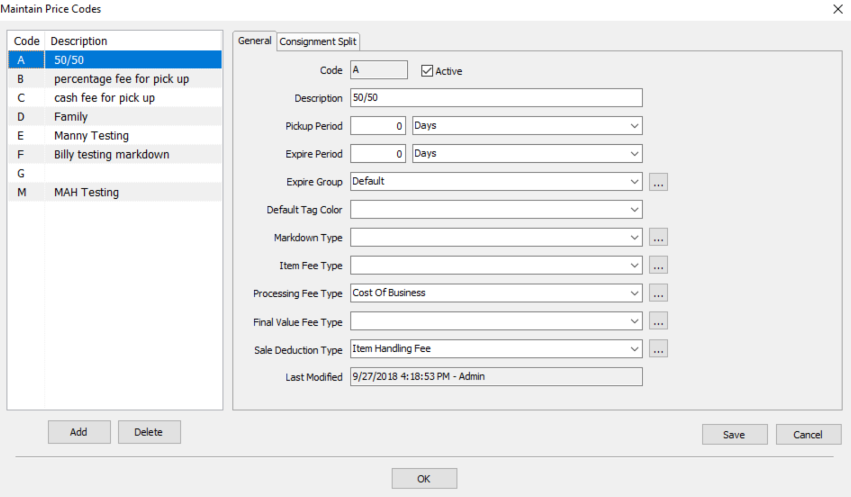
3.Under the General Tab, go down to Pickup Period. Enter in an amount for the time period and then select the dropdown and choose the time measurement. 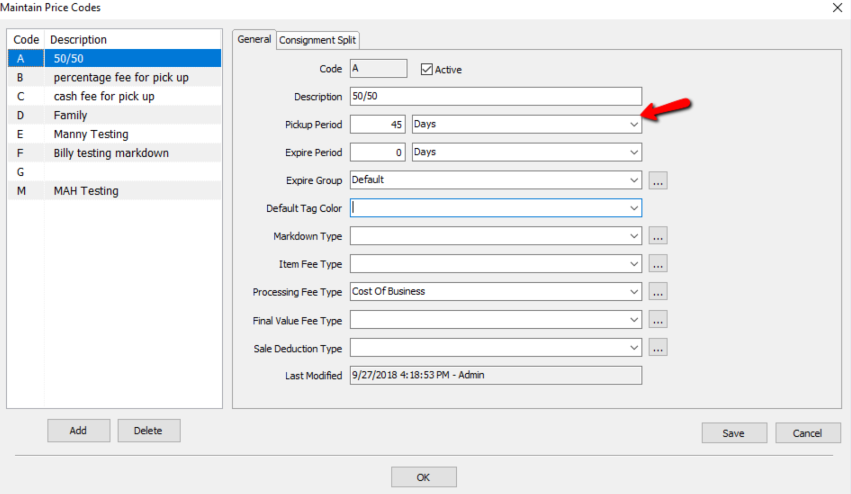
4.Select the Save button located in the bottom right corner of the Maintain Price Codes menu then the OK button.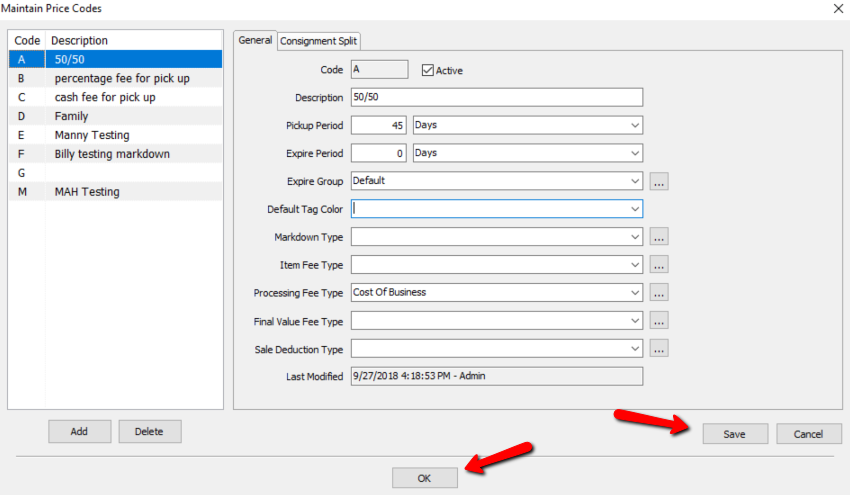
Note: Each Price Code has its own Pickup Period, therefore the Pickup Period must be established for each Price Code in use.
Expire Period
Consigned items may be set to Expire after a certain time period. Expire Post is an excellent revenue generating feature which many stores throughout the consignment industry take advantage of.
When a consigned item is posted as Expired, the proceeds of the sale are not split between the store and the consignor. The entire purchase price instead goes to the store. In other words, the cost of the item becomes zero (0) for the consignor, which makes the entire selling price profit.
When Expire Post is enabled, items that sell after the length of time specified in the Expire period are posted as Expired (not as Sold). In this case, the Disposition of the item will be listed as Expired.
Setting Up Expire Period
1.From Inventory Module, select Setup > Price Codes > Price Codes.
2.Select the Price Code from the left side to implement a Expire Period. 
3.Under the General Tab, go down to Expire Period. Enter in an amount for the time period and then select the dropdown and choose the time measurement. 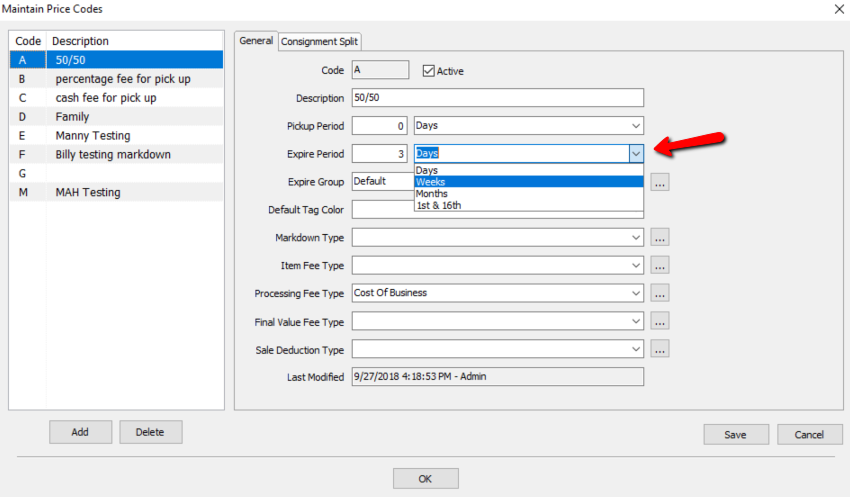
4.Select the Save button located in the bottom right corner of the Maintain Price Codes menu then the OK button.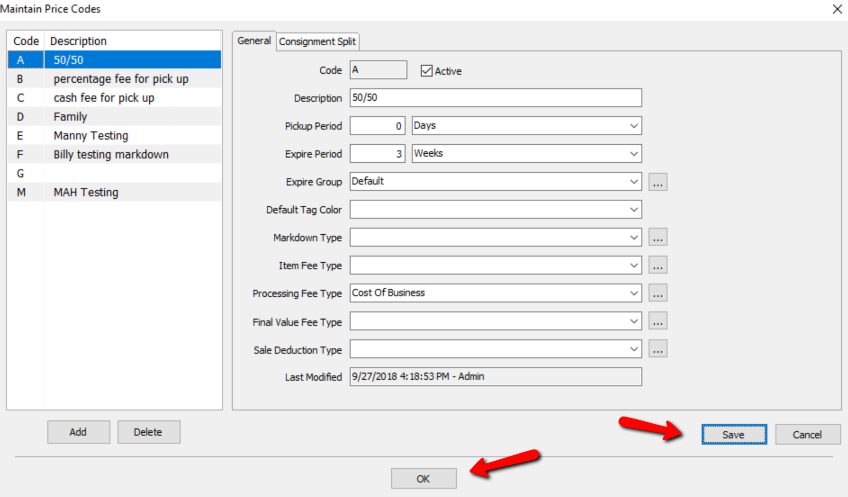
5.(Optional) Use the Expire Group field to create a description for the Expired Items. Doing so allows reports to be generated on the basis of Expire Groups.
Example: Create an Expire Group with the name Out-of-Season, assign multiple Price Codes to this group, and then track this information in reports.