Edit Account Information
Here is the video that covers this content:
How To Edit A Client Account And Account Field Definitions
How To Change Account Information
●In Liberty Inventory, Lookup the account.
Basic Customer Information
This portion of the account is self explanatory. It covers the Account Number Name, Company and Account Type.
●Account Type : There are two account types to choose from.
○Client : A client account type is used for customers who wish to consign or purchase items from the store.
○Store Account : A store account is used to reflect the account is used for store purposes like selling items that would not have consignment obligation if the item is sold, and store owned items.
Note: The Account Type can only be changed before any items have been added to the account. Once the first item has been added to an account it is no longer possible to change the Account Type. Retail Vendor accounts can be found by selecting the Vendor List Button at the top of Liberty.
Contact Information
●Address : Enter the Customers Address Information here. 
Click on the dropdown arrow to create other Addresses, Edit or delete the current address. The star next to the name of the address indicates the Mailing address.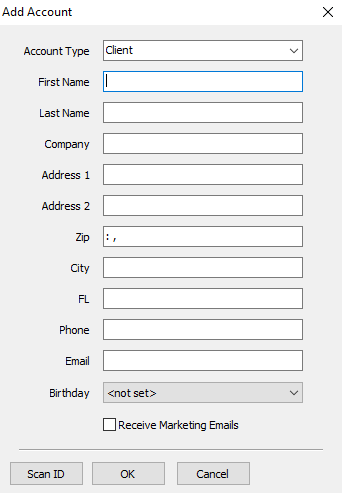
●Mailing Address (Check Box) : Check this box to make the current displayed address the Mailing Address.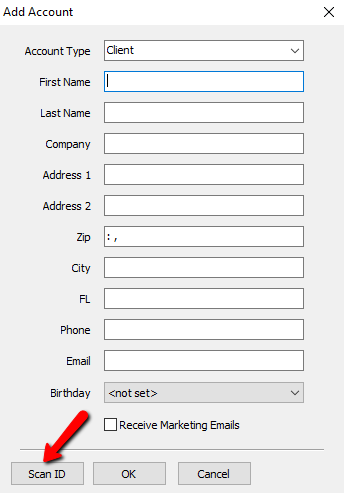
●Phone # : Enter in the Phone Number of the customer.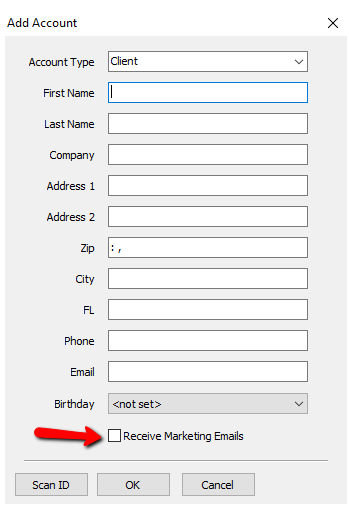
Select the dropdown to add more Phone Numbers, edit or delete the current Phone Number. The Star indicates the Primary Phone Number
●Primary phone Number (Check Box) : Select this check box for the current number to make it the Primary Phone Number.
●Email : Enter in the Email Address of the customer.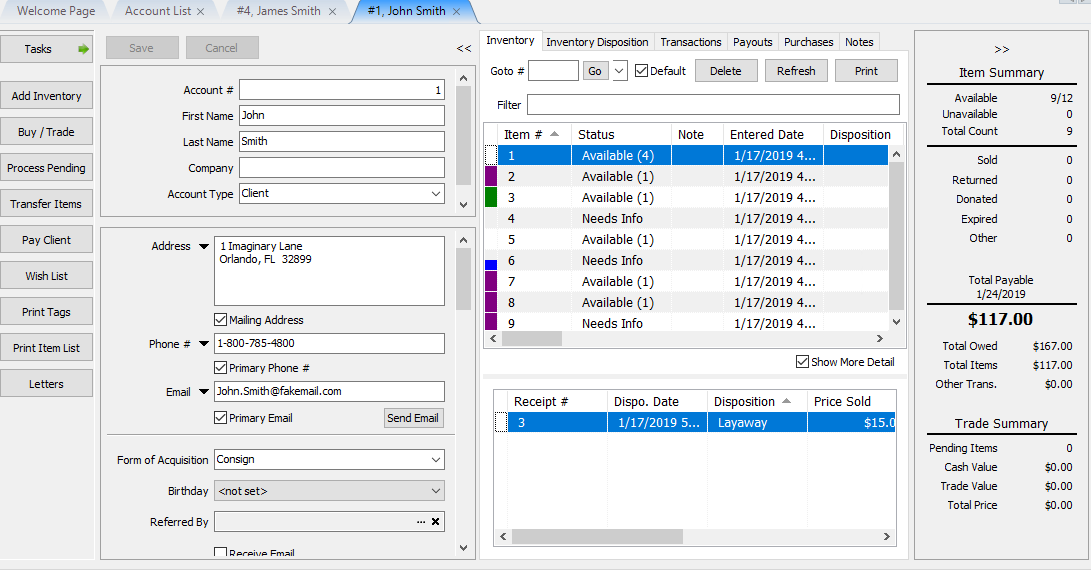
Select the dropdown to add more Email Addresses, edit or delete the current Email Address. The Star indicates the Primary Email Address.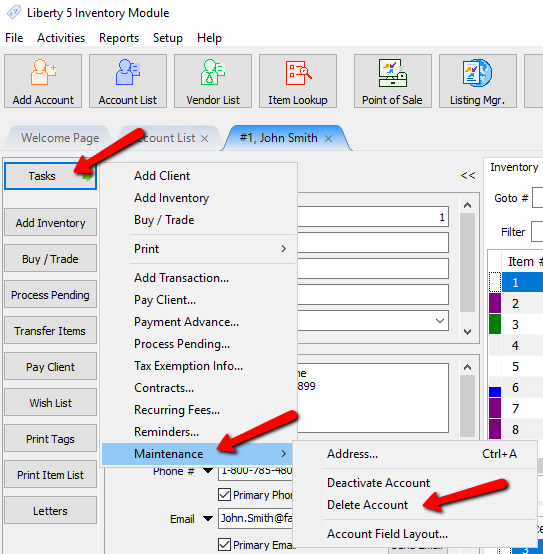
●Primary Email Address (Check Box) : Select this check box for the current Email Address to make it the Primary Email Address.
Note: Primary email address on an account must be unique if you plan to use Consignor Login or the Customer Connector. See
●Send Email (Button) : Selecting the Send Email Button will initiate email composition to be able to send an email to this customer.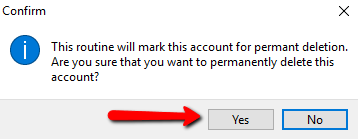
Account Specifics (Part 1 )
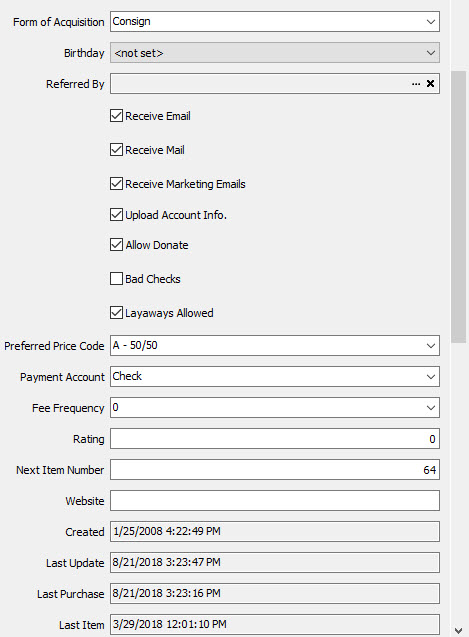
●Form Of Acquisition : Use Form Of Acquisition to set the default Form O Acquisition for items added to the account. For more details see Item Entry.
●Birthday : Use the Birthday dropdown to track Birth Months of consignors for promotion purposes. 
●Referred By : Click on the browse portion of Referred By to select the account of the person who referred them. Click the X to removed the Referred By details.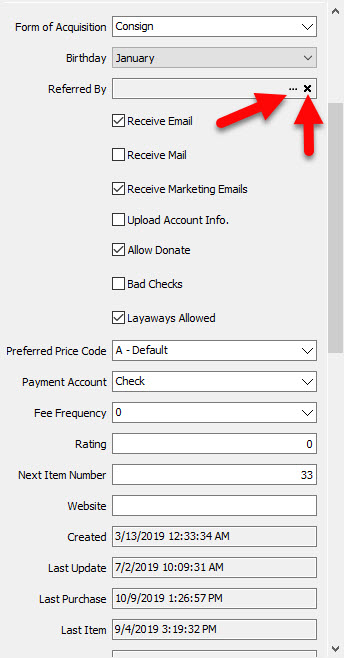
●Receive Email (Check Box) : Check this box if the customer has indicated they wish to be contacted by email.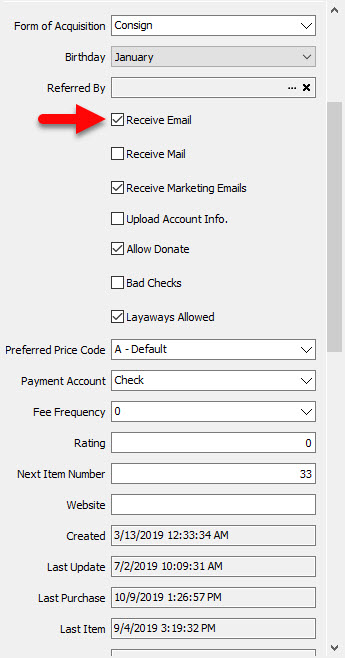
●Receive Mail (Check Box) : Check this box if the customer has indicated they like to contacted by Mail.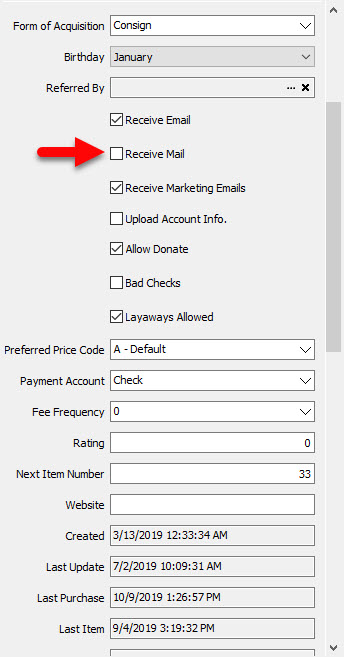
●Receive Marketing Email (Check Box) : Check this box if the customer has indicated they would like to be contacted with Marketing emails.
Note: In order for a customer to receive marketing email, they must have Received Marketing Email Check Box checked off and an Email in the Email field. See Word Processor Overview for more details.
●Upload Account Info. (Check Box) : Check this box off if customer wishes to be able to check any funds due to them through Consignor Login.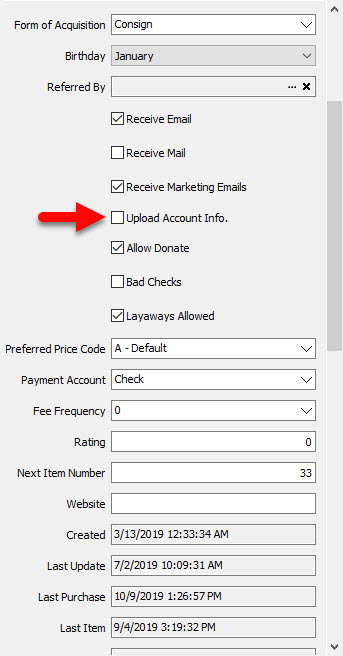
●Allow Donate (Check Box) : If the customer has indicated that after a specified time period they do not want the items back and are willing to donate them to a charity, check off the Allow Donate Check Box.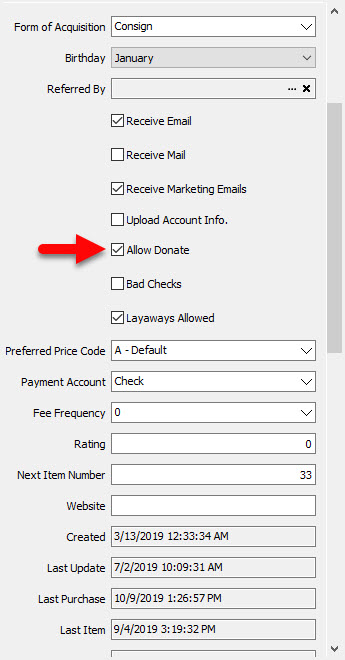
●Bad Checks (Check Box) : Use this indicator to indicate the customer has issues Bad Checks in the past and is not allowed to use Check as a form of payment.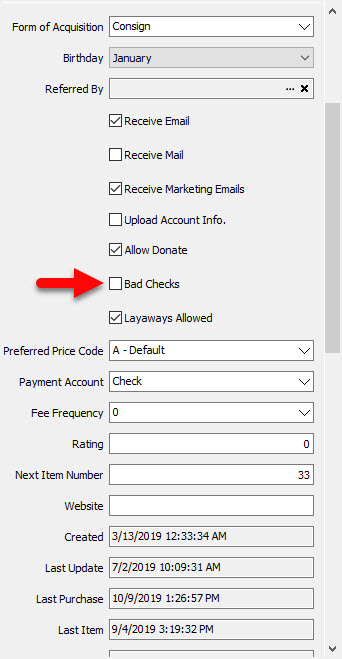
●Layaways Allowed (Check Box) : Check this box if the customer is allowed to put items on Layaway.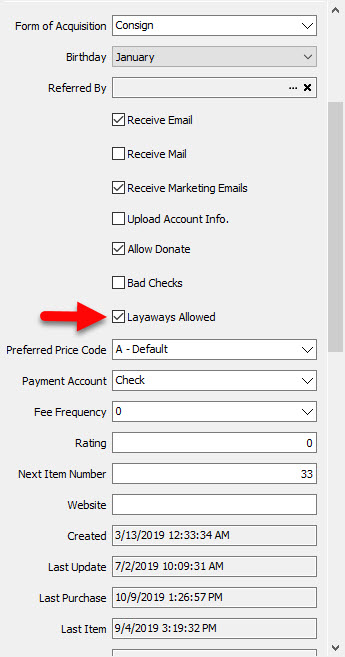
●Preferred Price Code : This is the default price code items will get when entered into the account. To change the default Price Code, click the dropdown box and select the new price code you wish to be associated with the account.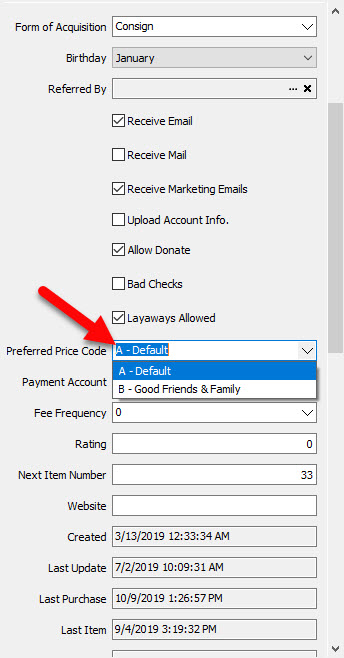
●Payment Account : Payment account is the default account the consignor will be paid with when being paid for items that have sold. Click the dropdown to change the payment account.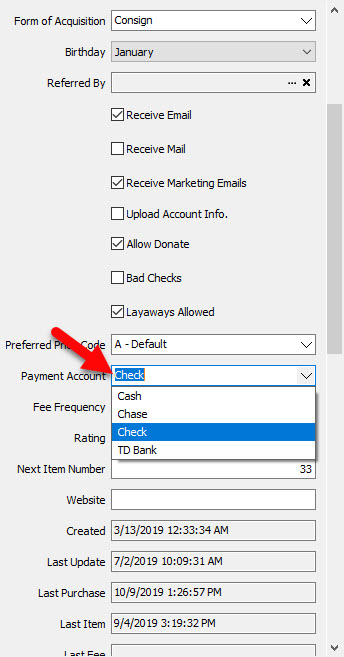
●Fee Frequency : Use Fee Frequency as a tag to make the account associated with the type of desired frequency. Select the dropdown to change the Fee Frequency. See Fee Frequencies for more details.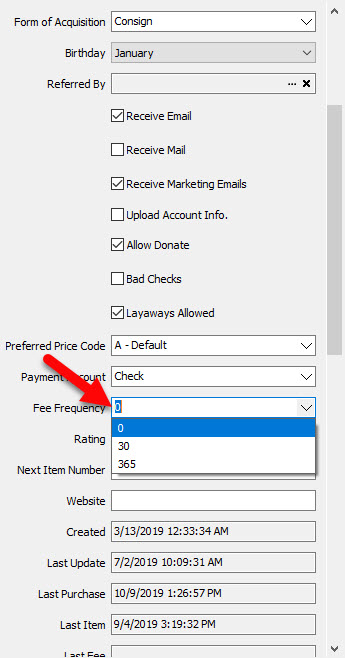
●Rating : Rating is a way to rate customers based on various reason. The rating system then can be used to further define reports based on customer accounts.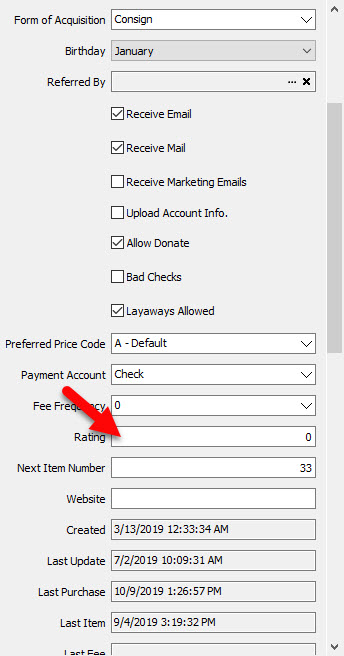
●Next Item Number : This number defines the next number that will be assigned to the next item entered. You can change this number. If the number you change to has already been used, it will skip that number and proceed to the next available number. 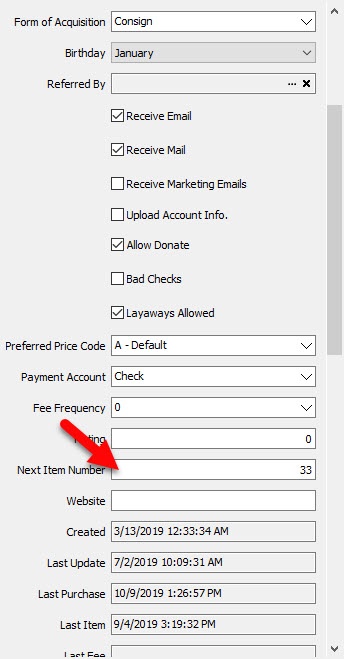
●Website : If the customer has a website such as facebook, or an online store of their own, it can be entered here.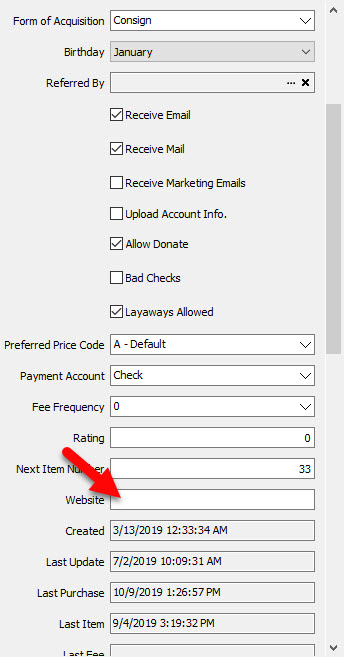
●Created : This is the date the account was created in Liberty.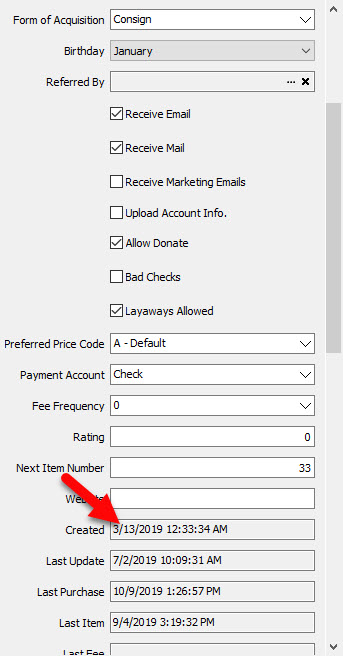
●Last Update : This is the last time the account information has been modified.
●Last Purchase : This is the date the account made a Purchase int e POS.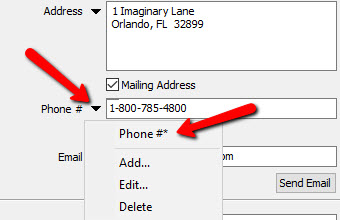
●Last Item : This is the last time an item was added to the account.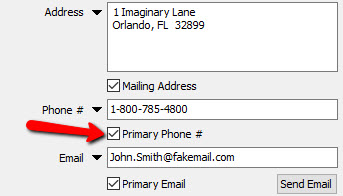
Account Specifics (Part 2)
●Last Fee : This is the last time a fee was applied to the account through a Group Deductions. For more informations, See Group Deductions.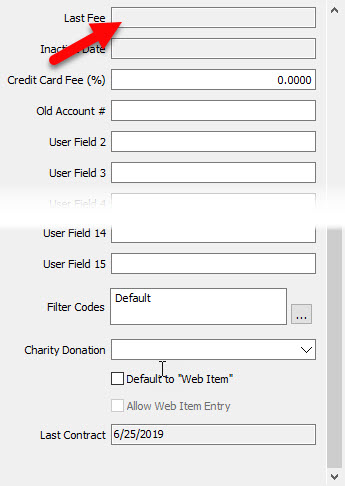
●Inactive Date : If the account was made inactive, the date in which it was inactivated will be shown here.
●Credit Card Fee (%) : Credit Card Fee Percentage can be used as a way to recoup fees for credit card percentages. 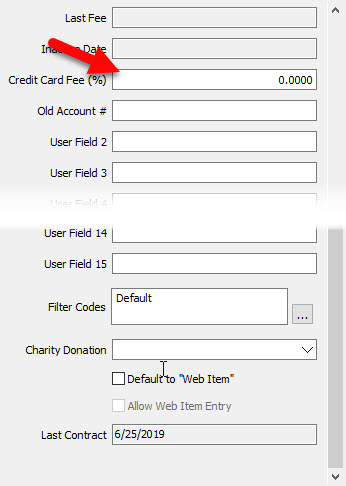
●Old Account Number (User Field 1) : If the account came from different Consignment Software, then that number will be displayed here.
Note: Old Account Number is actually User Field 1. By default, when an account conversion is done from another consignment software, the old account number is entered here.

●User Fields 2 - 15 : User fields 2-15 are used for storing information that does not have a dedicated spot anywhere else on the account. These fields can be renamed by going to Setup > Maintain > Client User Fields. See Client User Fields for more details.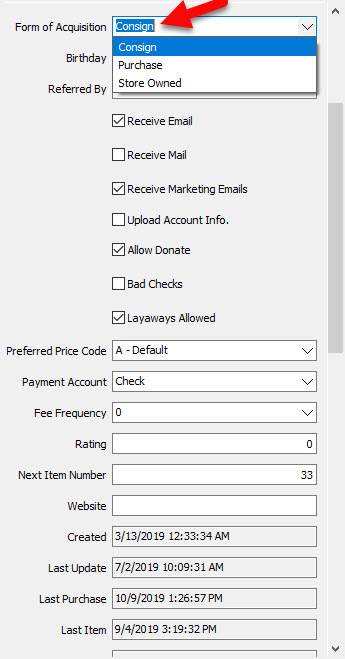
●Filter Codes : Filter Codes are a way to flag an account for reports running purposes. See Filter Codes for more details. Accounts can have more than one Filter Code.
●Charity Donation : If the customer wishes to make charity donations to a specific charity, select the dropdown box and choose the charity you wish to assign to the account. For more information, see Charities.
●Last Contract : This will show the date of the most recent contract generated for the account.