Assign Attributes Types to Categories
When an Attribute Type is assigned to a Category, the Attribute will appear in the Attributes Panel. The Attributes Panel is part of the Item Entry screen, and appears after a Category is selected.
Attributes may be assigned at any Category Level - 1, 2, or 3. When an Attribute is assigned to a Level 1 Category, the Attribute Cascades to that Level 1 Categories’ Level 2 and Level 3 Categories. This means the Level 2 and 3 Categories Inherit Attributes from the Level 1 Category of which they are a sub-category.
When an Attribute is assigned to a Level 2 Category, that Attribute Cascades to its Level 3 (sub)Categories.
Note: It is only necessary to assign an Attribute Type to one Level in a particular Category. Do not assign an Attribute to more than one Category Level for a particular Category.
Example: Women's Apparel Sizes provides a good example of why one would choose to assign Attributes at a level other than Category Level 1. Dresses, Pants, and Tops may all use pretty much the same set of sizes, but shoe sizes are a different matter. Assigning the Attribute Women's Size to Dress, Pants and Tops at Level 2, and Women’s Shoe Size to Shoes at Level 2 lets you limit the number of Sizes appearing in each Size list when entering items.
In other words, when entering Dresses, which have sizes like 2, 4, 6, 8, 10, 12, 14, 16, 18, 20 etc. you’re not also looking at shoe sizes such as 4.5, 5, 5.5, 6, 6.5, 7, 7.5, etc.
Definitions Of Attribute Fields & Buttons
●Category : Shows the Categories to which Attribute Types are associated.
●Attribute List : Shows which Attributes are associated with the selected Category, and the order in which the Attribute will appear in the Attribute Panel.
●Priority List Buttons : Use these buttons to place Attributes in their preferred order.
●Attribute : The Attribute’s name.
●Display Name : Name of Attribute as it will appear in the Item Entry screen. Change the name of the Attribute here if you wish the Attribute to appear with a different name in the Attribute Panel.
●Use In Title : Checking this box causes the Attribute to appear as part of Items’ Titles.
●Active : Check this box to make an Attribute Active. Remove the check to make an Attribute Inactive. (Attributes cannot be deleted from a Category once they have been assigned and used. They can only be made Inactive. See Make An Attribute Inactive for more information.)
●Attribute Kind : Select the appropriate description for what the Attribute describes by choosing one of the options in the drop down box. "Standard" is the default setting. Choose "Size" to make the attribute print on price tags and labels. Choose "Color" and "Brand" when appropriate.
○There are 3 special attribute kinds that can additional benefits. For example, some reports allow you to filter by Size, Color, and Brand which will only work if the Attribute Kind is set to either Size, Color, or Brand. There are also reports that will specifically break down based on these attributes such as the "Brand Productivity" report.
○The eCommerce platforms (such as Shopify, eBay, and ShopRW) also use the special kinds in various ways and will only work when set appropriately.
●Default Value: This is used to set the default attribute value for the attribute that is associated with the category.
Note: Default Values for attributes can be extremely useful for certain attributes (Condition, Gender, or website specific attributes), but shouldn't be used for highly variable attributes such as Brand, Size, or Color.
●Add Button : Select to make an Attribute appear in the Attributes Panel for the selected Category. Upon selecting, the Select Attribute Type dialog will appear.
Delete Button : Select to remove the selected Attribute in the Attributes Panel for the selected Category. (Attributes cannot be deleted from a Category once they have been assigned and used. They can only be made Inactive.)
To Assign An Attribute To A Category
1.From the Main menu, click on Setup > Categories > Attribute Types.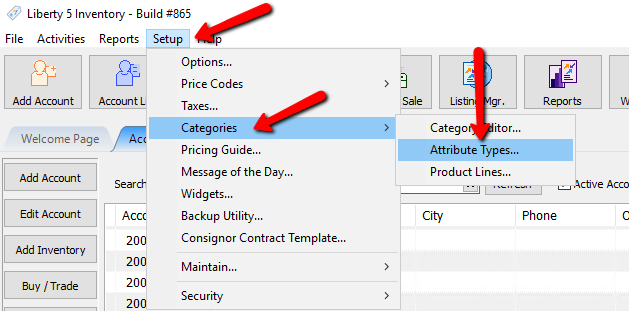
The Maintain Attributes dialogue box will open.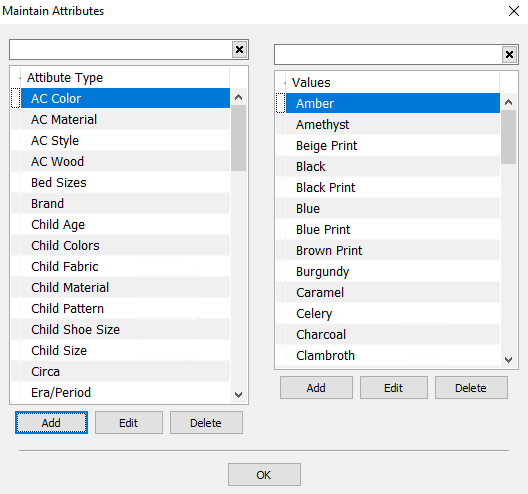
2.In Maintain Categories, select the Category to which you wish to assign the Attribute.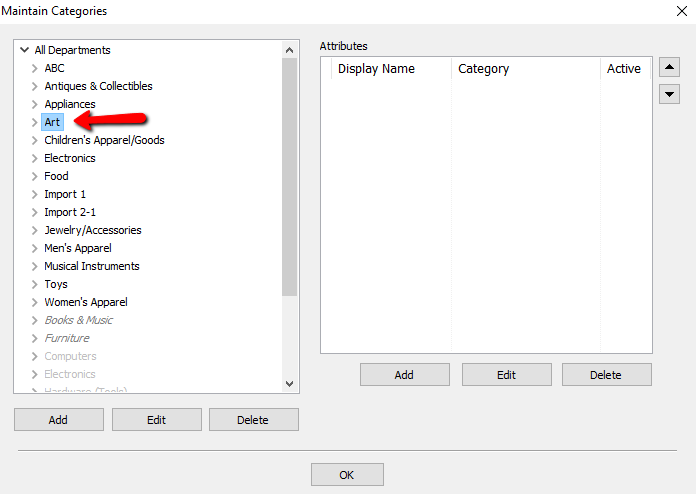
3.Select Add under the Attributes window. 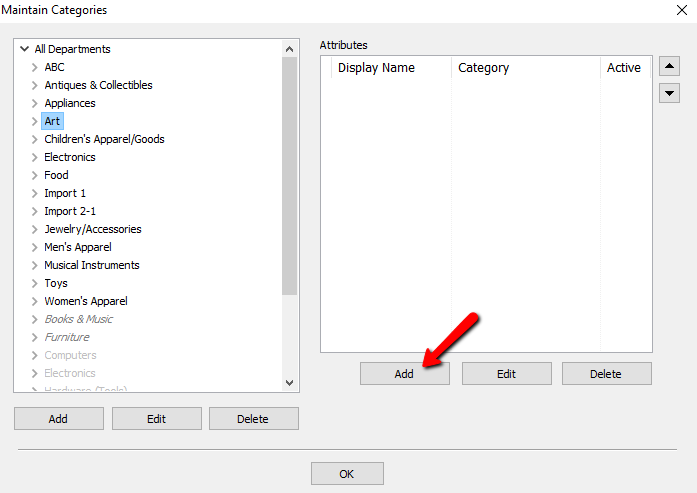
The Select Attribute Type dialog window will display.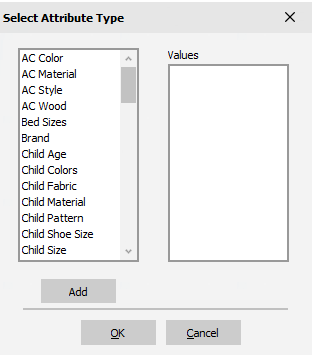
4.Select the Attribute Type from the list on the left side of the dialog that you wish to associate with the Category. (The list on the right side of the dialog shows the Attribute Values for the selected Attribute Type.) Select the OK button.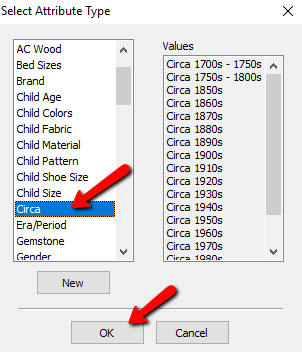
The Edit Category Attribute dialogue box will open.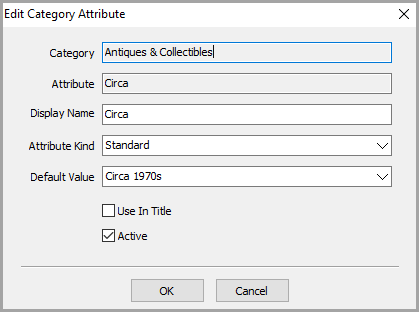
5.Make any desired changes then select the OK button in the Edit Category Attribute window.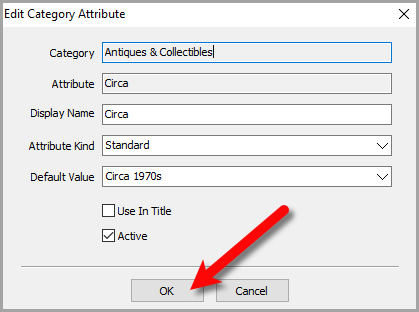
Note: Default Value sets the default attribute for the category that you have selected.
Default Values for attributes can be extremely useful for certain attributes (Condition, Gender, or website specific attributes), but shouldn't be used for highly variable attributes such as Brand, Size, or Color.
6.Repeat steps 4 and 5 as necessary until you have selected all desired Attribute Types.
7.Use the Priority List Buttons to change the order of the Attributes as they appear in the Attribute List. The order of Attributes in the Attribute List will be the order of Attributes in the Attribute Panel. It is recommended to move frequently used Attributes close to the top of the list. See Change Order Of Attributes On The Item Entry Screen for more details.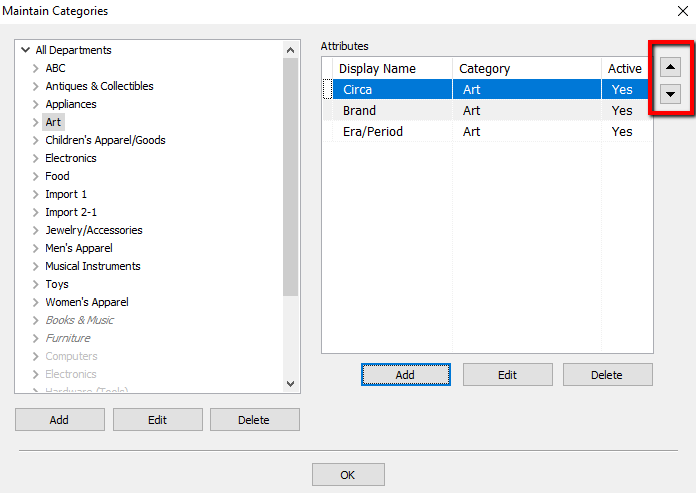
8.Select OK in the Maintain Categories dialog when finished.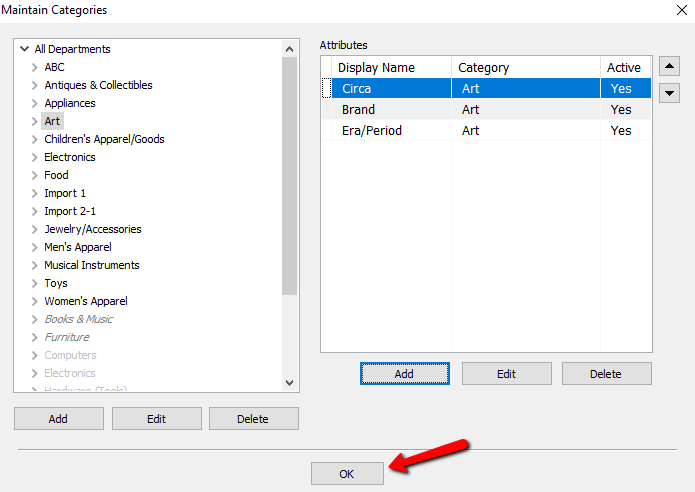
For information on adding your own, specific Attributes and Values, please see the sections entitled Add, Change, and Delete Attribute Types and Add, Edit, And Delete Attribute Values.