Printing Or Emailing An Inventory List
An Item List is a report printed for a client that contains a list of some or all of the items the client is consigning or selling to the store. There are Multiple different Item Lists to choose from:
●Item List
●Item List Receipt
●Item List Sale recap
●Item List Buy/Trade Offer
●Item List w/Markdowns
To Print An Item List
1.In Liberty Inventory, Lookup the account.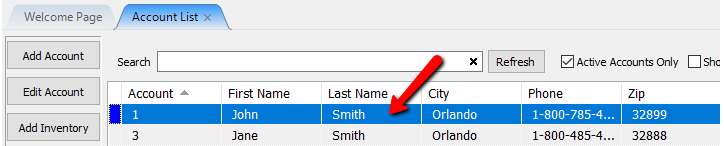
2.There are three ways to start the Item List payout dialog.
a.Click on Task > Print > Print Item List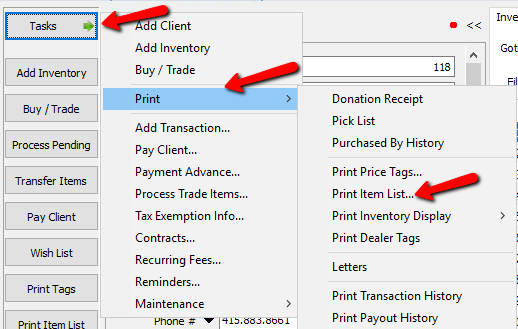
b.From the Inventory Screen, right click and item and choose Print, and either choose Without Description or With Description.
c.From the Inventory Disposition screen, right click and item and choose Print and choose either Without Description or With Description.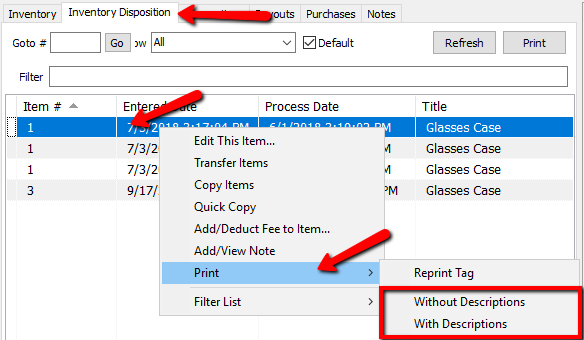
Print Without Description will leave the description off the report.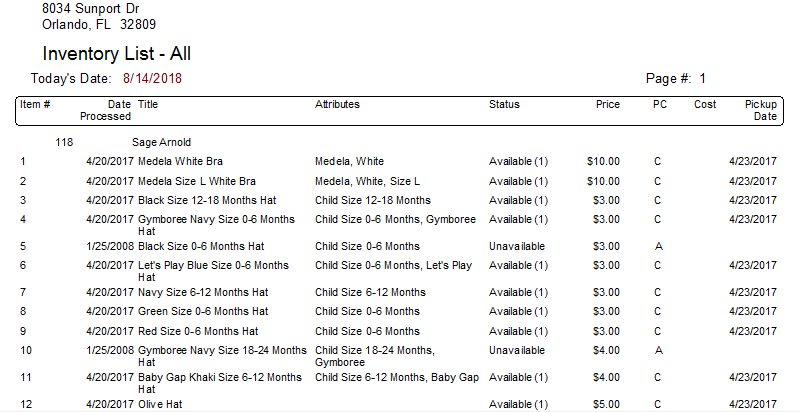
Print With Description adds the description to the report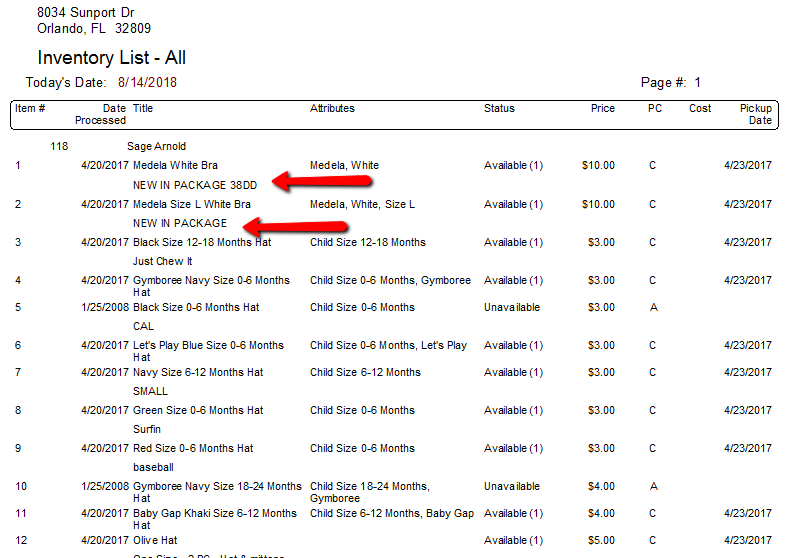
d.Click the Print Item List button on the left hand side.
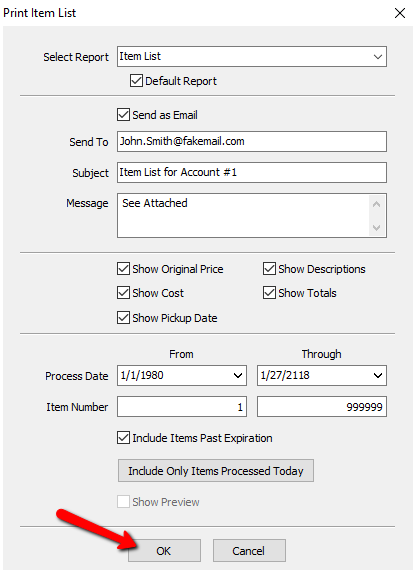
The Item List Dialogue Box will open.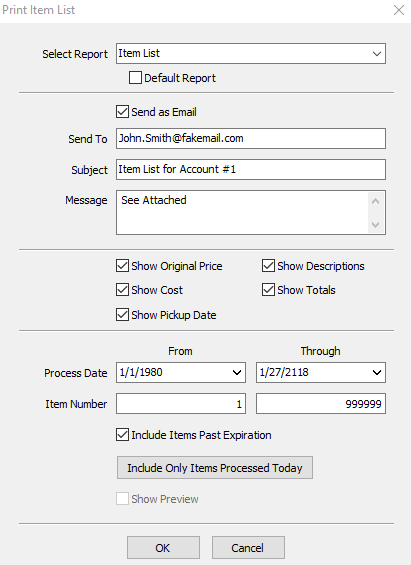
●Select Report : Click the dropdown and select the report desired.
○Item List : A list of some or all of the items the client is consigning or selling to the store.
○Item List With Receipt : This report will print in receipt format. Includes Item Number, Date Received, Title, Price Code, Quantity, Price and Pickup Date.
○Item List Sales Recap : Review of item sales. Includes Item Name, Item Number, Date Received, Date Sold, Price Sold and Item Status.
○Item List Buy/Trade Offer : Trade items are items that have been entered in and which allow for the account to be credited in one of two ways – Cash Value or Trade Value.
○Item List w/Markdowns : Includes Category, Price, Price Code, and the dates and amounts from each item’s markdown schedule.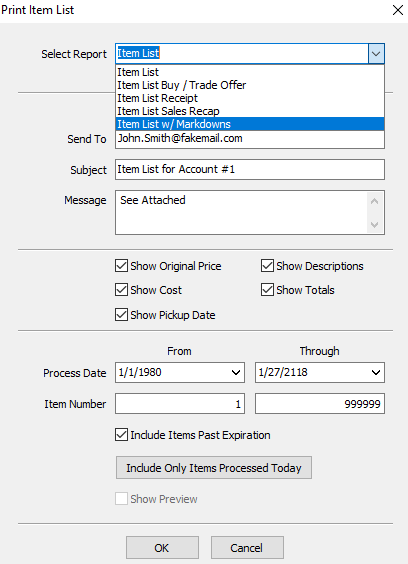
●Default Report (Check Box) : Once you have selected your report, check this box off to make that report the Default for every time you open up the Print Item List Dialogue box.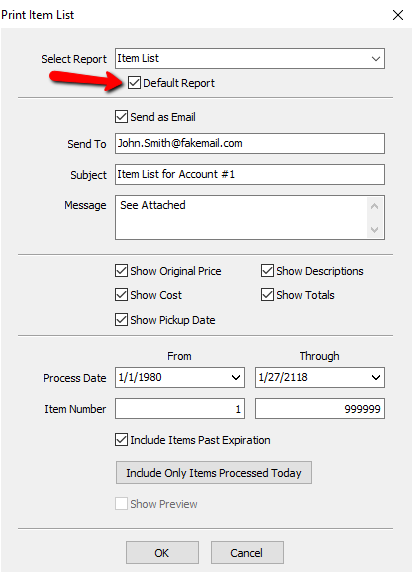
●Send As Email (Check Box) : Checking this box will allow you to send the item list as an email and will also activate the email options.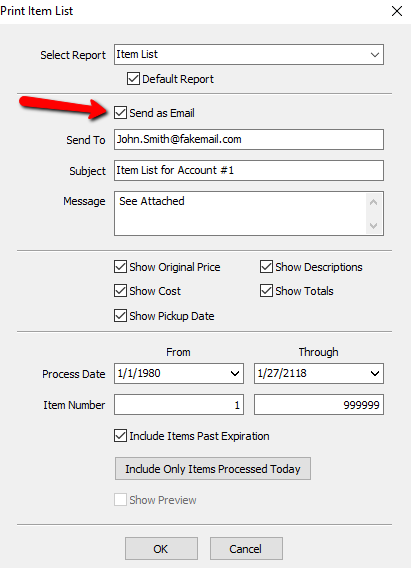
○Send To : Enter in the Email Address of the person you will be sending the item list to.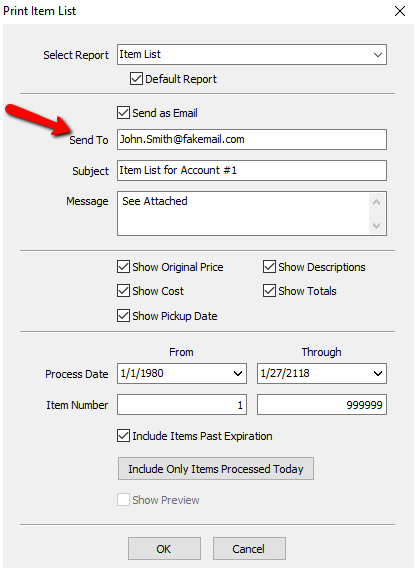
○Subject : Enter in the Subject of the Email.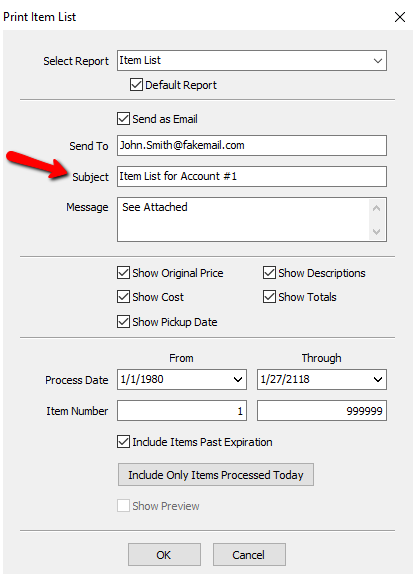
○Message : Here you can add a brief message that will be included in the emailed report.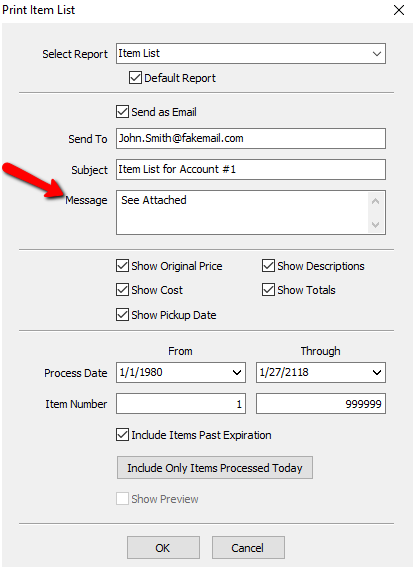
●Optional Check Boxes : Checking off any of the following optional check boxes will include that data on the report.
○Show Original Price : Selecting this will show the original price the item was entered into Liberty with.
○Show Cost : Will show the cost of the item if it was purchased outright, a trade item, or if a cost was entered when the item was entered as consigned.
○Show Pickup Date : If the pickup date is used with the price code of the item, the date will be specified on the report.
○Show Description : This will include the description of the item on the report.
○Show Totals : This will show the totals of all the data columns on the last page.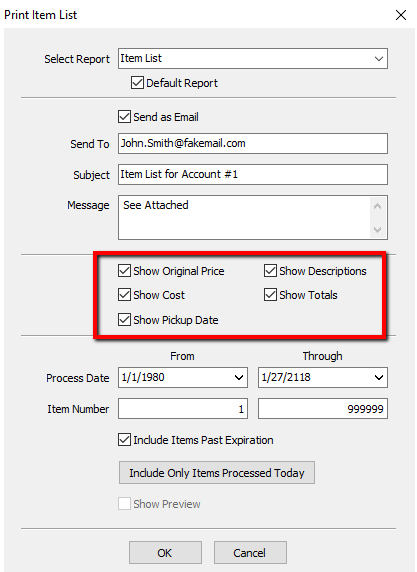
●Process Date : There are two options for this.
○From : This is the beginning date you will choose for when items started consignment.
○Through : This is the ending date you will choose for when items started consignment.
●Item Number : There are two options for this.
○From : This is the starting number of the items to appear on the list.
○Through : This is the ending number of the items to appear on the list.
●Include Items Past Expiration (Check Box) : This option will list items on the item list that have passed their expiration date.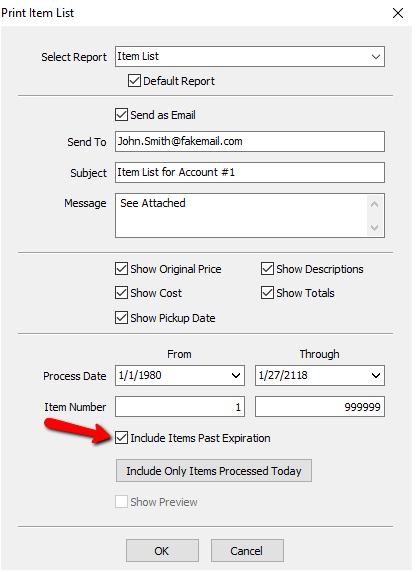
●Include Only Items Processed Today : Selecting this option will select only the items that began their selling period on the floor today.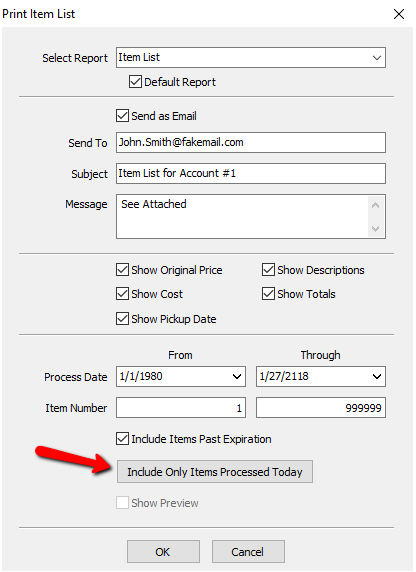
●Show Preview (Check Box) : Checking this off will allow you to preview the report before printing it. This option is only available if you are not emailing the report.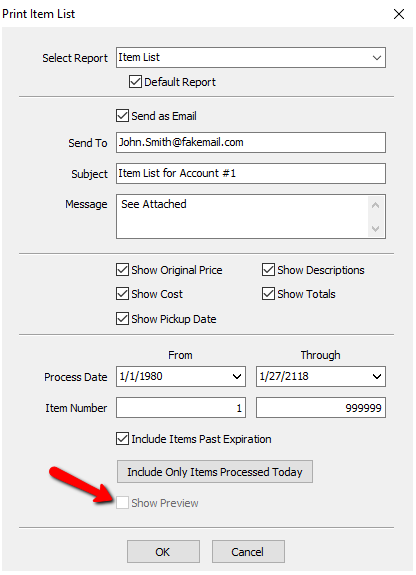
3.Press the OK button after making your selections.