How To Scan Your Inventory Using Auto Mode and The Opticon Scanner
With this method, you will specify the name of the file you want to save the barcodes to.
The moment you are done scanning your inventory and you plug your scanner in with the program open, it will automatically save your barcodes to the file and then delete the barcodes from your scanner so you can resume scanning the rest of your inventory.
1.)Right click on any blank space on the desktop, click New and then click Folder. 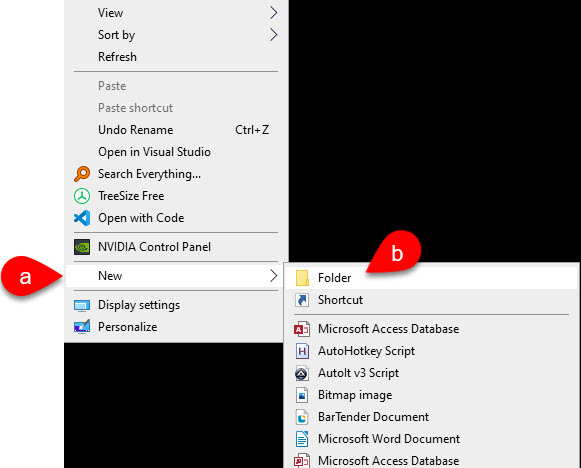
2.)For the name of the Folder, type Inventory Count Files.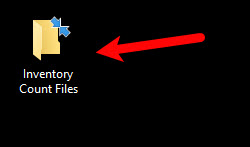
3.)Open the OPN utility that is now located on your desktop.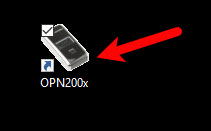
4.) There are a few things that you need to do to setup the utility so that you can do your first inventory scan.
a.)Checkmark the Save to file checkmark box.
b.)Uncheck everything under the Display area.
c.)Click on CSV bubble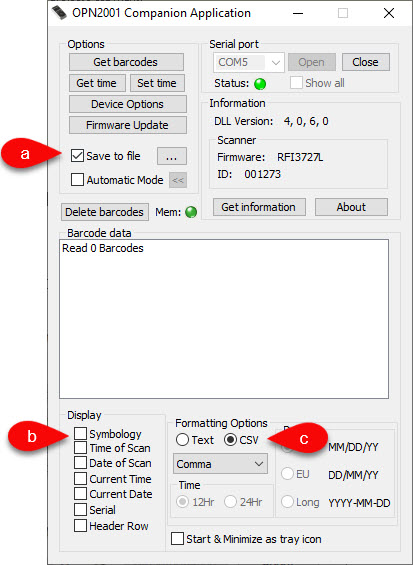
5.)Click the ... symbol. 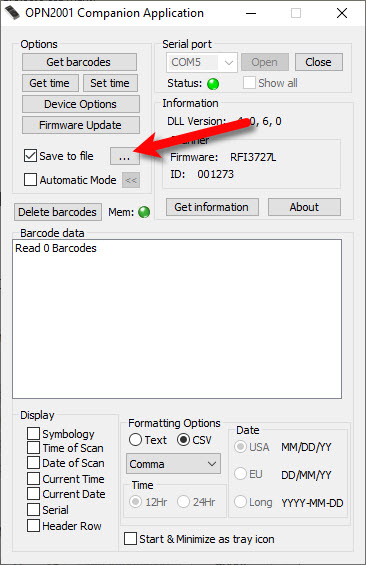
6.)Now we need to set the location and the file name of the file where the barcodes will be saved automatically, when you plug in your opticon scanner into your computer. 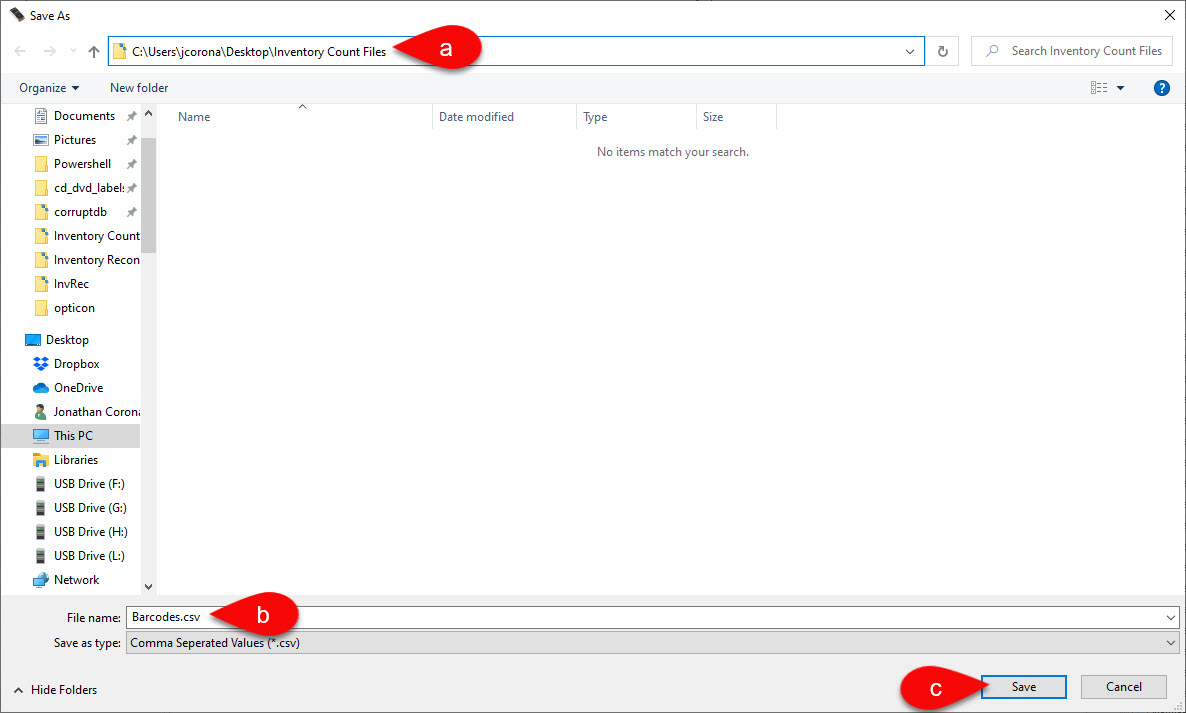
a.)Navigate to the Inventory Count Files folder you created on your desktop.
b.)Name the file name whatever you would like.
c.)Click the Save button.
7.)Checkmark the box for Automatic Mode. 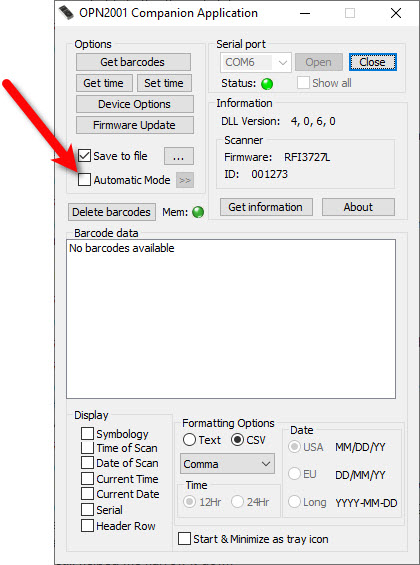
8.)This process prevent any accidental mishaps with appending the same batch of scans more than once. The moment you connect the scanner to the computer, the barcodes will automatically be downloaded to the .CSV barcode file. The barcodes will also automatically be deleted from the scanner.
Keep in mind, this file will not be created until the very first time you plug in your scanner. Afterwards, all additional scans will automatically be appended to this .CSV file.
Click the Yes button. 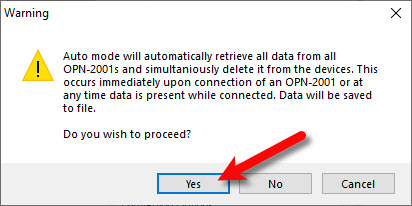
9.)If you see the panel open up to the right showing you the scanners that are connected, then everything is working as it should. If you do not see the panel, you can click the Expand << button to expand the panel. 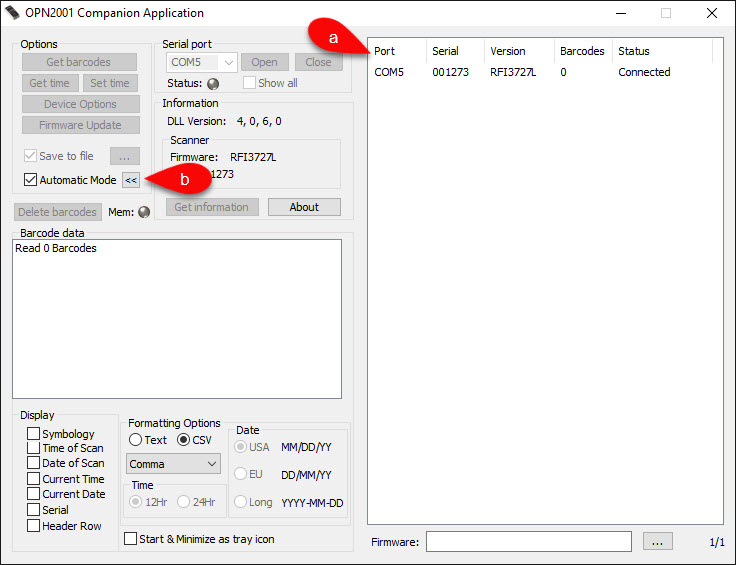
10.)You may now begin scanning your inventory. Please try not to scan all of your inventory in one run, it is best to work on one section at time. You can also break your store up into different quadrants.
Simply press the main button on the Opticon when it is hovering over an item barcode. You will hear an audible confirmation that the item has been scanned. 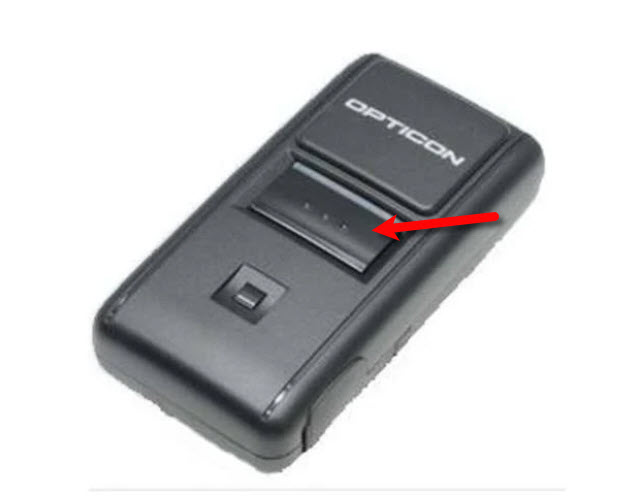
If you here more than one beep, then you have scanned an item too many times and you will need to use the smaller square button to re-scan the item. This will reduce the count by one for each scan. 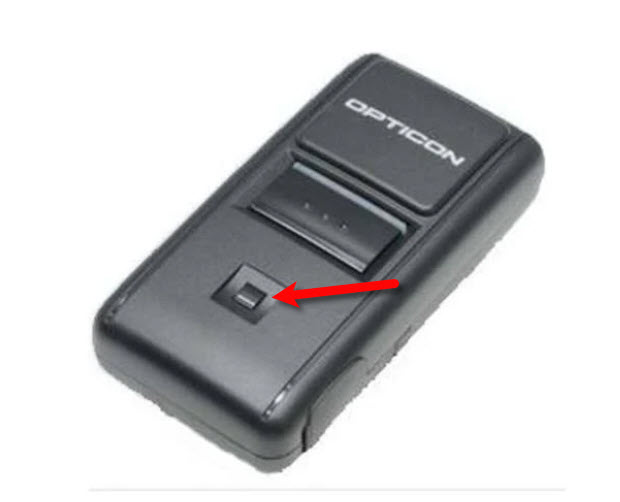
We recommend that if you have a large quantity of an item, that you scan each individual item, rather than the same item multiple times. This will prevent accidental over scans and under scans.
11.)Once a scanner has been loaded with the barcodes, you may connect the scanner to the PC via the USB cable and reopen the OPN utility.
You must wait until you hear a series of beeps or you see on the right panel that the barcodes column appears to have been updated. 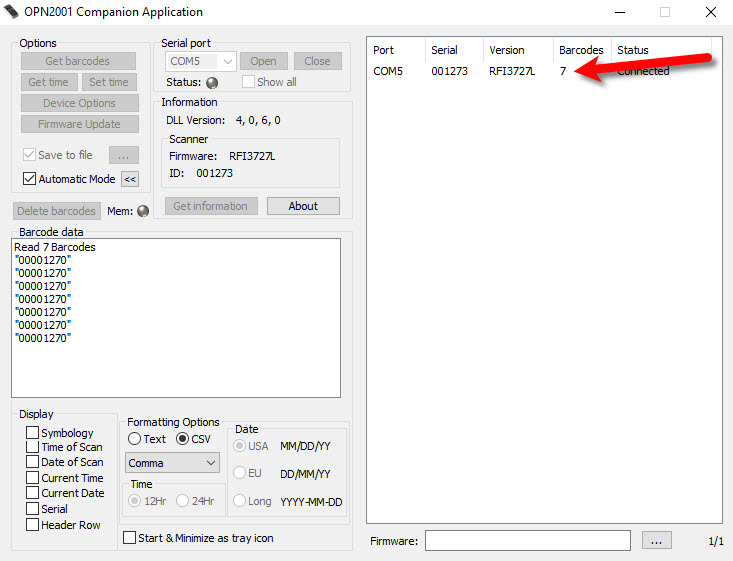
12.)This will generate the CSV file that you will need within the inventory counts file.
You must now verify that the file was created and also updated.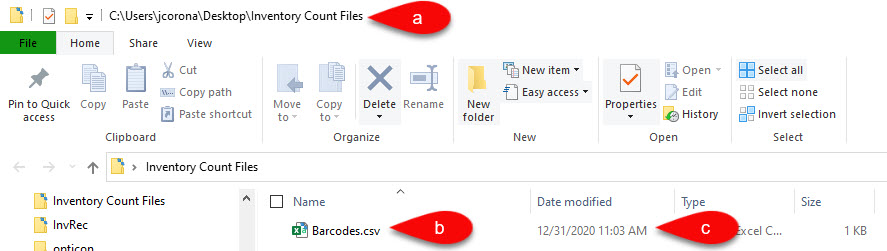
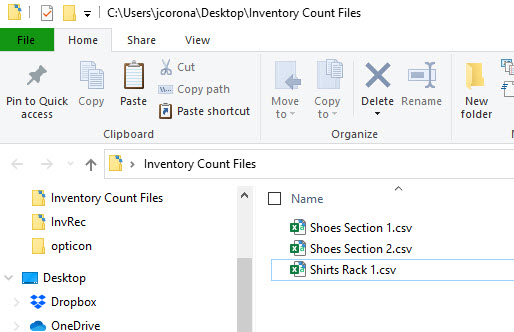
a.)Navigate to the Inventory Count Files folder you were instructed to create at the beginning of this guide.
b.)Verify that a .CSV was created in this folder.
c.)Verify that the Date Modified reads approximately the time you plugged the scanner in. It should be pretty recent.
d.)Optionally, you can rename the new file now to match the section you created if you would like to have each section with its' own barcode file. 
13.)You can then repeat this entire process of scanning the next area, hooking up the scanner to the PC when you are done.
Make sure that the OPN2001 Companion Application is running before you plug your scanner in.
When you plug in the scanner into your PC with the Companion Application running, the barcodes will be automatically added to the .CSV file mentioned in the last step.
14.)Please verify the date modified of date of the file was updated to the time you plugged your scanner in last. 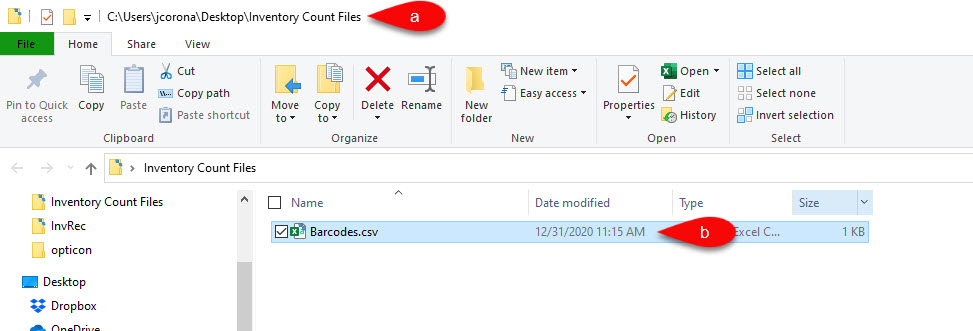
a.)Navigate to the Inventory Count Files folder.
b.)Check that Date Modified reads approximately the time you plugged the scanner in. It should be pretty recent.
c.)You can rename the new file now to match the section you created if you would like to have each section with its' own barcode file. 
Note: For large stores with a lot of different sections and inventory, it is recommended that you rename the barcode file to match the section that you worked on. This will allow you to generate a new .CSV each time you are done scanning an area rather than appending the barcodes to the same file. You would simply rename each new file that is created so that you keep your scanned areas all separated instead of having one massive file.
Example
15.)Once you are done scanning the entire store, you are ready to view the Physical Inventory Getting Started Guide