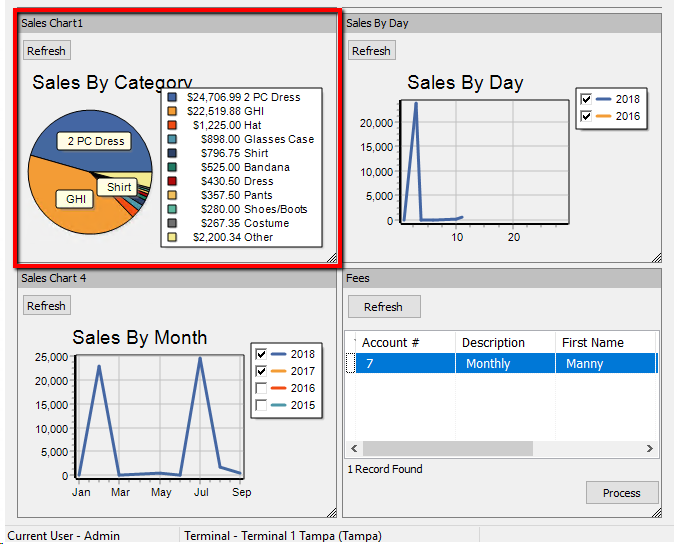
Adding A Chart Widget
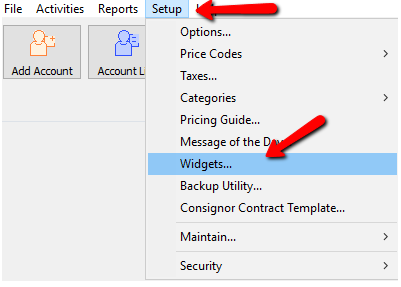
1.Click on Setup > Widgets.
The Maintain Widgets dialog Box Opens.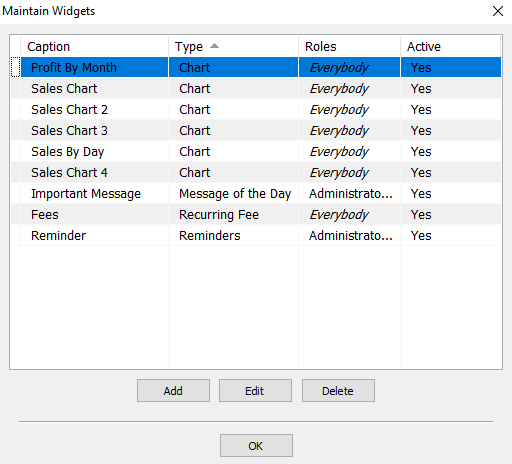
2.Click on Add to create a new widget. 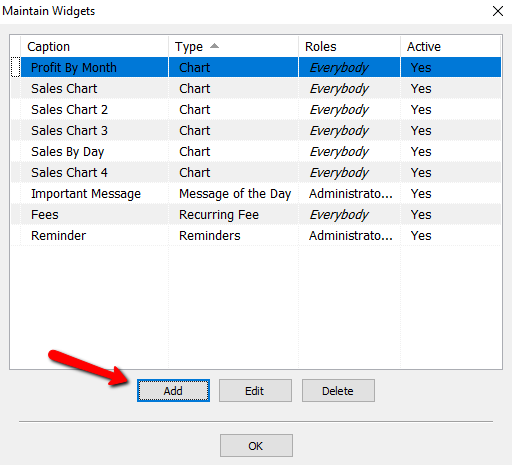
The Maintain Widget dialog Box Opens.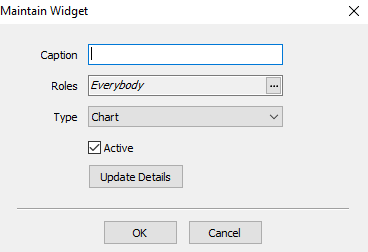
3. Enter a Caption for the widget. This description will be shown in the top of the widget once is created.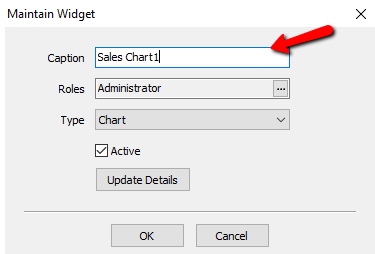
4.Choose all the Roles that this widget will apply to.
a.Roles : Select the rolles to apply to this Widget. For more information on Roles, please see Maintain Security Roles for more information.
Select the Search button to access the Roles. 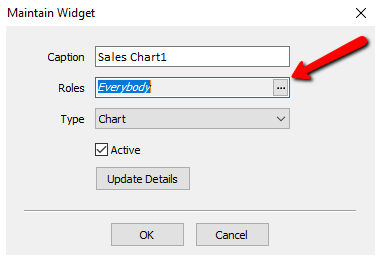
A list of roles will be displayed.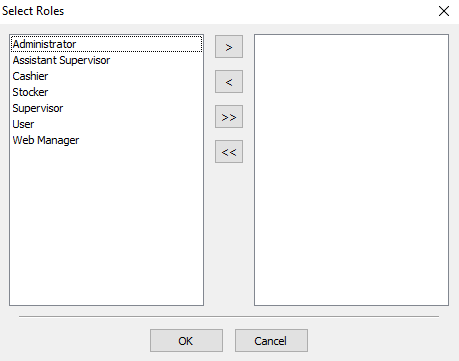
You can move individual Roles to the right or left column by highlighting the role and pressing the single Arrows.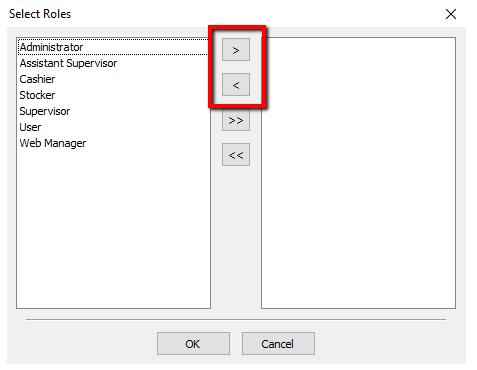
You can move all the roles to the right or left columns by pressing the double arrows.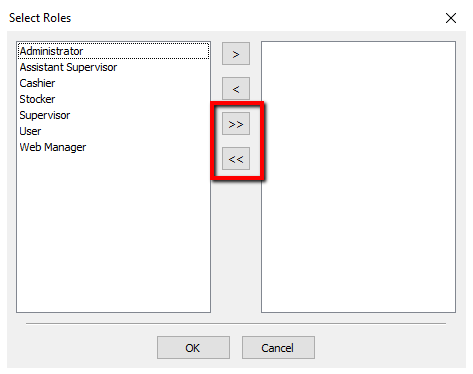
Once you have made your selections, press the OK button at the bottom.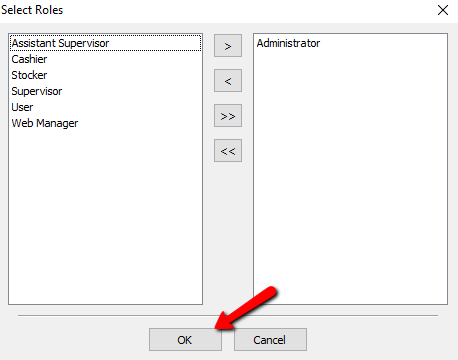
5.From the Type drop down, select Chart.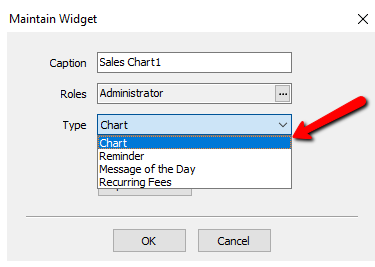
6.Leave the Active checkbox checked.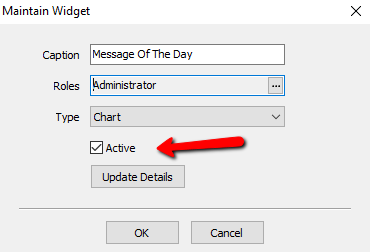
7.Click on Update Details. 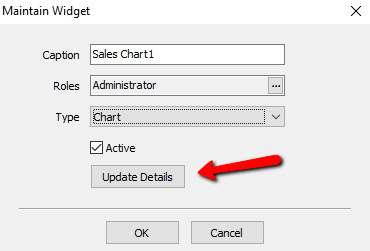
The Chart Type dialog box opens.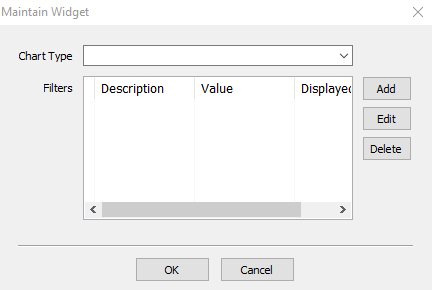
8.From the Chart Type drop down, select the appropriate Chart Type for this widget. Please see Type of Widgets for more information. 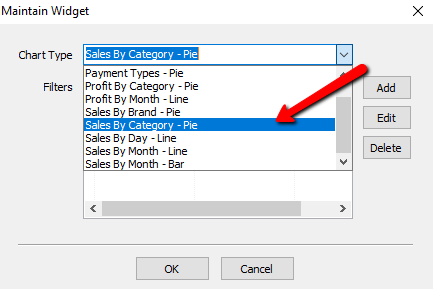
9.Once a chart type is selected, you can then specify a filter by clicking on the Add button. 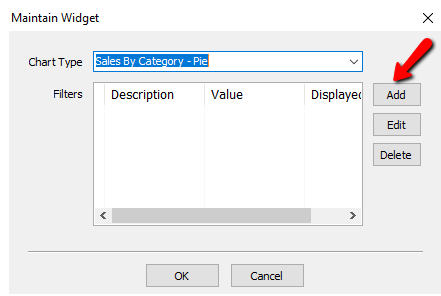
The Filter Type dialog box will open.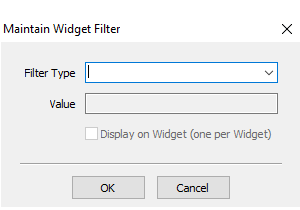
a.Filter Type : allows you to filter based on the criteria selected. (i.e Items Only, Month, Location)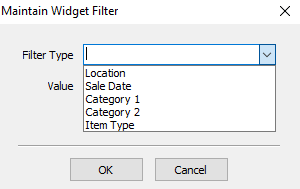
b.Value : depending on your filter type, you will have to specify a value. 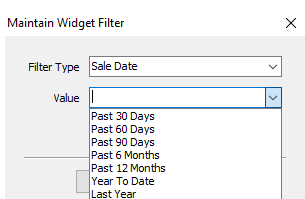
10.Select Display On Widget (one per Widget) to have it display in the widget.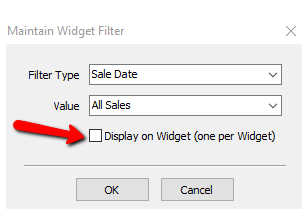
11.Click the OK button close the Maintain Widget Filter Type dialog box.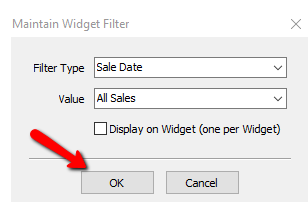
12.Select the OK button to close the Chart Type dialog box.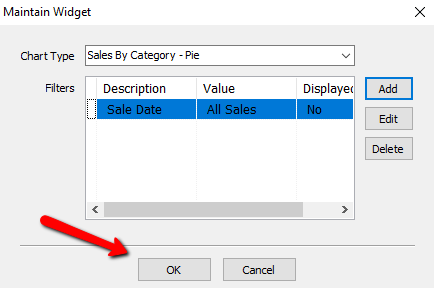
13.Select the OK button to close the Maintain Widgets dialog box.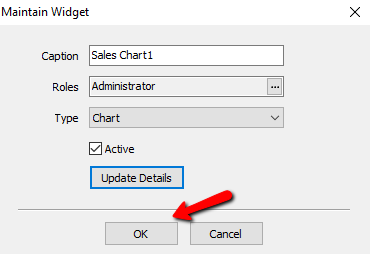
14.Select the OK button to close the main Widgets Maintenance screen.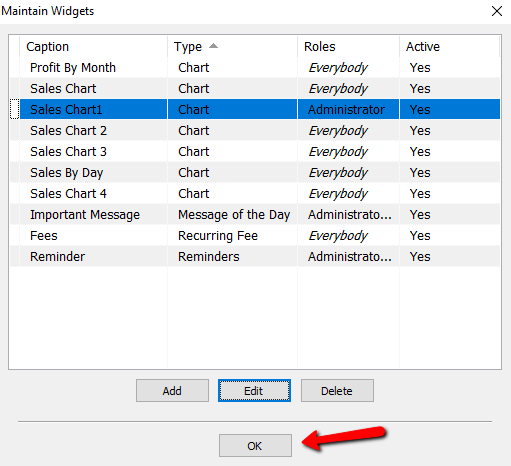
15.Go to the Dashboard of Liberty and you will see the Chart widget displaying a title and the chart type that it was selected. 