Using Category Discounts in POS
Liberty Point of Sale module has a feature named Category Discounts.
Category Discounts allows you to put an entire range of items on sale, such as when you want to discount "all socks" or "all dresses". You can create an "all dresses are half-off" category and Liberty will discount these items automatically.
If you have a 2 or 3 Category Level, you can select any Category Level, and the discount will apply those items that are part of that category.
Example: If you select Category 1 - Antiques & Collectibles and under that you find sub categories such as Art, Comics, Figure, etc, the discount will apply to all of the subcategories of Category 1.
Setting up Category Discounts
1.From the Point Of Sale Menu select the More button.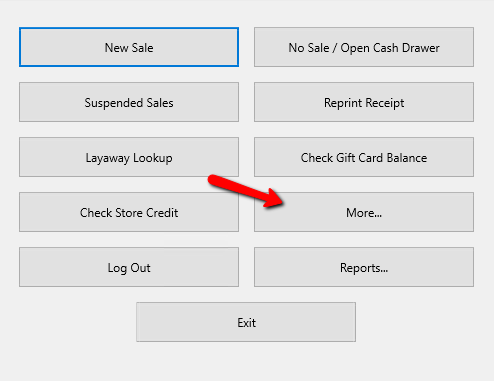
2.Login using your credentials if asked to.
3.Select the Category Discounts button.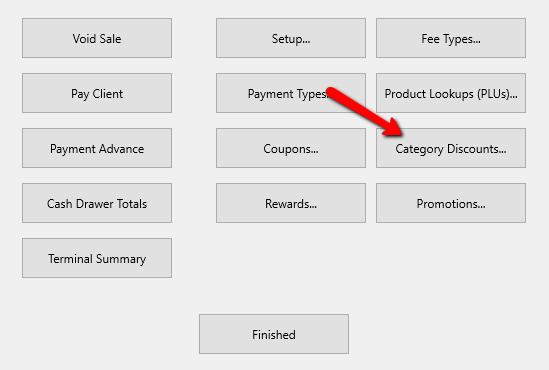
4.Login using your credentials again if asked to.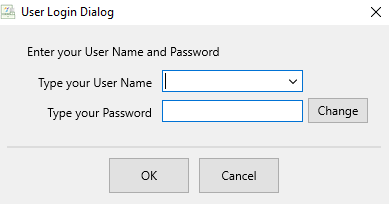
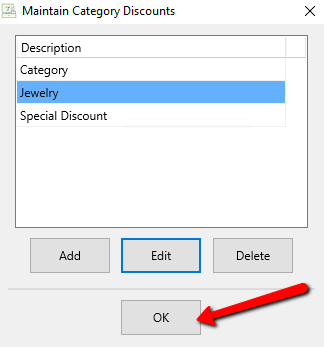
The Maintain Category Discounts window will open.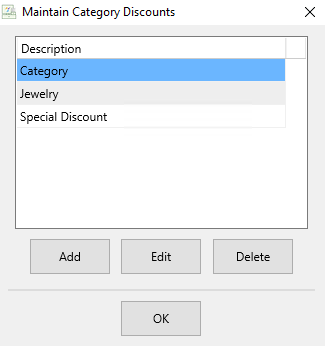
5.Click the Add button to create a new category discount, or highlight a current category discount and select the Edit button.
Note: You can not delete a discount that has been used.
This will open the details of that discount.
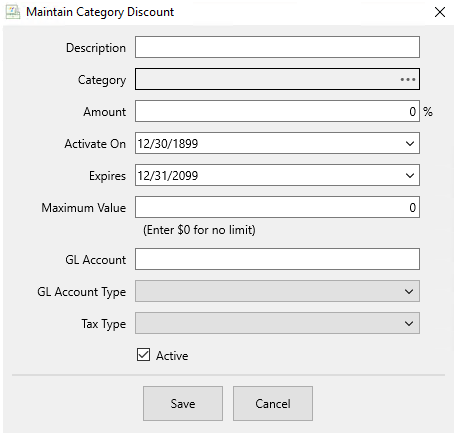
●Description : Add the description of the category discount. 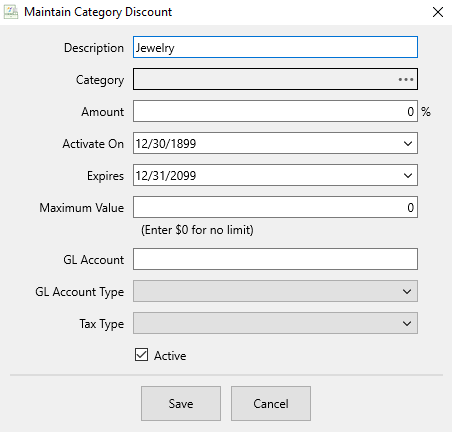
●Category : To select the category for the discount select the Navigation menu at the end of the Category Field.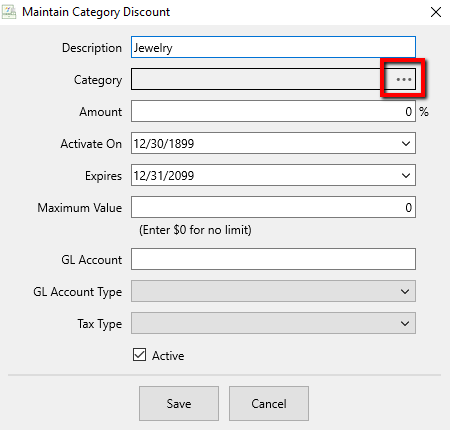
This will open the Category Selection window.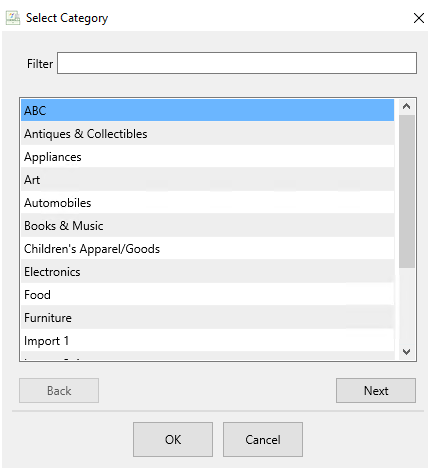
The Category can be changed by selecting the Next button. Additionally, can use the Back and Next buttons to navigate through the different Category Levels. You can use the Filter field to help find the desired category within that level. Once you find the desired Category, select the OK button at the bottom.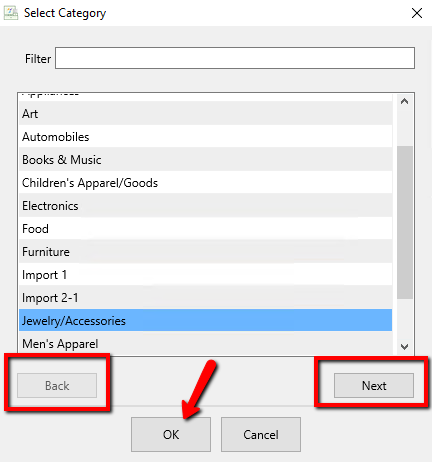
Note: If I higher Level Category is selected, it will apply to all lower categories underneath it. Example, If I choose Clothes, and Clothes has Shirts and Pants underneath it, then the discount will apply to Shirts and Pants.
●Amount : Enter the amount of the Category Discount to be applied.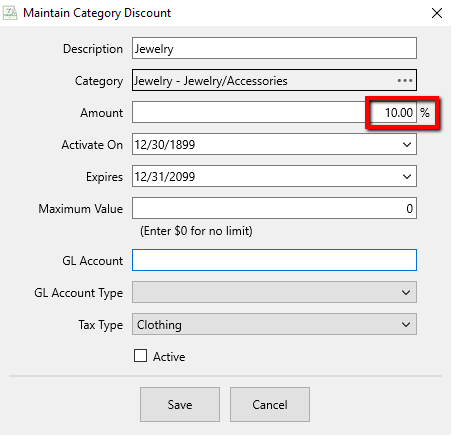
●Activate On : If you wish to have the Category Discount start on a certain date, then you can add that date here.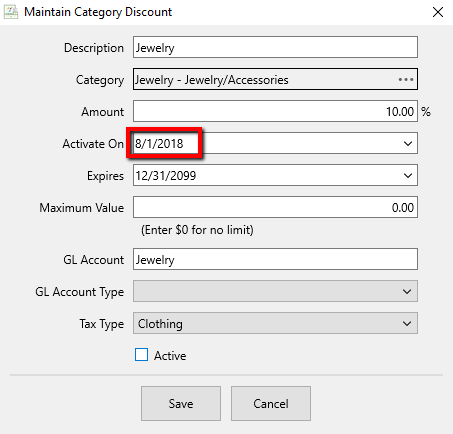
●Expires : If you wish to have your Category Discount to end on a certain date, enter that date here.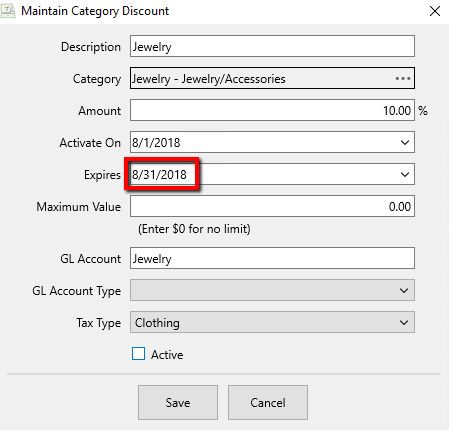
●Maximum Value : If there is a Maximum value you are willing to give for the Category Discount, enter that value here.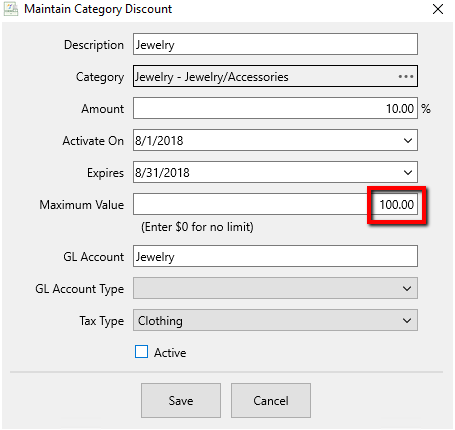
●GL Account and GL Account Type are reserved for Quickbooks Exporting through the Resaleworld Quickbooks Link. Contact Resaleworld for more details.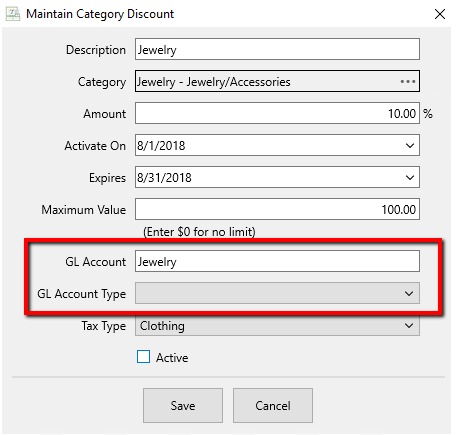
●Tax Type : If you need to change the Tax Type for the Category Discount, do that here. Select the Dropdown menu choose the Tax Type you want to apply.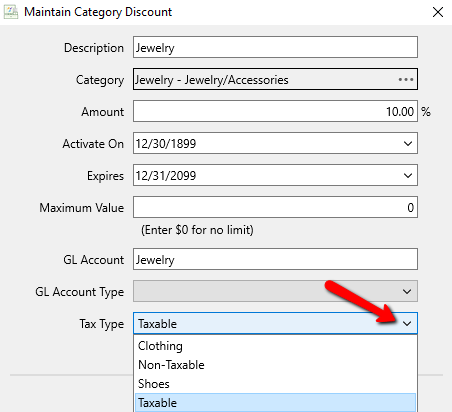
●Active (Check Box) : To deactivate the Category Discount, uncheck the Active check box. 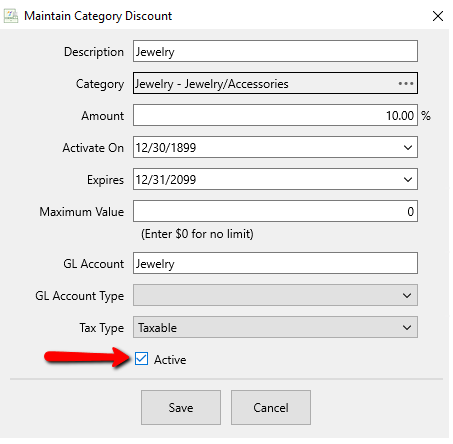
6.When done making the needed selections, select the Save button.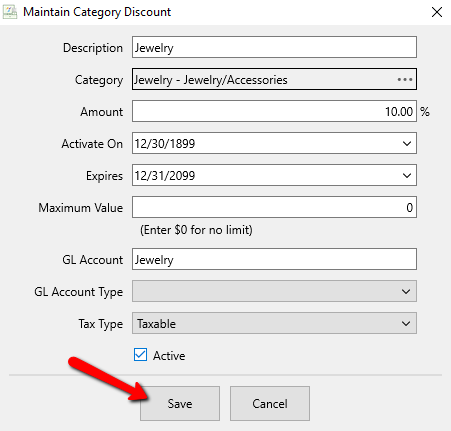
You should see your Category Discount in the list of available discounts.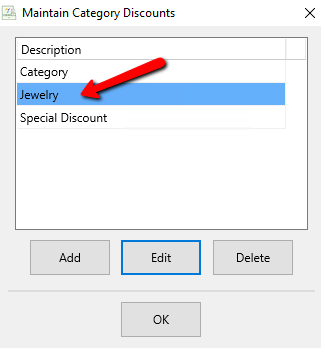
Press the OK button to exit out of the Category Discounts menu