How To Initiate Subsequent Syncs To Quickbooks Online
1.Open the Liberty REACT Inventory Module and then click on the QB Link icon. 
2.If you see any Red entries, they will need to be corrected first.
Click once on the Red entry and then click the Edit button. 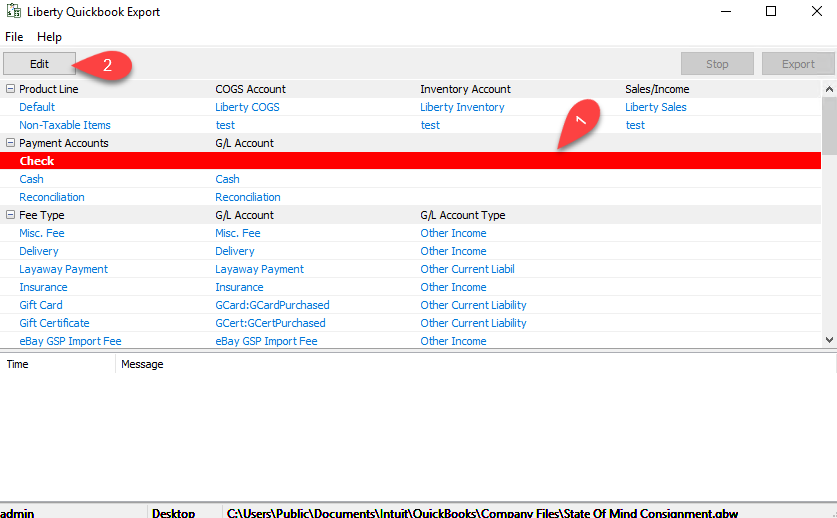
3.Type in the G/L Account name you would like Liberty to create or sync into if Quickbooks has the account already created.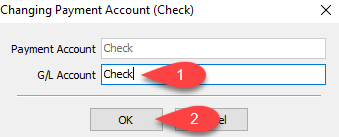
Note: To export into sub-accounts, simply use the colon (:) symbol between two accounts Example Bank of America:Check
4.Scroll down until you get to the bottom and make sure there are no more Red entries missing required information. 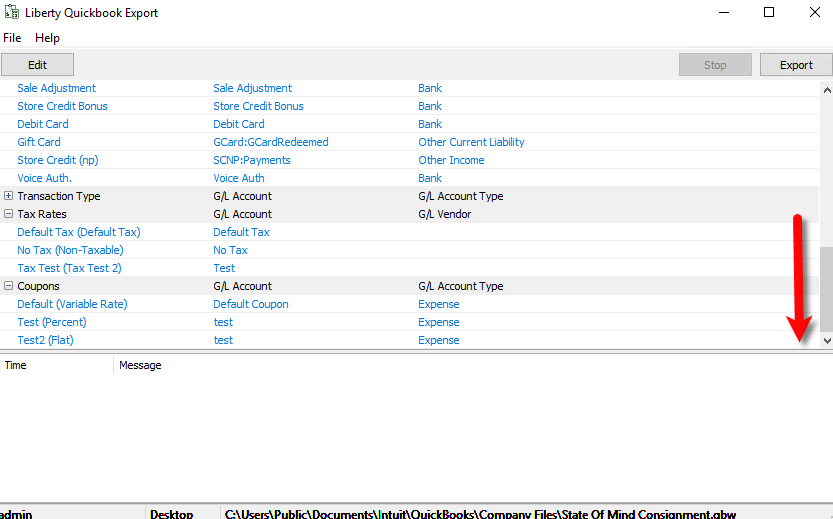
5.Click the Export button. 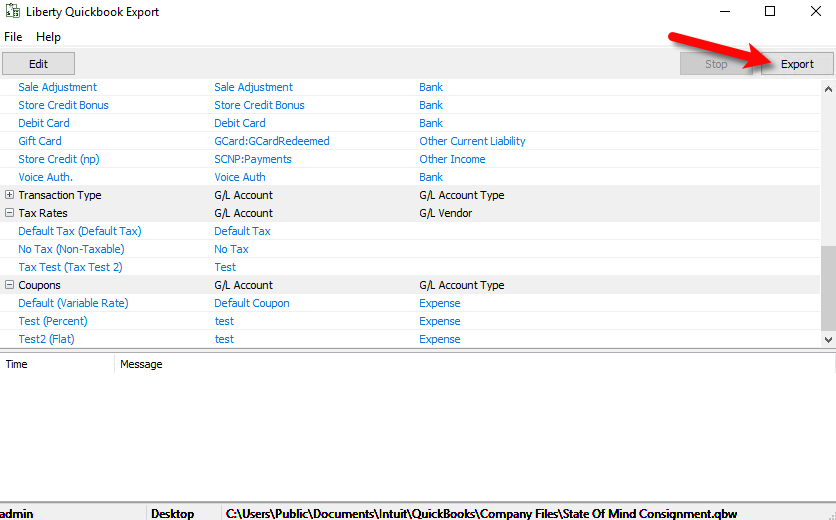
6.The Liberty Quickbooks Link will now sync to your company file on Quickbooks Online from the last time you synced.
7.If you receive a message stating Current Quickbooks Online edition not supported. Quickbooks Online Plus edition is required, you must upgrade your Quickbooks Online edition to Plus and then Export again. 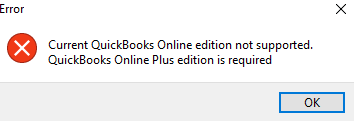
8.When you see The sync has been completed successfully, this means that the export is finished.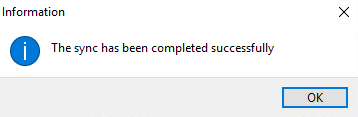
Note: If you see a message stating that there was an error during the export, please visit our Troubleshooting Quickbooks article.
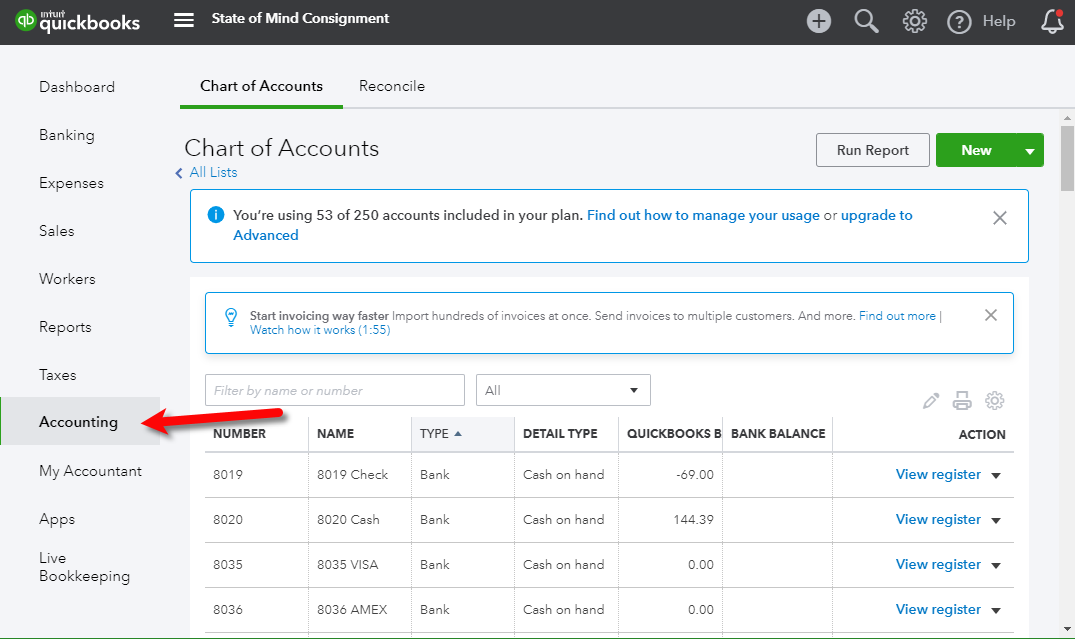
9.You can then click on the Accounting menu option in your Quickbooks Online account to see the exported accounting data.
Related Topics
Exporting to Quickbooks Online Using The Quickbooks Link Overview
Quickbooks Online Link and GL Account Settings
Exporting To Quickbooks Online For The First Time