How To Create A Web Listing Manually
This is the companion article to the following video:
How To Create A Web Listing Manually
Note: This is primarily a guide for Shopify and ShopRW. This can partially be used for eBay, but there are additional options that will need to be taken care of before the item can be listed on eBay. These options include shipping, payment and return policies, along with ebay category ID and eBay item specifics. There is another guide that details listing an item to eBay.
1.In the top-right corner of Liberty, click the Listing Manager button to open up the Listing Manager module.
2.From there, in the top menu bar click Settings > Options.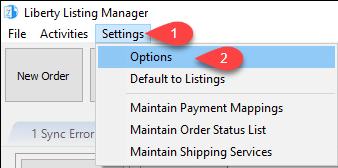
3.After inputting the login for Liberty, it will open up the Maintain Options window. There’s a few options here we want to change for manual item entry.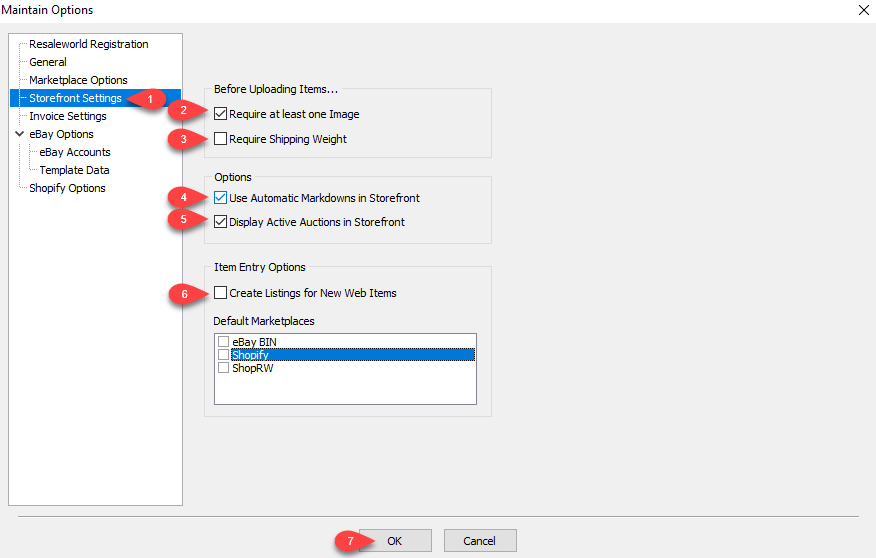
a.First, on the left-hand panel, click on Storefront Settings.
b.Require at least one Image - This requires an item to have at least one image before it can be listed, which can be very useful for ensuring your items aren’t uploaded without images. We recommend this to be checked.
c.Require Shipping Weight - This requires an item to have a shipping weight entered in order to list. If you are not using calculated shipping, ensure this is unchecked.
d.Use Automatic Markdowns in Storefront - This option allows your items to have the markdown periods you have set in Liberty apply online as well. If checked, they will discount at the set percentage/timeframe just like in-store items. This setting only applies to Shopify and ShopRW items.
e.Display Active Auctions in Storefront - This option has two functions depending on which storefront you are using. For Shopify, it will allow “Buy It Now” items you have listed on Ebay to show in your Shopify storefront as separate listings. For ShopRW, it will show both “Buy It Now’ listings as well as Auctions that you have listed on Ebay separate listings.
f.Create Listings for New Web Items - This option controls if web listings are auto-created for the selected storefronts for new items entered in Liberty with the Web Item checkbox marked. For the purposes of manually entering web listings in the Listing Manager, we want to have this unchecked.
g.Once the settings are configured, click OK to save them and return to the Listing Manager.
Remember to ensure that the “Create Listings for New Web Items” checkbox is unchecked. This is required for manually entering web listings.
4.From here, on your taskbar, click the icon for the Liberty Inventory Module to switch over to it, as we will now be creating a new item to list.
5.Select the consignor’s account you want to create the item in.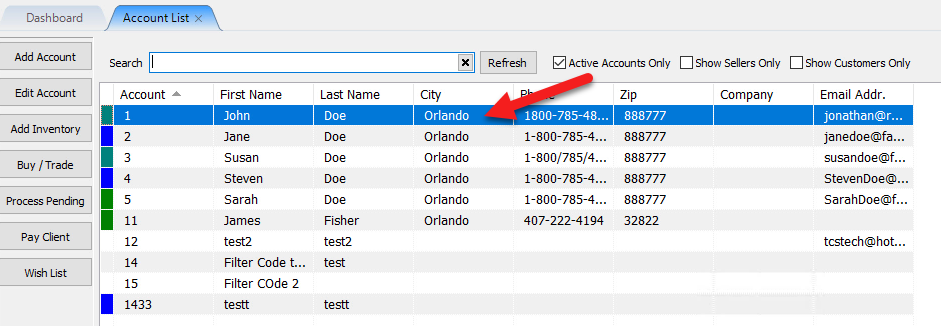
6.Then on the quick tasks menu on the left-hand side, click the Add Inventory button so we can add our item.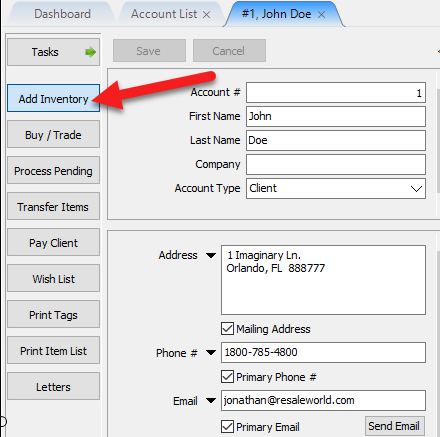
7.From here, we will add our new item to be listed online. In this example, we will fill out the new inventory item’s information as shown below. A few key areas to note: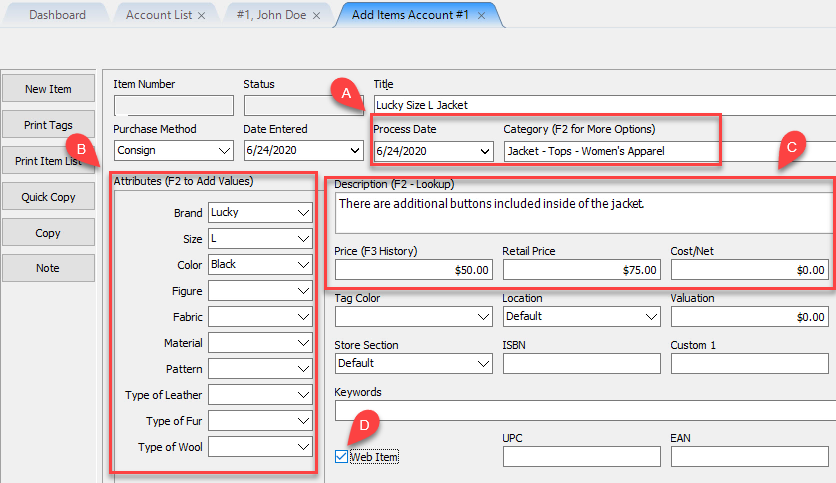
a.
b.Set the item’s Attributes, such as Brand, Size, and Color. Any set attributes will display on the online listing.
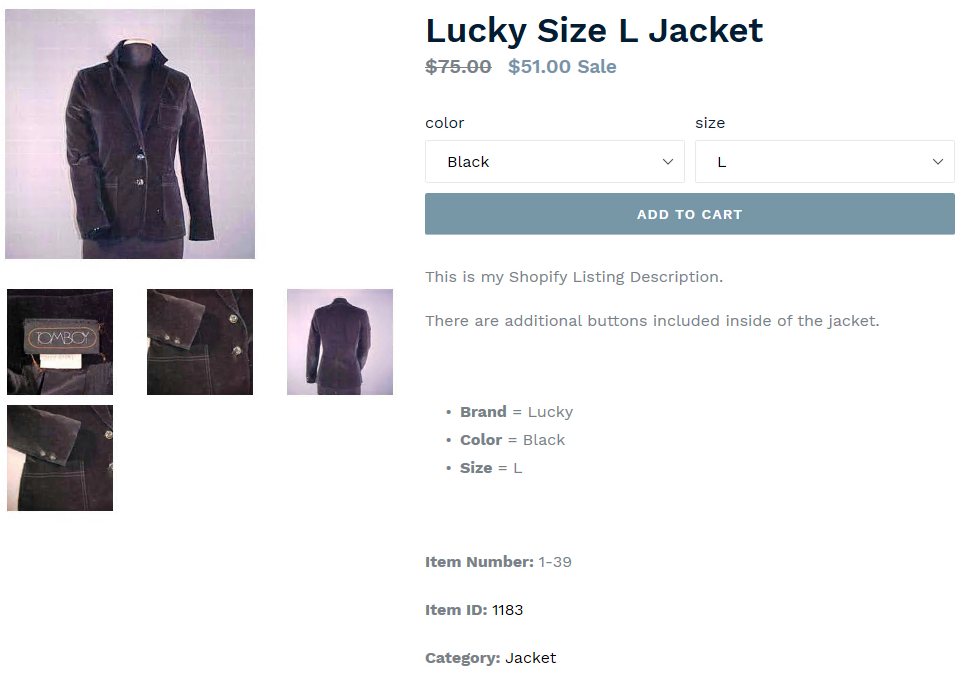
c.Set the item’s Description, as this will also show on the item’s listing. The Price field will be the item’s price, and if there is a Retail Price set, this will additionally show a slashed-through price of whatever the retail price specified was. This can be used to show the item’s original retail price, so online shoppers can see the price difference when viewing the item online.
d.Ensure that the Web Item checkbox is checked. This will allow the item to be marked as an item to be listed online. If it ends up not getting checked, the item entry person can still look up the items if needed.
8.Click Save to save the new web item.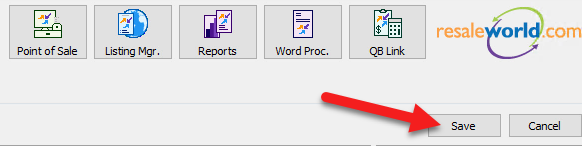
9.Then on the taskbar, click the Listing Manager icon to switch back over to the Listing Manager module.
10.Next we will create the listing for the item we just added previously. To do this, click the Add Listing button in the top right of the Listing Manager.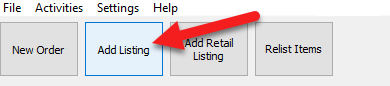
11.The Select Item dialog will then appear.
You will see your new item you added in the list (as we checked the Web Item checkbox when we added the item).
Click the newly added item to select it, the click OK.
12.Next, select the online marketplace you want to list to, using the Marketplace dropdown.
Then click OK.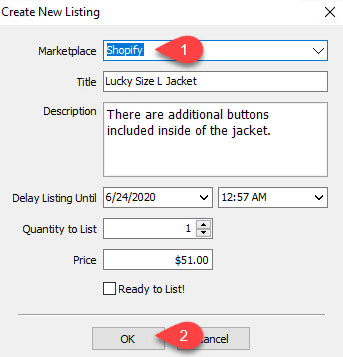
13.You will then be directed to the Maintain Listing screen.
This is where you can change different aspects of the listing, such as change the Title, HTML Template, Description, as well as other options and item attributes. T
he aspects of the item set in the Add Item screen we set earlier get carried over to this screen.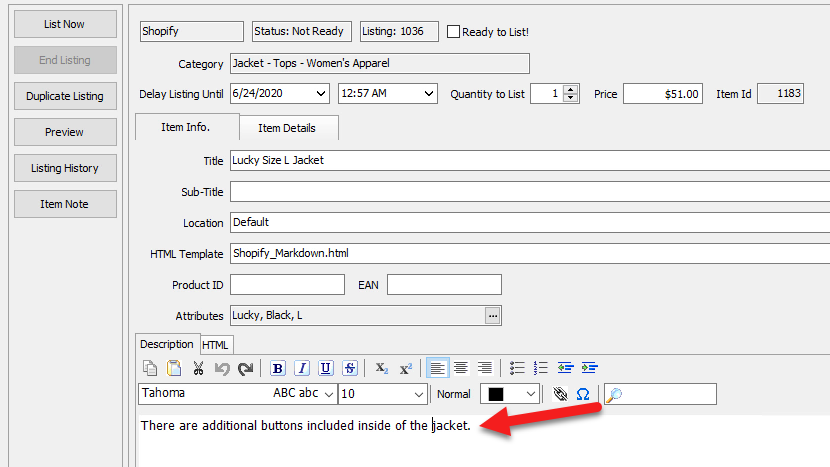
14.Near the right side of the Maintain Listing screen is the Package Information section. This allows you to set and/or change the shipping parameters, such as Weight, Height, Length, and Width.
You can also specify the item as a Featured Item for your storefront, which will show the item in your “Featured Products” section in ShopRW, or your featured Collection in Shopify, which in turn will display the item on your web store’s home page.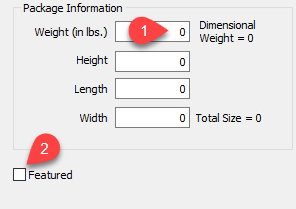
15.The right-hand section of the Maintain Listing screen is the item’s Images pane, which should be familiar from the Item Details screen in Liberty’s Inventory Module.
Note that any pictures you have added for the item in the Inventory Module for existing items will also carry over to the Listing Manager as well.
To add images, click the Add button. Let’s do this now.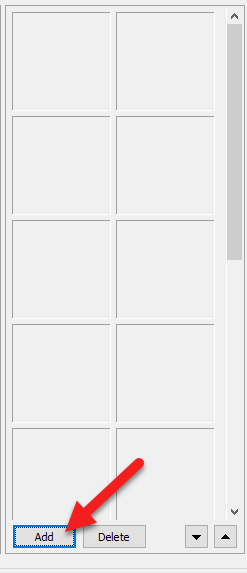
16.After clicking the Add button on the item’s Images pane, the Open dialog will appear.
From here, you can navigate to the folder on your computer where the desired images are located, and select them add.
To select multiple images, hold the CTRL (Control) key on your keyboard while clicking on each item you want to add.
When you have selected the image(s) you want to add to the listing, click Open.
The images will then appear in the item’s Images pane on the Maintain Listing screen.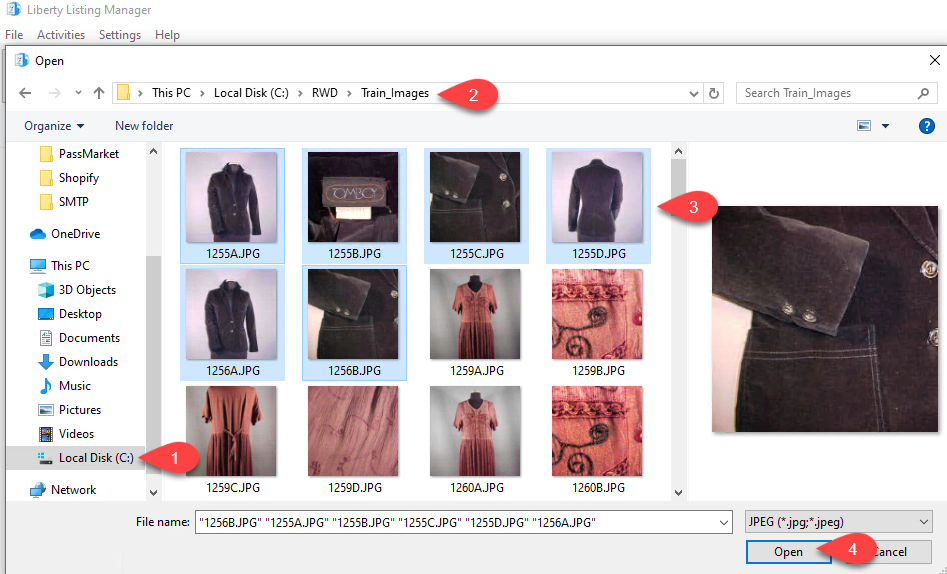
17.To list the item, either select Ready to List! or List Now. There is a slight difference in functionality between the two.
Checking Ready to List! then clicking Save will sync the item to your selected web platform within five minutes, and allow you to continue working on other items while it does so.
List Now allows you to push that item immediately to the selected online storefront, but you have to wait until it finishes syncing before you can continue to edit/list items.
We recommend using the Ready to List! method as it allows you to quickly get through more items, unless you run into the situation of needing to list something immediately then List Now is the better option.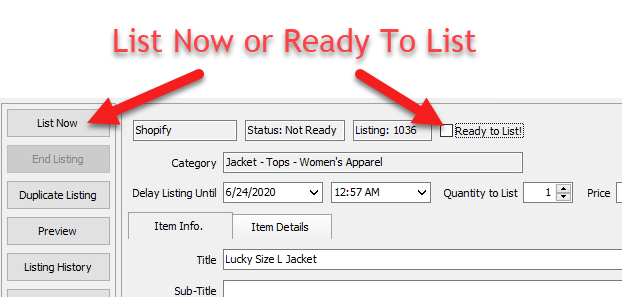
18.To view your newly listed item, click on the Listings tab to bring up the Listings screen. From there, click the Active tab, then in the item list, right-click the item you want to view then select View Listing. This will bring up the selected item’s listing in your default web browser.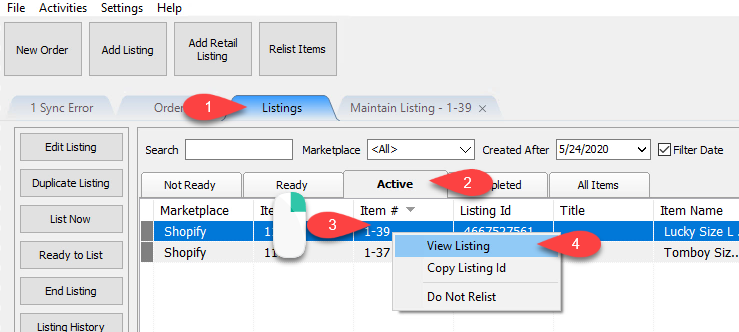
19.Congrats! You’ve created your first web listing!