Clover Flex-3
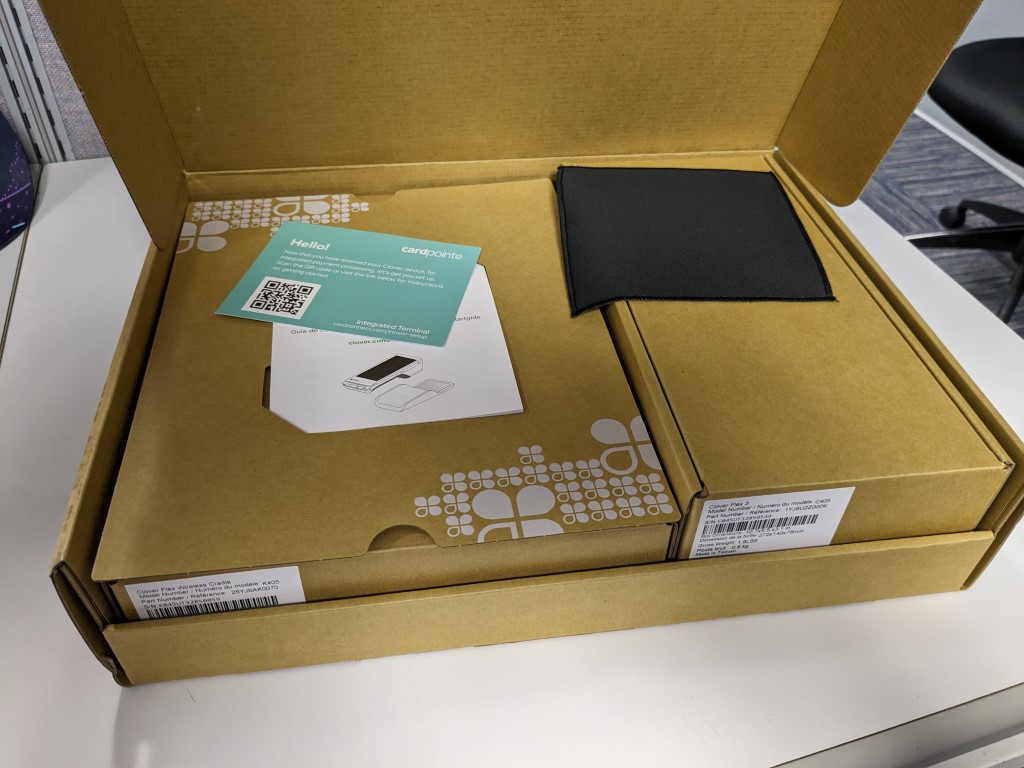
Unboxing
The Clover Flex includes:
●Clover Flex Quick Start Guide
●Charging cradle
●Power cable
●Receipt paper
●Screwdriver
●Preinstalled SIM card
Setup
1.Connect the power cable to the charging cradle.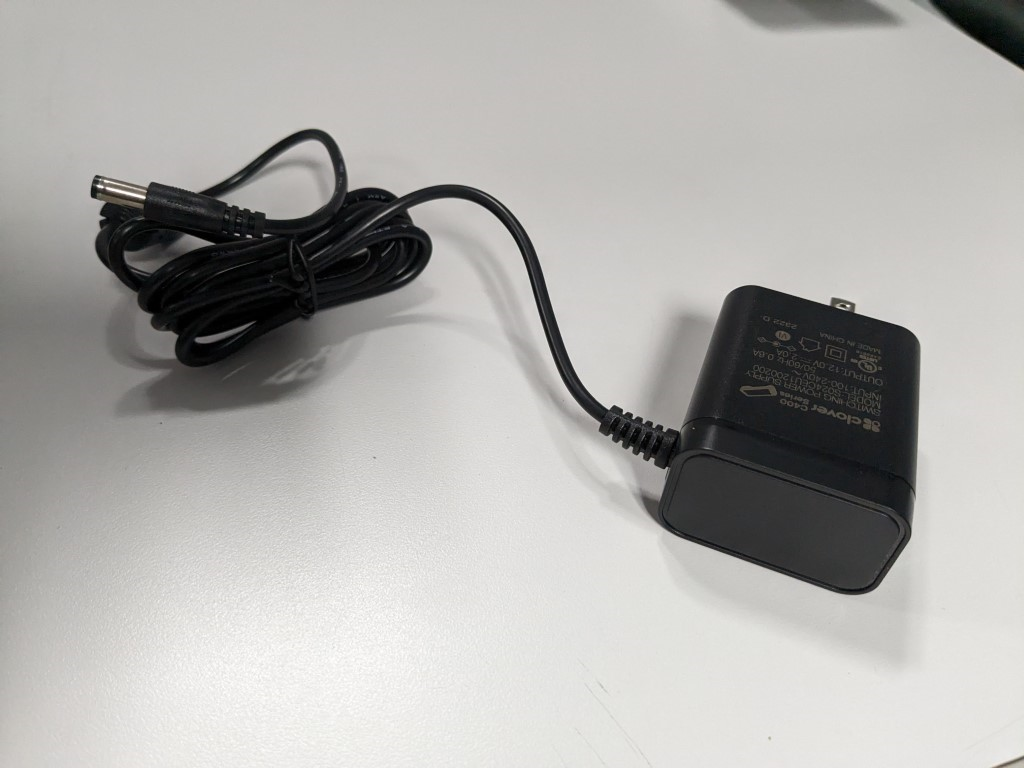
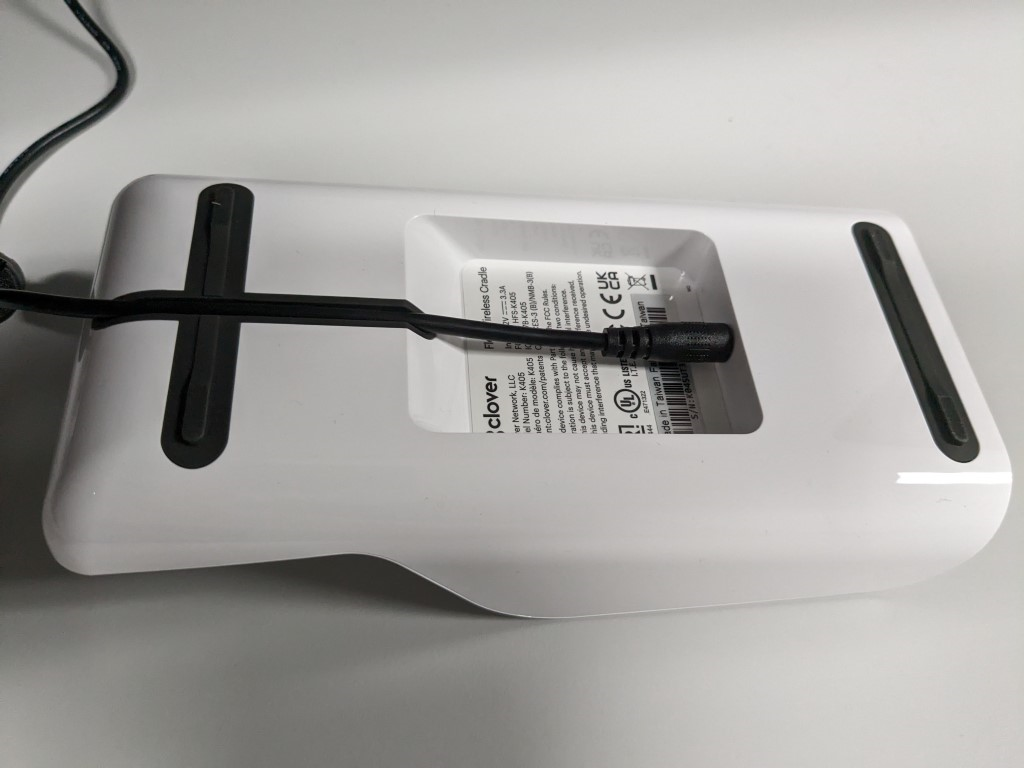
2.Place the Clover Flex on the charging cradle. 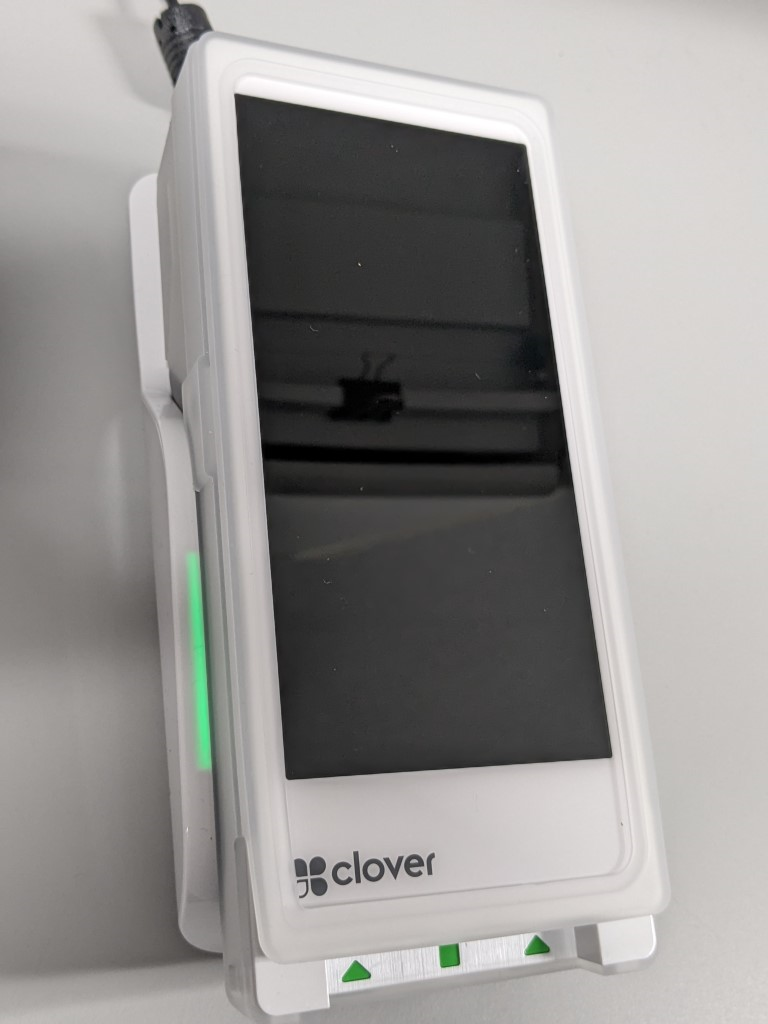
A green light will flash on both sides of the terminal when it is successfully docked and charging.
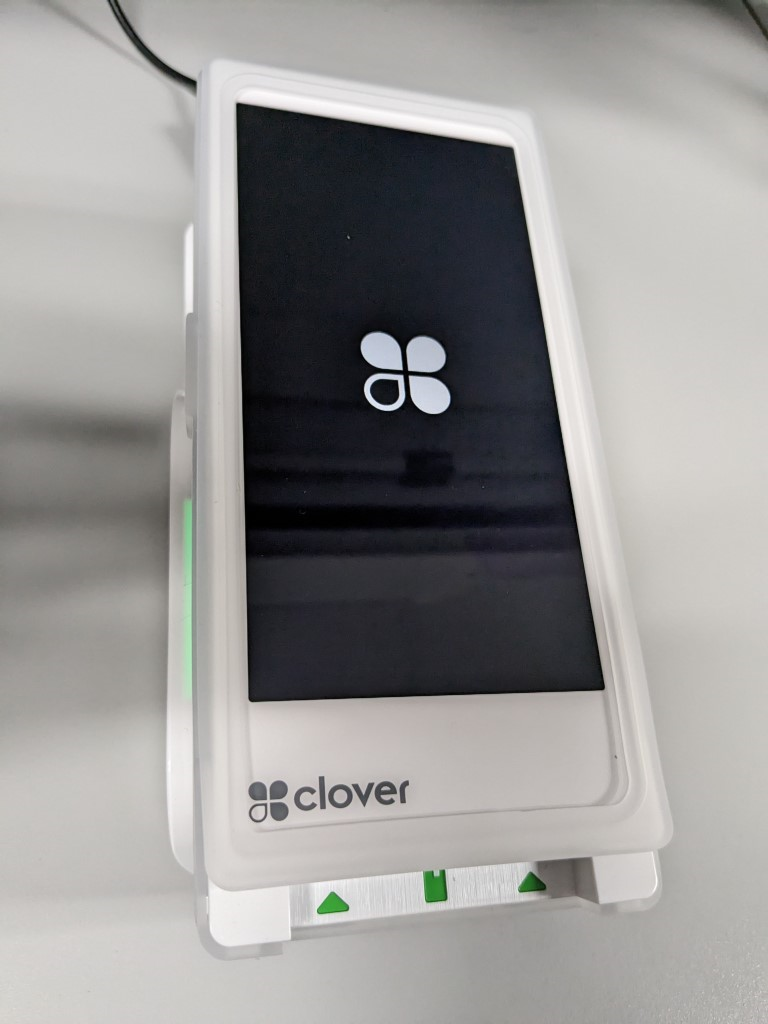
3.Press and hold the power button until the Clover logo displays on the screen.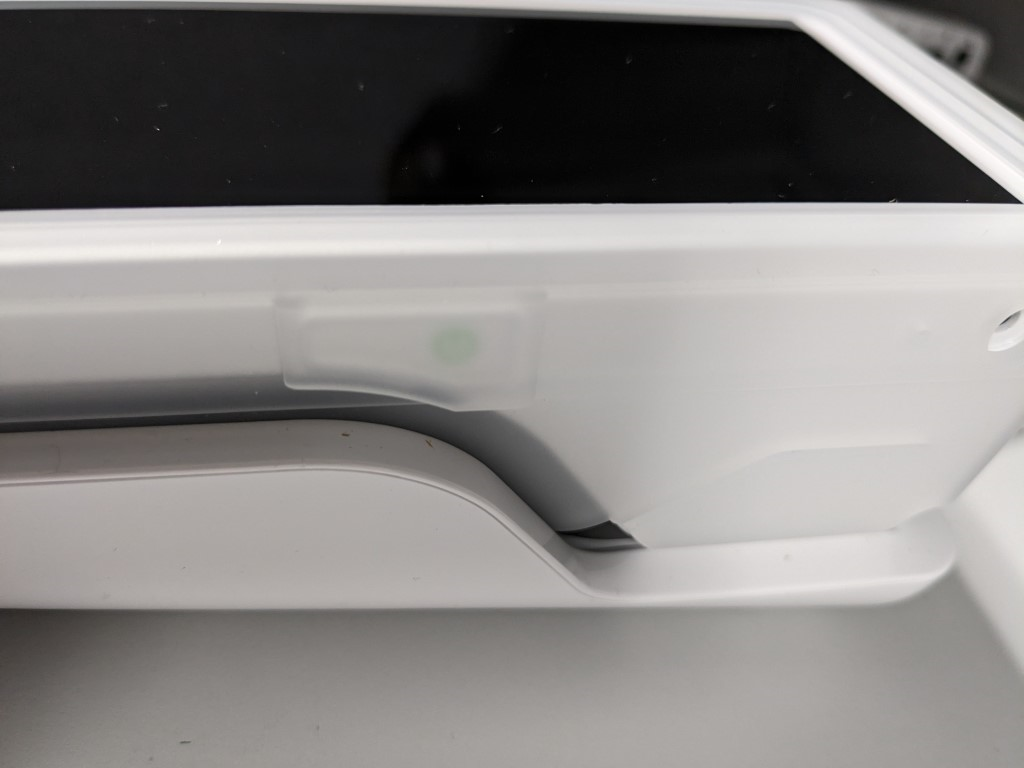
4.On the Welcome screen, select a language and press Next. 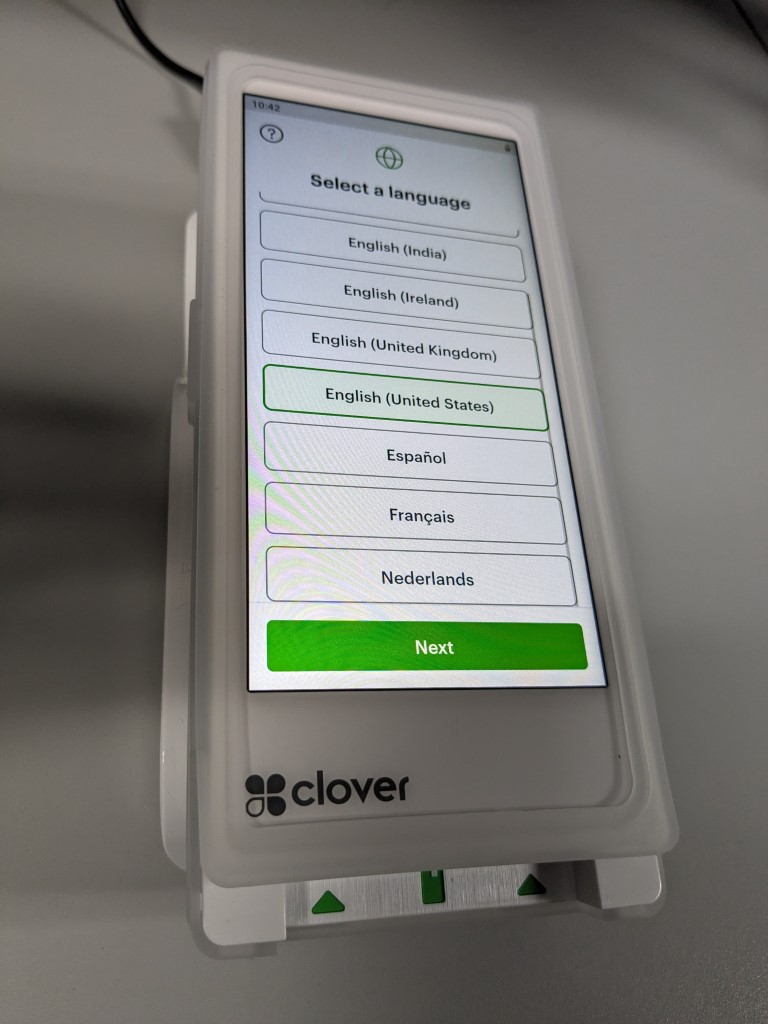
5.On the Network screen, do the following to configure the device’s network connection:
a.To connect to a Wi-Fi network, tap Wi-Fi, then tap your network and enter your password.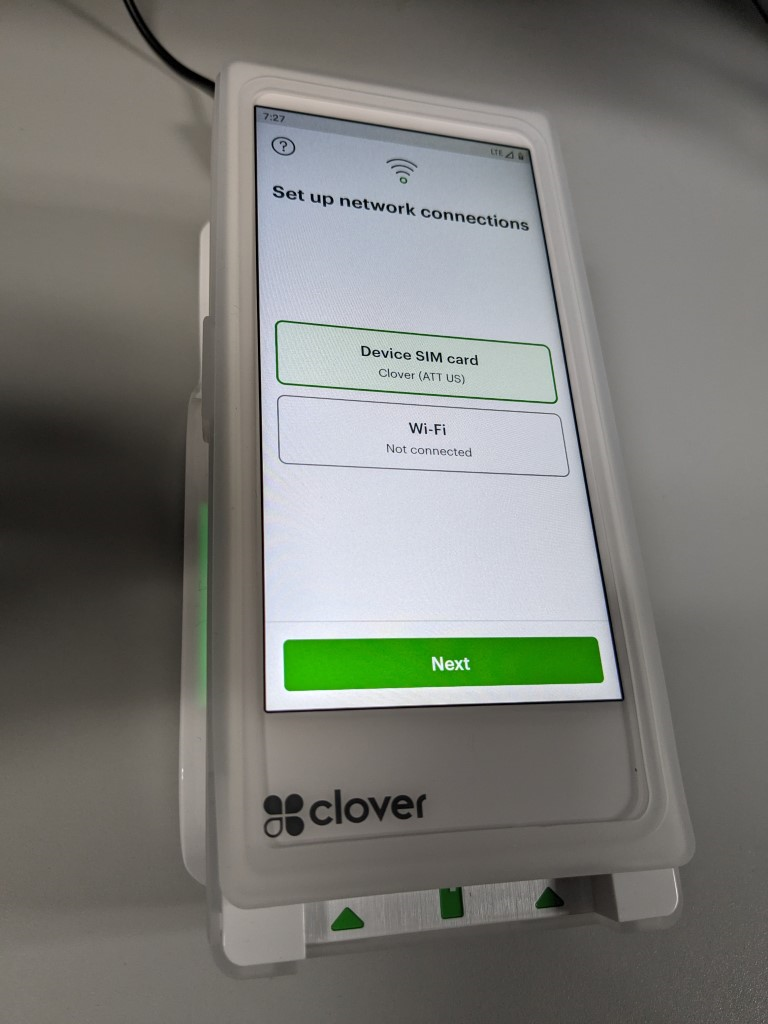
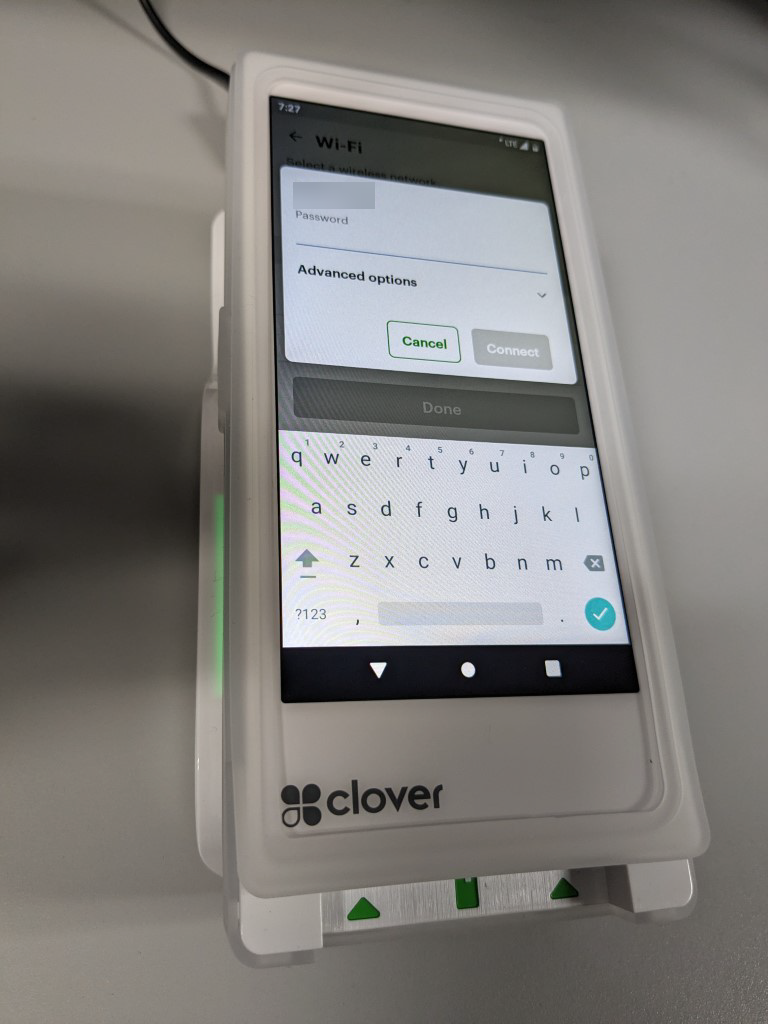
PCI compliance standards require the device to connect to a secure, password protected network.
b.To connect to an LTE network, tap Device SIM card.
6.The device briefly displays “Successfully Connected to Server” once the network configuration is complete. It then begins to download the CardPointe App and other required components.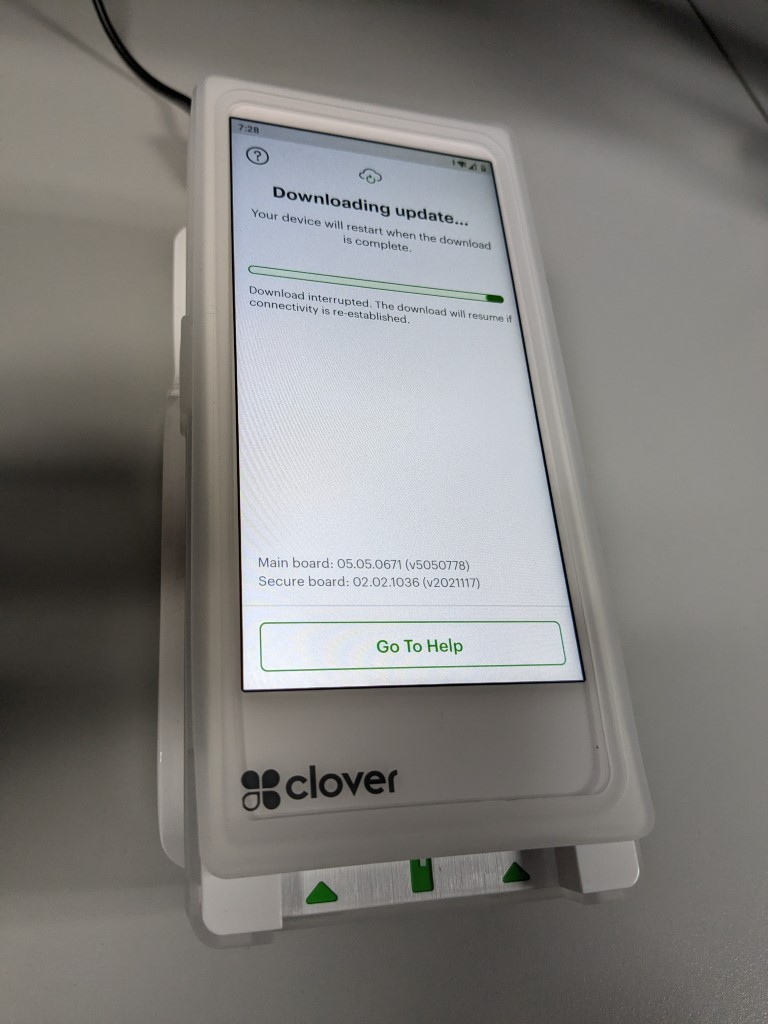
7.Once complete, the CardPointe App launches and displays the Terminal Registration screen.
Registration
Once the Clover Flex setup process is complete, you must register the device with CardPointe Integrated Payments to get started.
1.On the Terminal Registration screen, tap the empty field to open the keyboard.
2.Enter the 8-digit Order ID provided in your welcome email, then tap Continue. 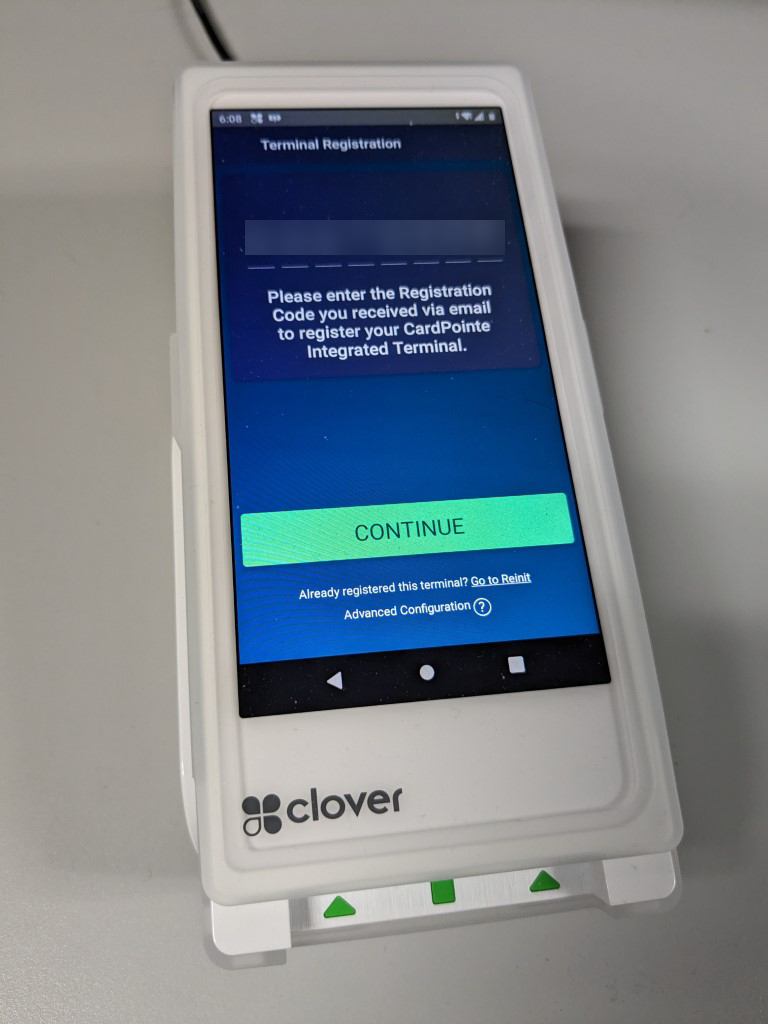
3.On the Registration Complete screen, tap Continue to complete the device registration.
Using the Clover Flex-3
By default, the Clover Flex-3 will be in Merchant mode, which allows you to access the admin panel and the Android device settings.
1.The Admin Panel has some options for the Cardpointe app. 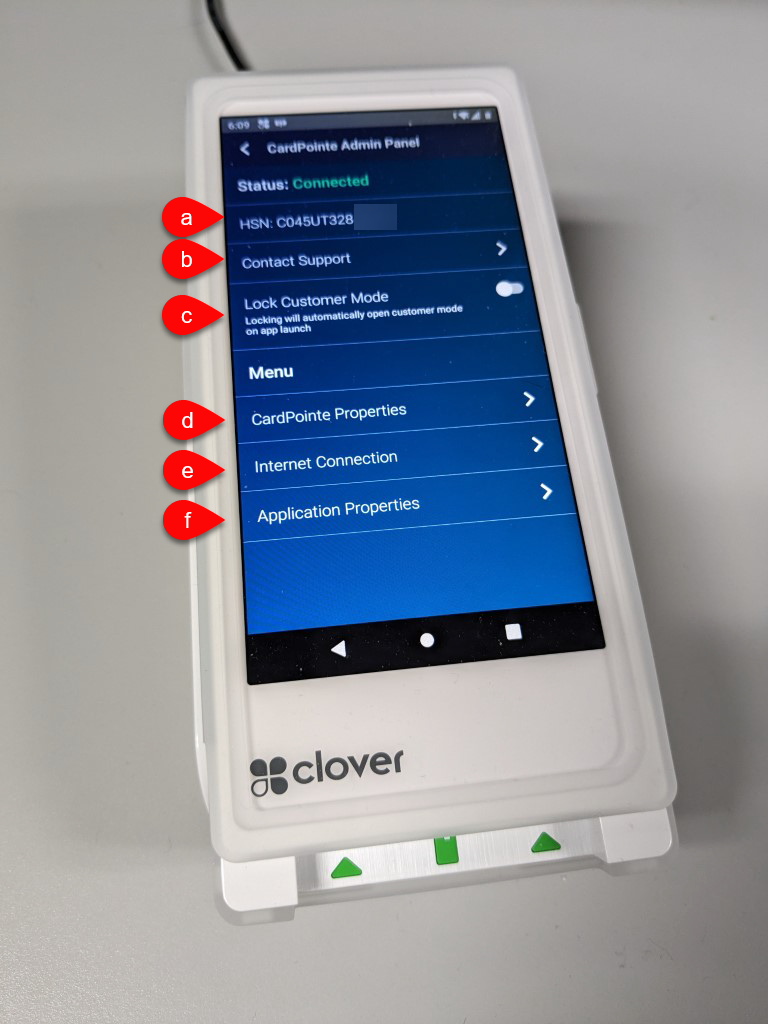
a.The HSN (hardware serial number) is listed here for ease of use. This uniquely identifies the terminal and is needed for the setup in Liberty.
b.Contact Support brings up the Cardpoint Support center website.
c.Lock Customer Mode makes the device launch into Customer Mode automatically when the app is launched. Once the device is fully configured you won’t need to use Merchant Mode often, so locking it into Customer Mode can be helpful.
d.Cardpointe Properties shows information about the hardware and software.
e.Internet Connection shows information about the internet connection. You can click Advanced Configuration to reach the WiFi settings if you need to connect to a network. 
f.Application Properties gives you the app version.
2.Settings can be reached from the home screen or the Advanced Configuration option in Internet Connection. Tap on Network & Internet to connect to a WiFi network. 
Once all of the settings are set, put the device in Customer Mode. Customer Mode allows sales to go through to the terminal once they are rung up in the POS. 
To exit Customer Mode, touch all 4 corners of the screen at once. 
Running a Transaction Through The Liberty POS
The Clover terminal accepts the following types of payment:
●Credit Cards
●Debit Cards
●Contactless Cards
●EMV
●NFC
Once a sale is rung up in Liberty, the Clover will automatically light up with the total cost and prompt the customer to insert, tap, or swipe. They can insert or swipe at the bottom. Tap works anywhere on the screen but may work best on the top half of the terminal.
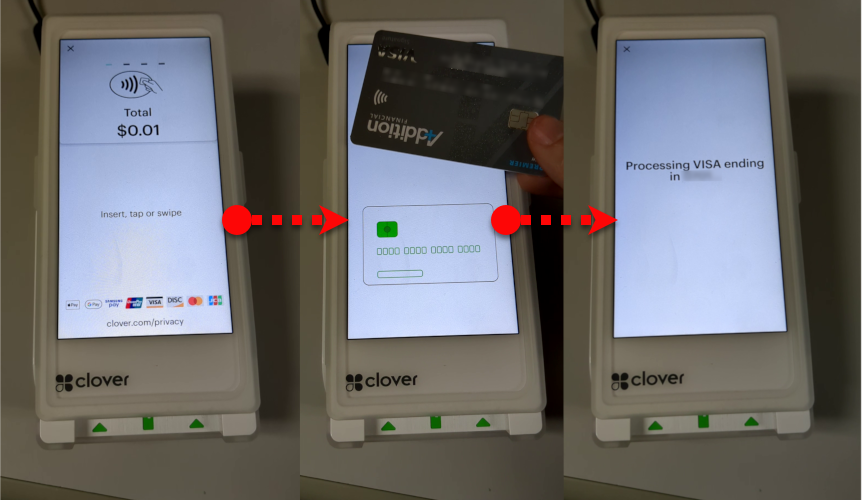
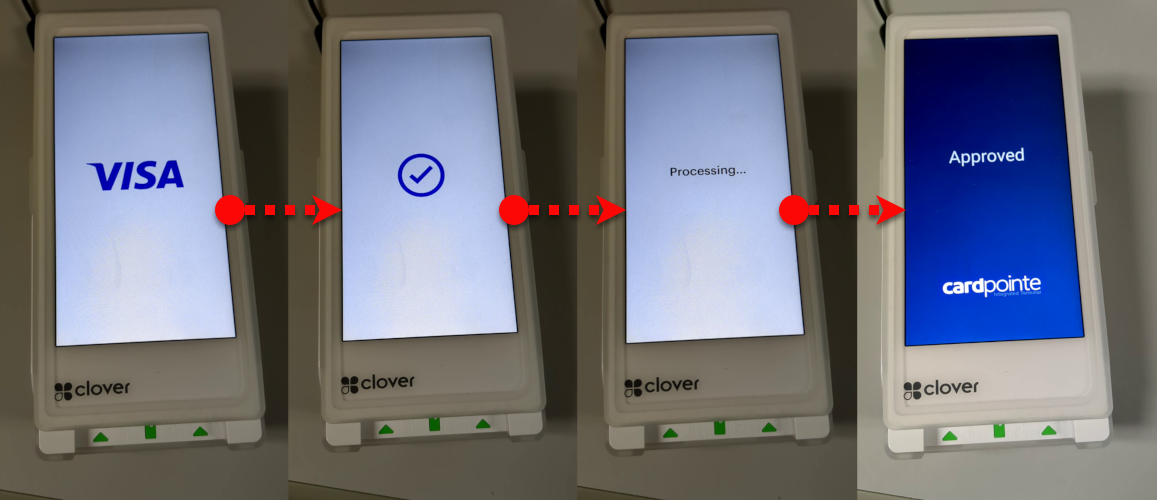
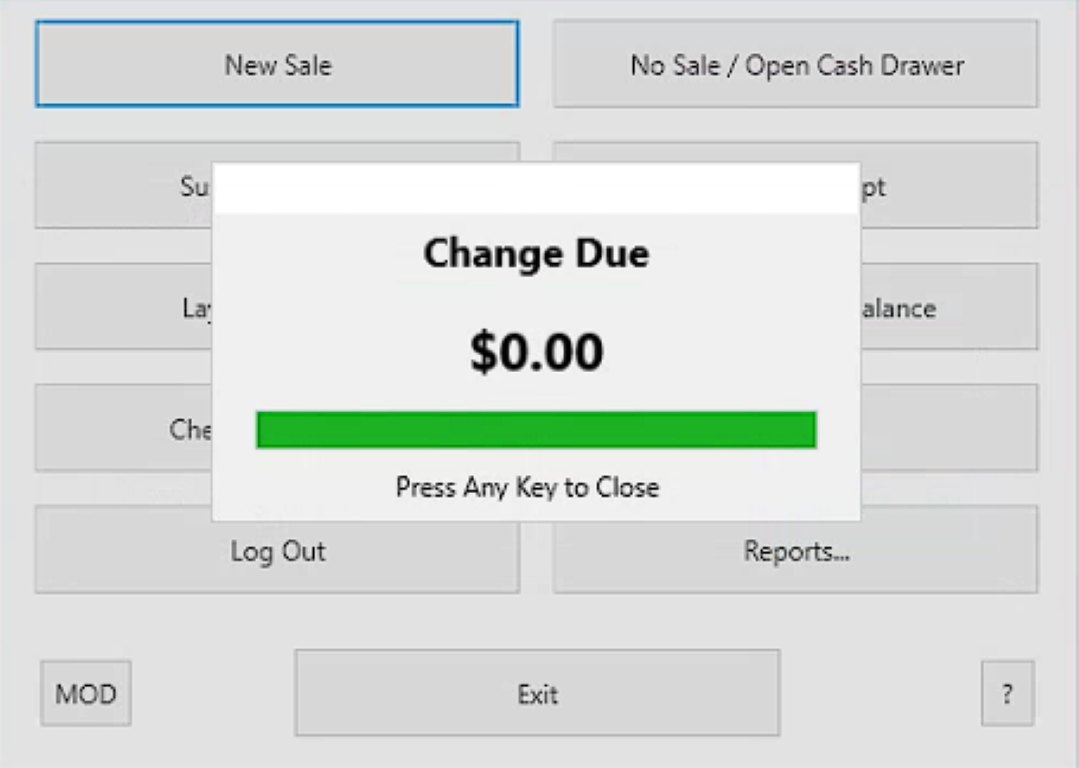
After the transaction is approved, Liberty will prompt for a receipt if you have that option selected, otherwise it will just ask you to click any key to complete the transaction.
Errors
●Authorization error. If you see this error, it means that either the API credentials are not entered correctly or the HSN is not selected. This might require a support ticket to fix but you can still check the settings on your own. 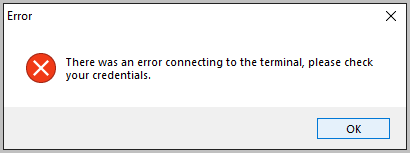
1.From the main POS menu, click More. 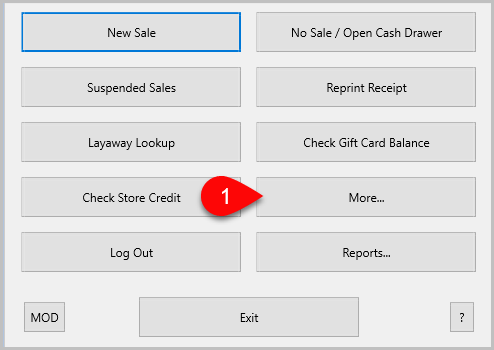
2.Click Setup.
3.Sign in with Liberty credentials. 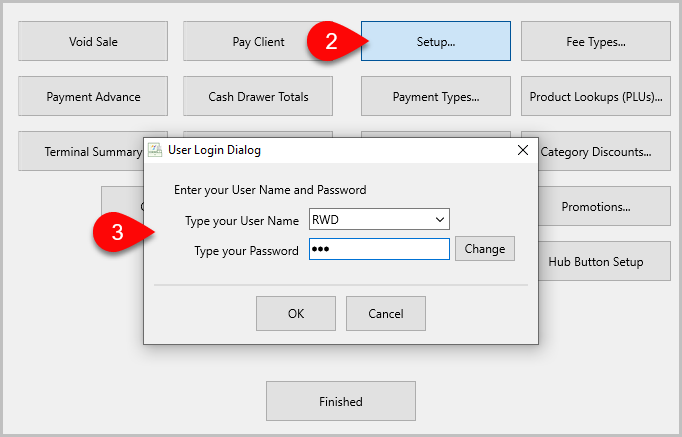
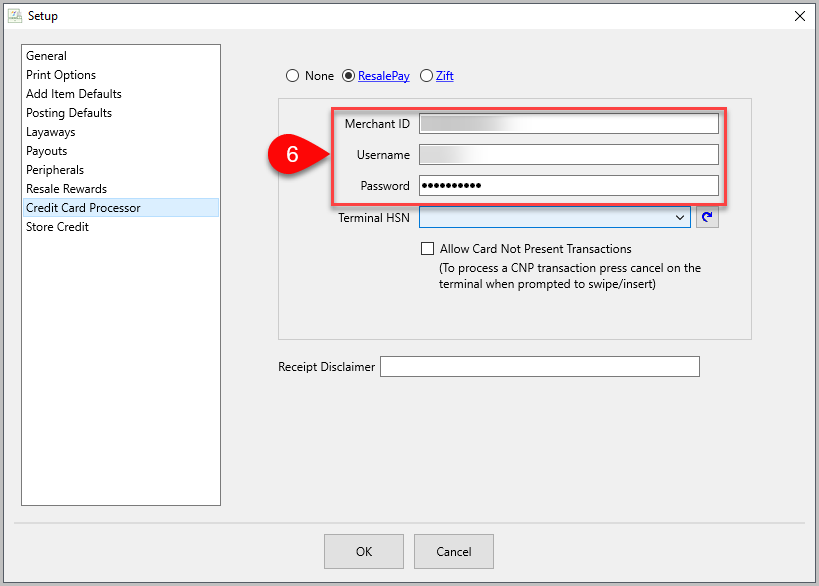
4.Click Credit Card Processor.
5.If the Terminal HSN field is blank, try clicking the dropdown menu.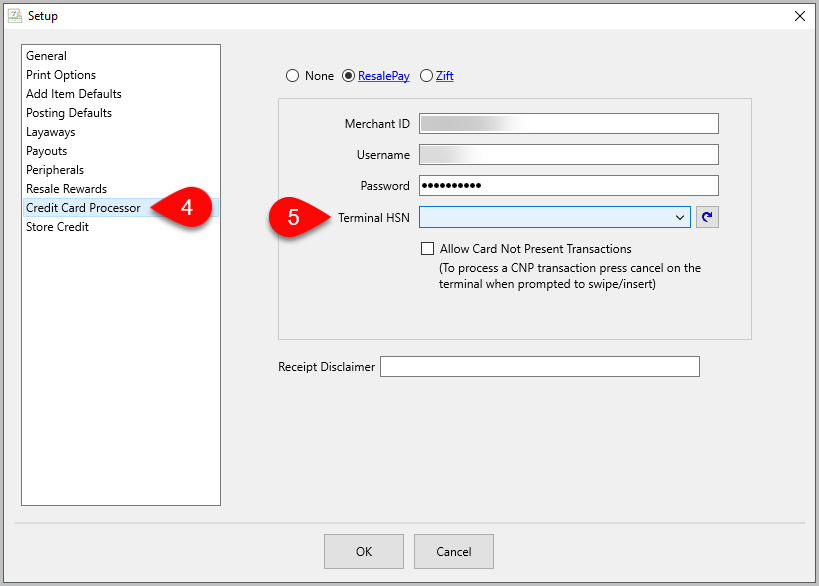
a.If the credentials are correct, the dropdown will show all Terminal HSNs active on Cardpointe. If you have multiple terminals, there are a few places you can find the HSN (hardware serial number) to differentiate them.
i.The box it shipped in will have it printed.
ii.The sticker on the terminal itself.
iii.The Admin Panel in the Clover software.
b.If no HSN is listed in the dropdown, try hitting the refresh button to the right.
i.If you get an API credentials error, put in a ticket with Resaleworld support.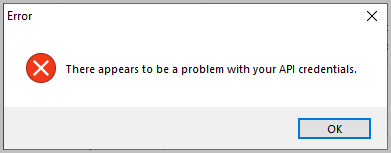
6.If the credentials are missing or incorrect, they need to be fixed by a Resaleworld technician. Place a ticket with Resaleworld support and we will contact you to resolve the issue.