Accept A Check Payment
How To Accept A Check
1.From the POS Hub select the New Sale button.
2.Login if prompted.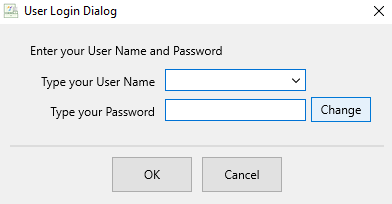
3.Select your posting mode. For more information on posting modes, see Sell Items For Regular Price, Sell An Item At A Percentage Discount, and Changing The Selling Price Of An Item.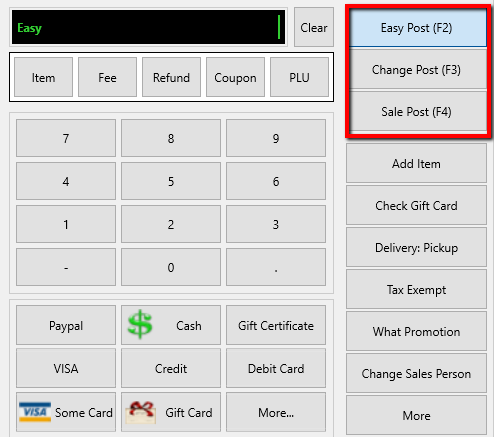
The posting mode you are in will be displayed in the black entry field.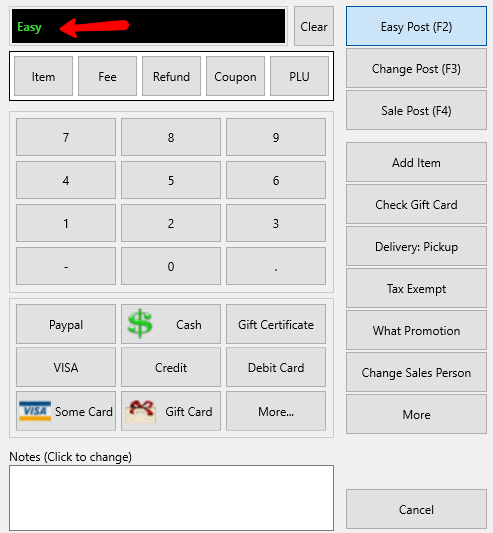
4.Scan or type in your items using the Account-Item Number format.
Example: for item 19 on account 1 type in 1-19.
5.If the customer check amount equals to the Total Due, then select the Check button. 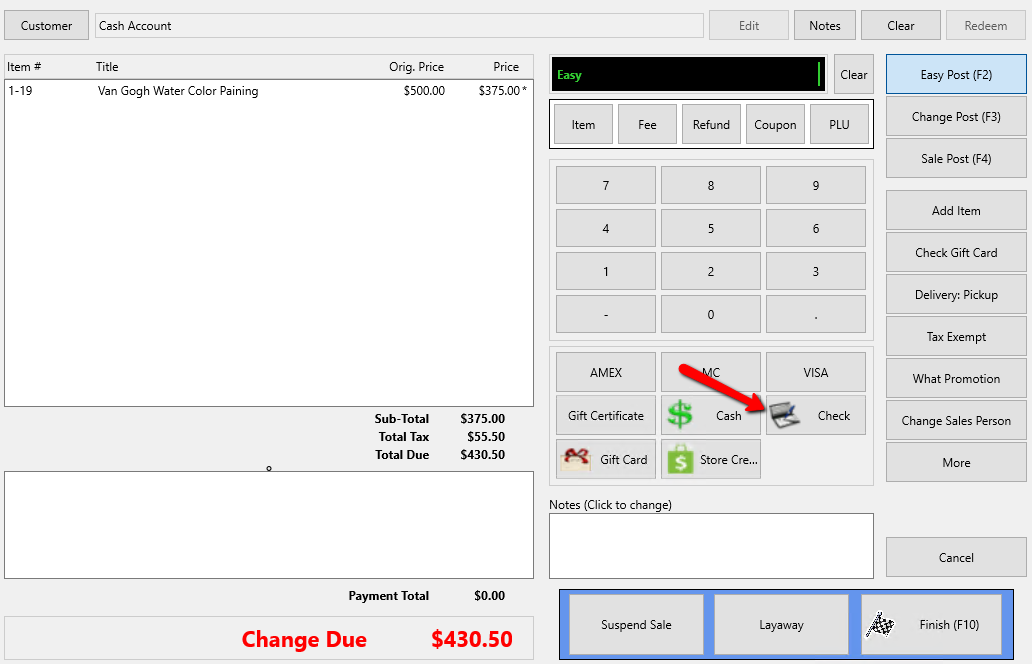
The Check dialog box opens.
Enter the check number then select the OK button.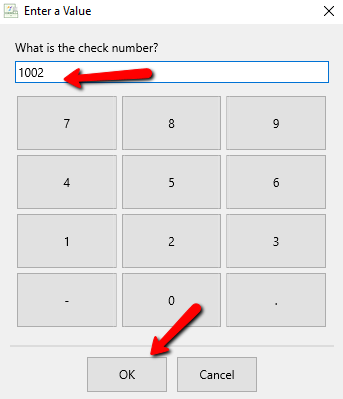
The check information will be entered into the system.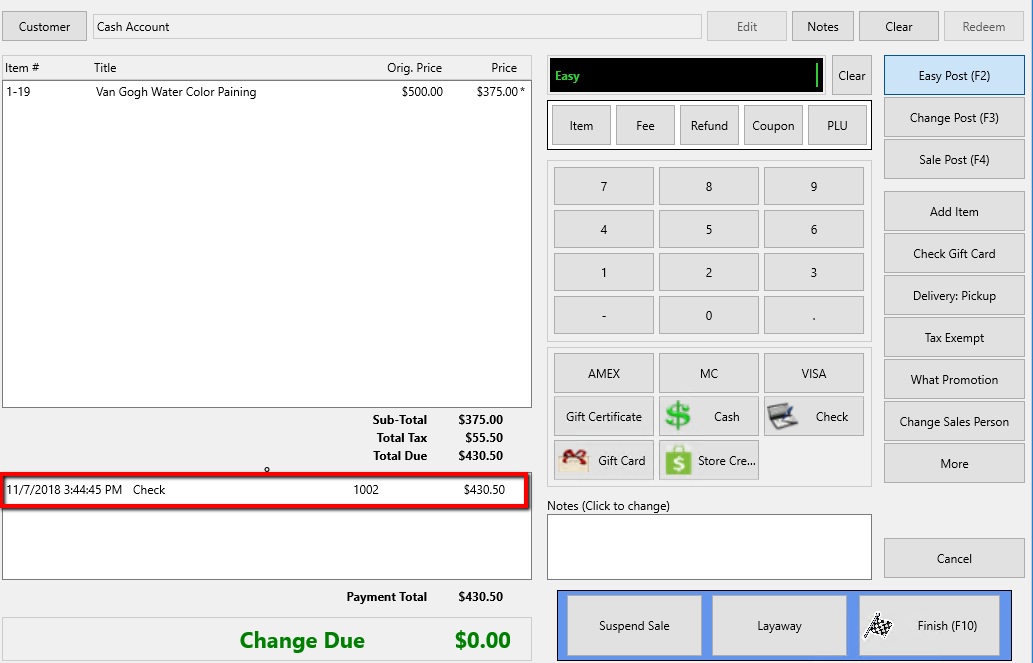
Select the Finish button when done.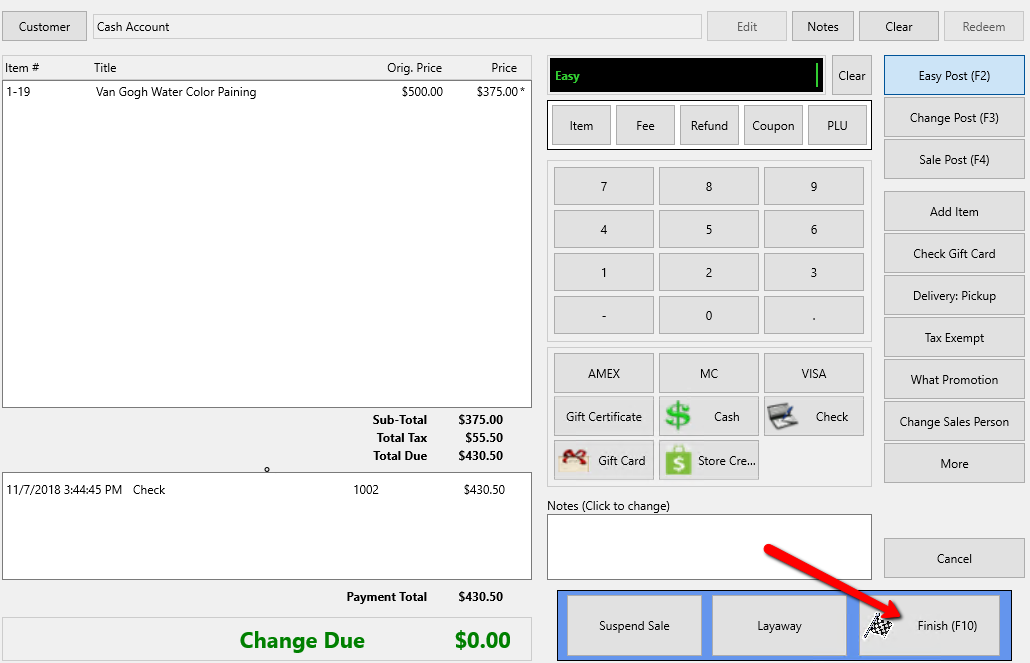
6.Press the Print Receipt button to print a receipt.
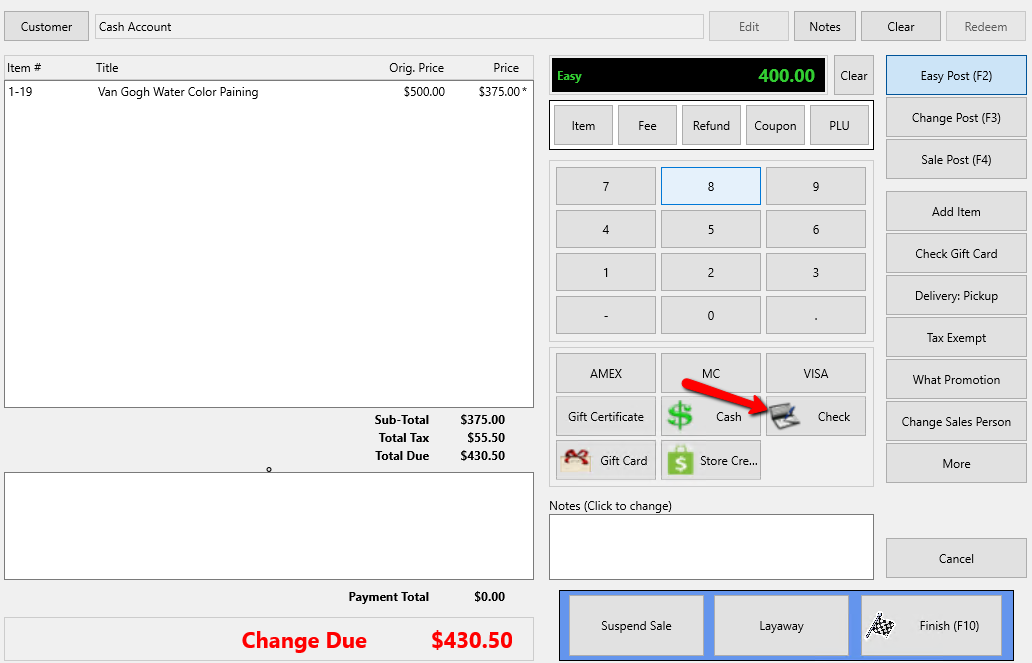
7.If customer check amount is less than total due, enter the amount of the check in POS, then select the Check button.
The Check dialog box opens.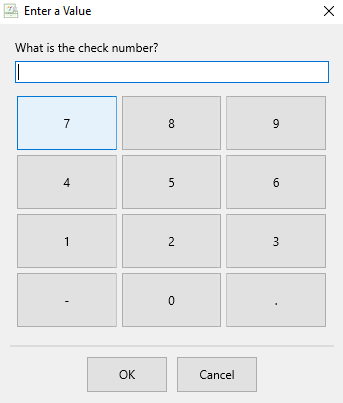
Enter the check number then select the OK button.
The check information will be entered into the system.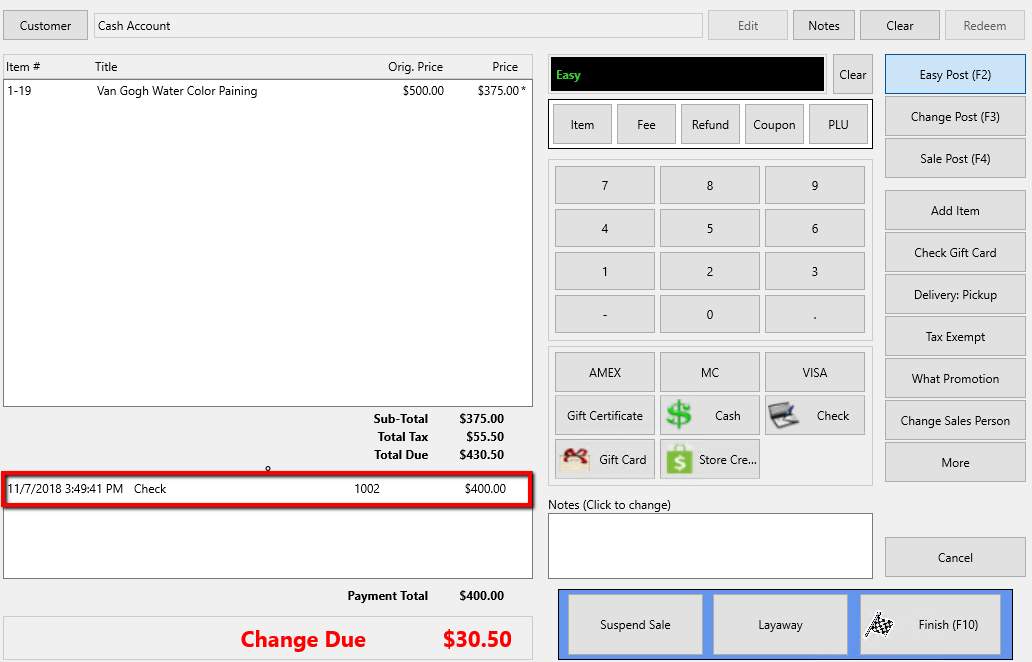
8.If customer still has a balance from total due, select the next appropriate payment type.
Once there is enough to cover the full amount of the sale, select the Finish button.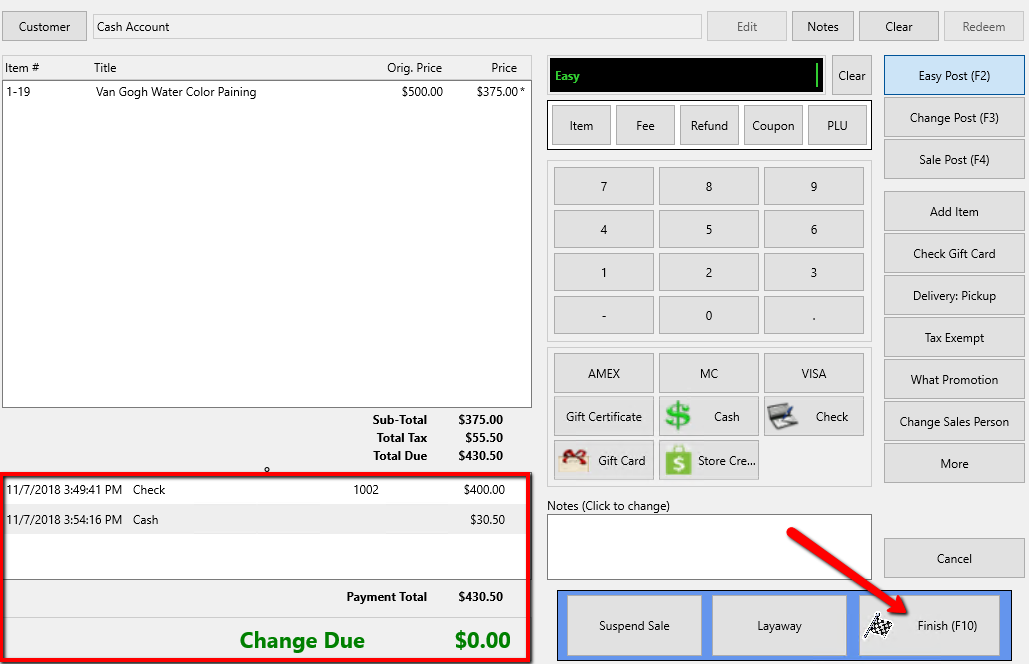
9.Press the Print Receipt button to print a receipt.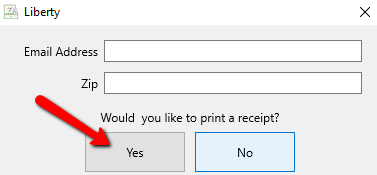
Related Topics
Sell An Item At A Percentage Discount
Changing The Selling Price Of An Item
Accepting A Credit Card Payment