Add, Change & Delete Categories
Note: Once a Category has been used to describe an item (even just one), it cannot be deleted. You may, however, make the Category inactive and/or invisible.
To Add A New Level 1 Category:
1.From the Main menu in Liberty, click on Setup > Categories > Category Editor.
The Maintain Categories dialog box will open.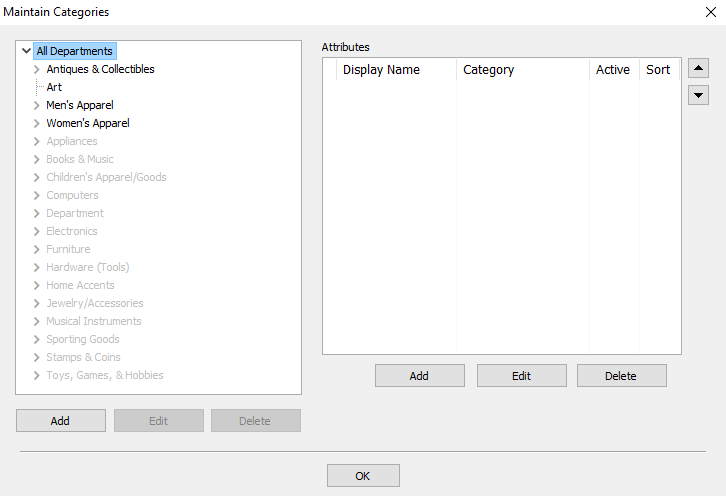
2.In the Category Editor, highlight All Departments and select the Add button.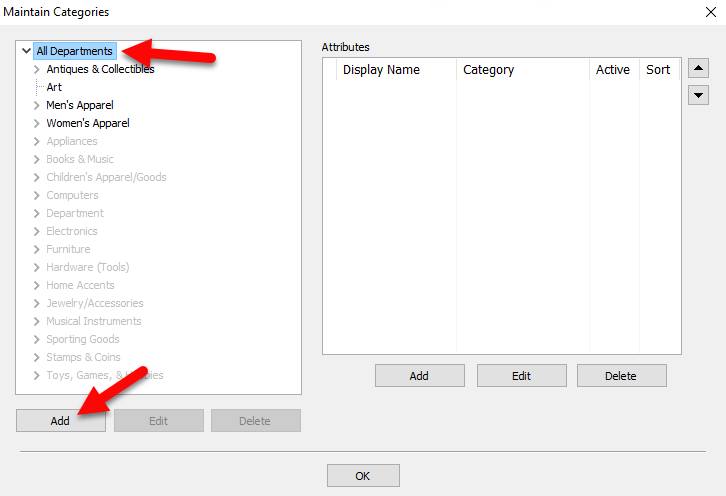
The Edit Category dialog box will open.

3.Enter the name of the Level 1 Category item to be added in the Cat Name field.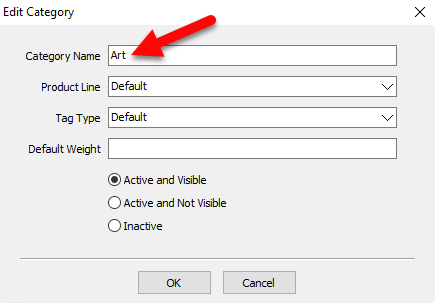
4.Choose the appropriate Product Line from the Product Line pick list. For more information on product lines, please see Product Lines Overview.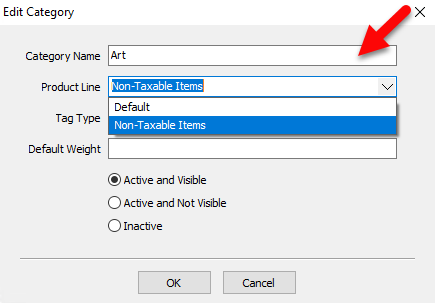
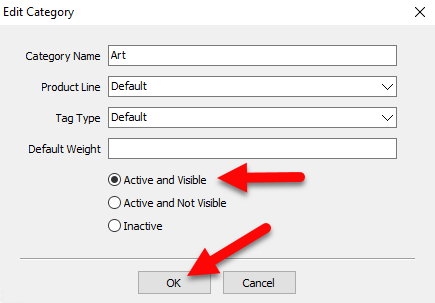
5.Make sure the Active and Visible radio button is checked, then press the OK button at the bottom.
To Add A New Level 2 Category:
1.From the Main menu in Liberty, click on Setup > Categories > Category Editor.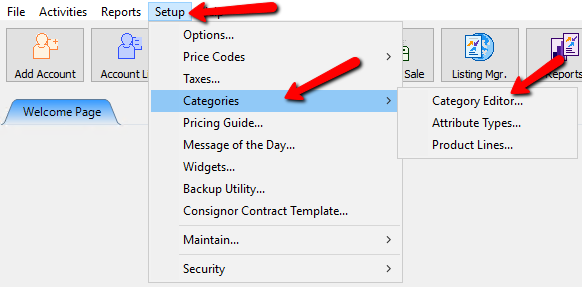
The Maintain Categories dialog box will open.
2.In the Category Editor, highlight the Level 1 Category item that the new Level 2 Category item will go under then select the Add button.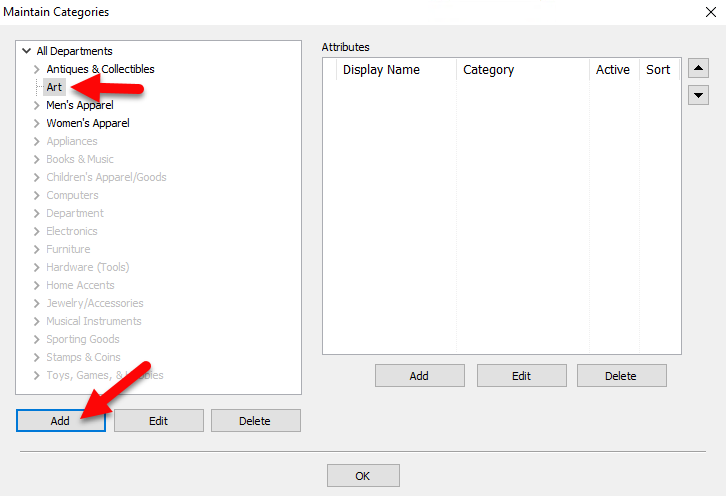
The Edit Category dialog will appear.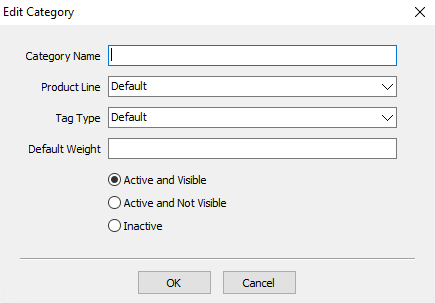
3.Enter the name of the Level 2 Category item to be added in the Cat Name field.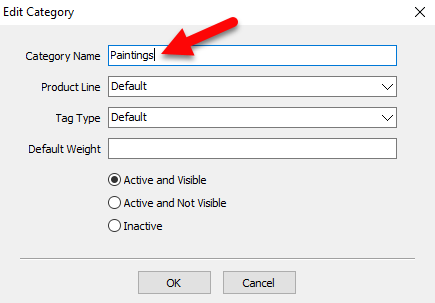
4.Choose the appropriate Product Line from the Product Line pick list. For more information on product lines, please see Product Lines Overview.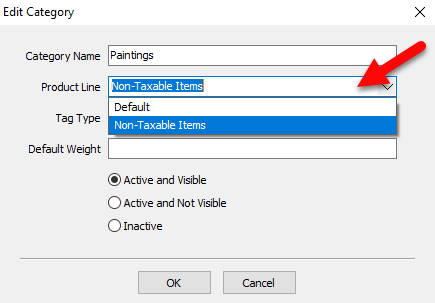
5.Make sure the Active and Visible radio button is checked, then press the OK button at the bottom.

To Add A New Level 3 Category:
There are two methods for adding Categories. The first is preferred, as it provides more information and allows for Categories to be setup more consistently. Use the second option to add a Level 3 Category on the fly while entering items (not generally recommended).
1.From the Main menu in Liberty, click on Setup > Categories > Category Editor.
The Maintain Categories dialog box will open.
2.In the Category Editor, highlight the Level 2 Category item that the new Level 3 Category item will go under then select the Add button.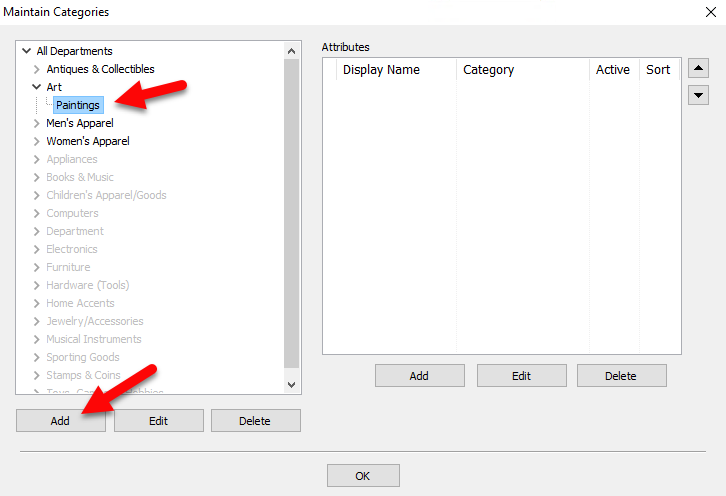
The Edit Category dialog will appear.
3.Enter the name of the Level 3 Category item to be added in the Cat Name field.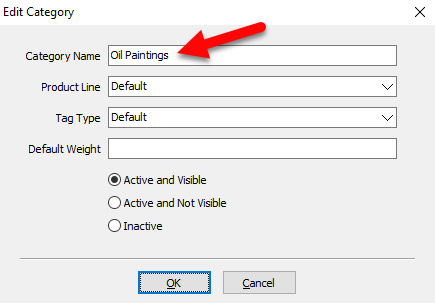
4.Choose the appropriate Product Line from the Product Line pick list. For more information on product lines, please see Product Lines Overview.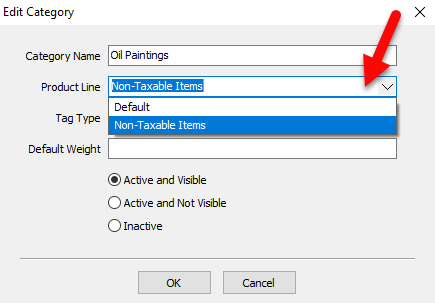
5.Make sure the Active and Visible radio button is checked, then press the OK button at the bottom.

To Add A New Level 3 Category While Entering Inventory:
1.While entering an item into inventory, with the Cursor in the Category Field.
2.Press F2 for More Options. 
The Select Category dialog will appear.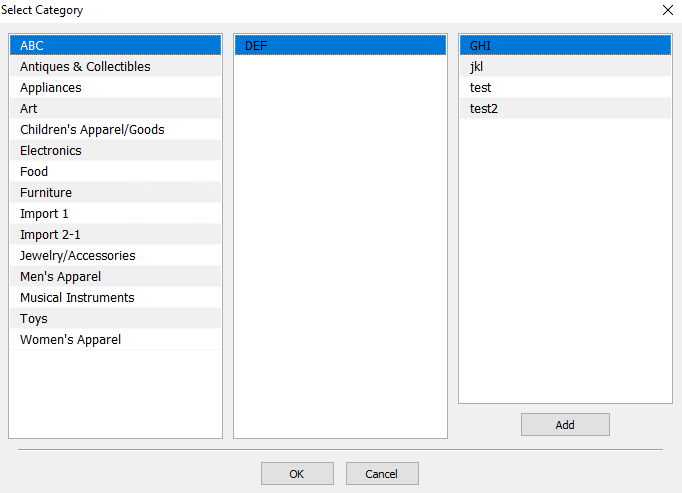
3.Select an existing Level 1 and Level 2 Category from the menu, then click the Add button.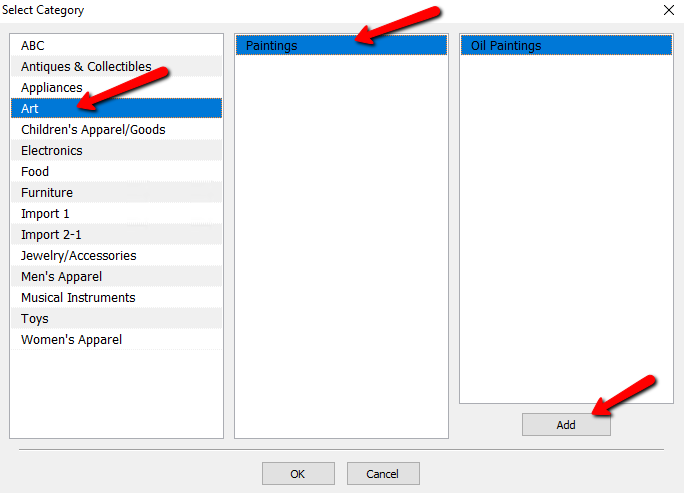
The Edit Category dialog box appears.
4.Enter the name of the Level 3 Category item to be added in the Cat Name field.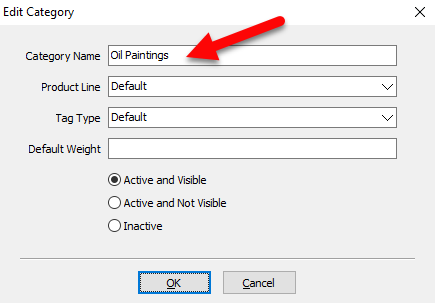
5.Choose the appropriate Product Line from the Product Line pick list. For more information on product lines, please see Product Lines Overview.
6.Make sure the Active and Visible radio button is checked, then press the OK button at the bottom.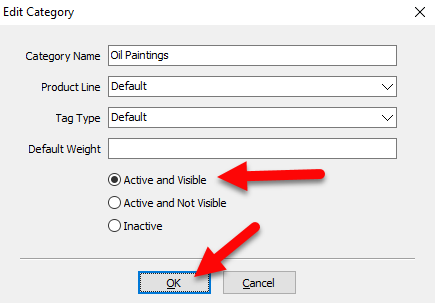
7.Press the OK button to close out of the Category Editor.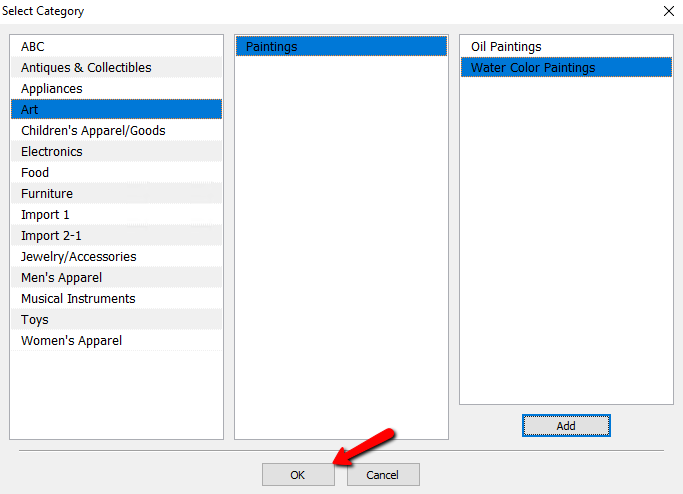
To Change A Category:
1.From the Main Menu, click on Setup > Categories > Category Editor.
The Maintain Categories dialog box will open.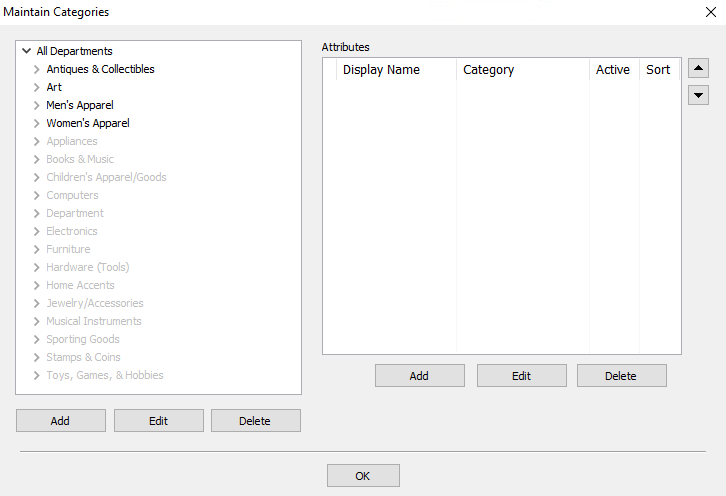
2.In the Category Editor, find and highlight the Category item to be changed. Select the Edit button.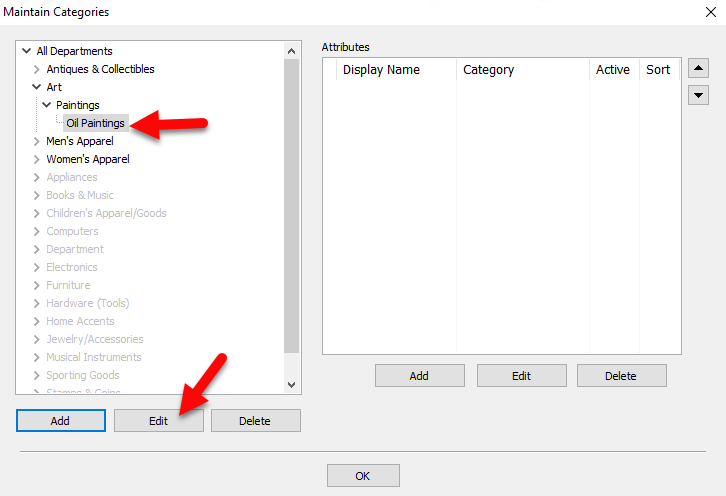
3.Make changes as necessary, and select the OK button.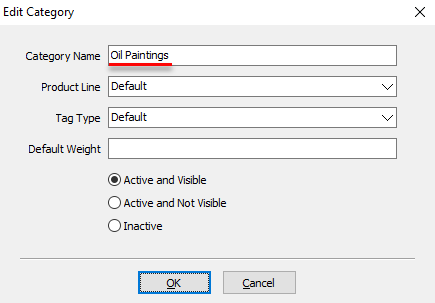
To Delete a Category:
Note: Once a Category has been used to describe an item (even just one), it can not be deleted.
1.From the Main Menu, click on Setup > Categories > Category Editor.
2.In the Category Editor, find and highlight the Category to be deleted and select the Delete button.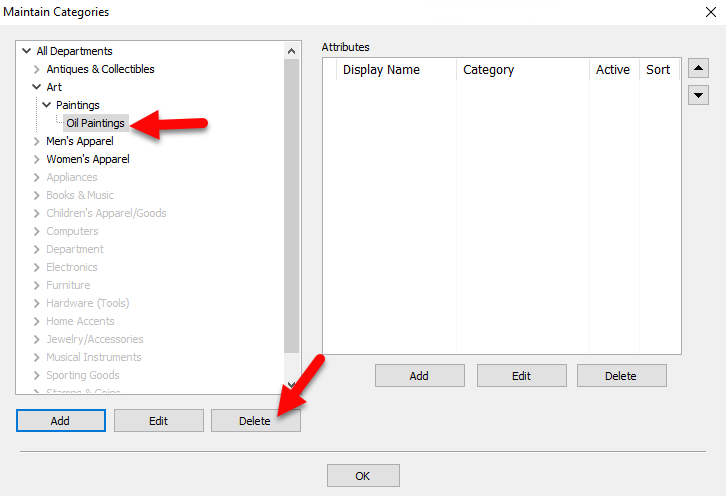
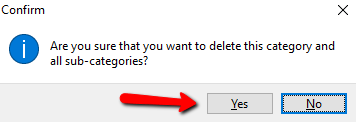
3. Click Yes to delete the category.