Setting Up Tax Codes, Tax Groups, and Tax Rates
Note: Setting Up Tax Codes, Tax Groups, and Tax Rates is the first step of getting the Tax Codes setup. Once this is set up, you will need to move on to Tax Types and Location/Tax Group Association.
Liberty’s Tax Code system is complex and powerful. Once it’s set up, it will make applying taxes to items very easy and scalable should the time come when a business is adding multiple locations.
Getting to the Maintain Taxes area
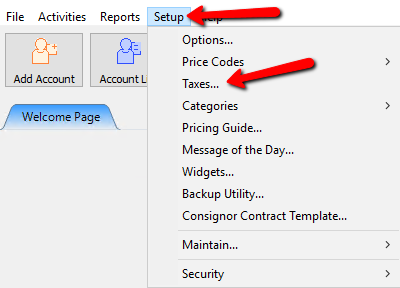
1.Click Setup > Taxes
2.The Maintain Taxes dialog box will open.
Tax Groups And The Tax Rates Associated With Each Group
1.Simply put, Tax Groups are used to apply tax to any type of taxing scenario a store can run into. Whether it’s based on locations, types of clothes, or Non Taxable items, you will create different groups based on those scenarios.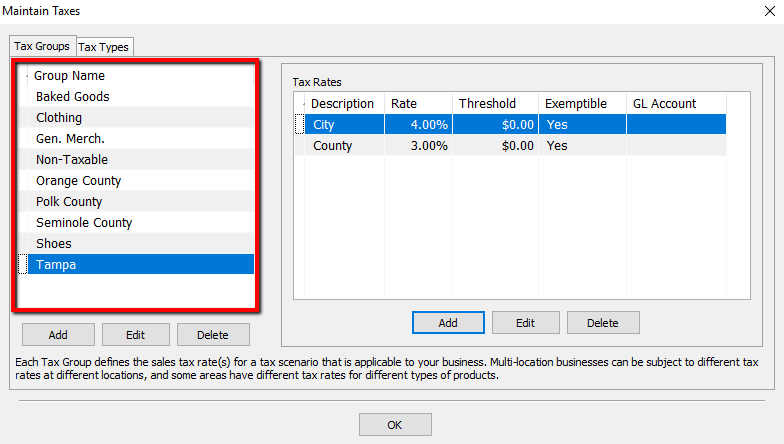
○Example: A store plans to sell Clothing, Shoes, and General Merchandise. They would create the groups called Clothing, Shoes, Gen. Merch. and most likely a tax group called Non-Taxable.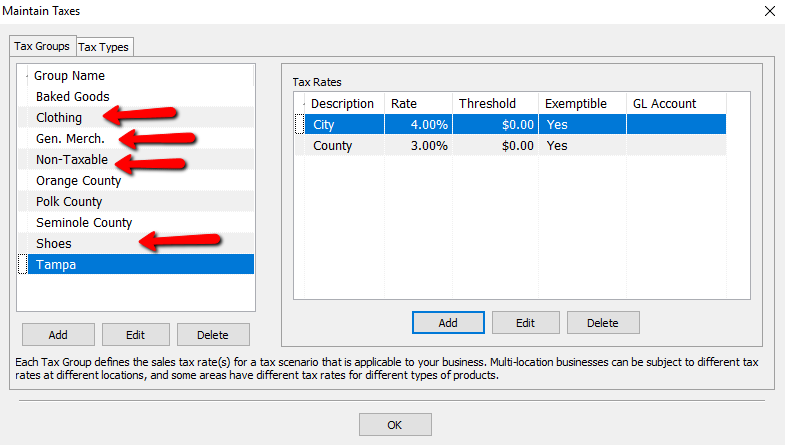
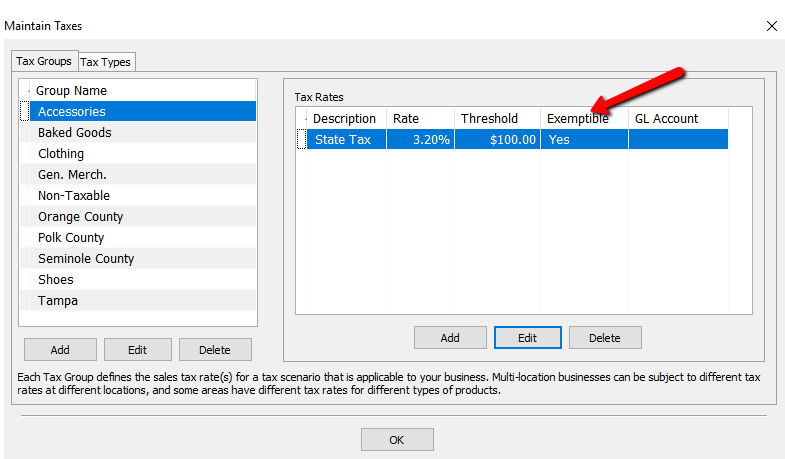
2.Each Tax Group will have one or more Tax Rates associated with it. If group has more than one rate, each rate will be defined under Tax Rates.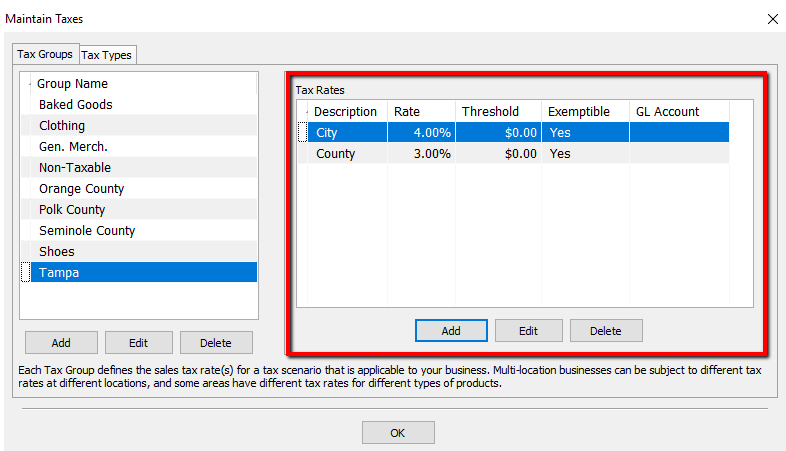
○Example: A store in Tampa might have a tax rate for the City, and an additional rate for the County. These two rates are assigned to the Tampa Tax Group for all items sold.
3.To See the rates of another Tax Group, Highlight that Group, and see the rates to the right.
How To Create A New Tax Group And Assign Tax Rates To It
1.Select the Add button under Tax Groups.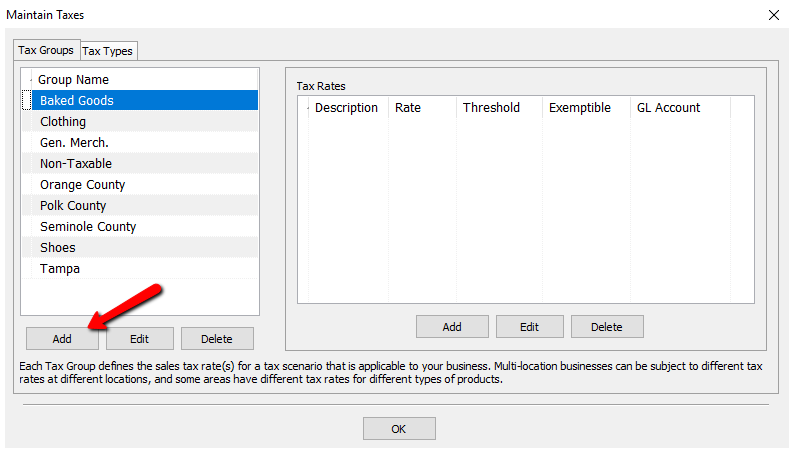
2.Enter in a name for the new Tax Group and the select the OK button.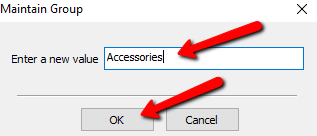
3.Once the new Tax Group is created, Tax Rates will need to be assigned to it. Make sure your new Tax Group is highlighted and select the Add button under Tax Rates.
4.The Maintain Tax Rate dialog box will open.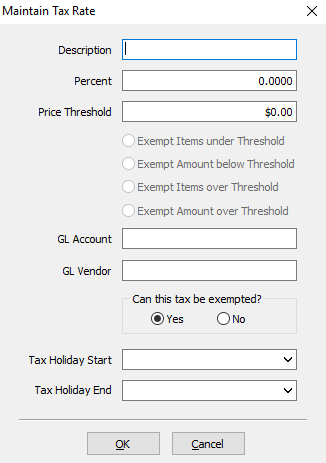
5.Description: Enter in a name for the tax description. If it is specific to a certain type of tax (Example: County), then it is recommended to name it such.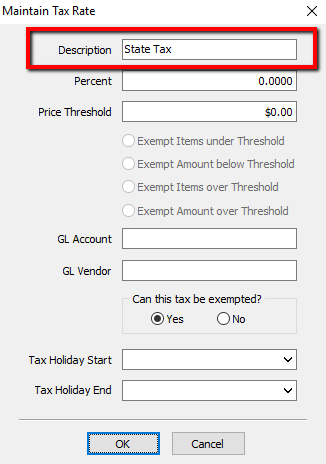
6.Percent: Enter the Percentage amount to be taxed.
7.Price Threshold: Price Threshold is used for when an area has a Tax that does not apply until a certain dollar amount is reached. If a value is entered for Threshold, then the Radio buttons underneath it become available.e and one of them will have to be selected.
○Exempt Items Under Threshold: This option Prevents items Under the Threshold being taxed At All. Once an item meets the Threshold, it is taxed on the full amount of the item.
Example: If the Threshold is set to $100.00, and an item is priced at $99.99, it will not be taxed. If the item were to be priced at $100, it will be taxed on the full $100.
○Exempt Amount Below Threshold: This option will tax on the dollar amount at or above the Threshold.
Example: If the Threshold is set to $100.00, and an item is priced at $99.99, it will not be taxed. If the item were to be priced at $101, it will be taxed only on the amount over the Threshold which is $1.
○Exempt Items Over Threshold: This option allows us to charge tax on anything below the Threshold. Anything at or above the Threshold will not be taxed at all.
Example: If the Threshold is set to $100.00, and an item is priced at $99.99 or below, it will be taxed. If an item is $100 or more, then no tax will be charged for the item.
○Exempt Amount Over Threshold: This option allows us to charge tax up to the Threshold. If an item is over the amount of the Threshold, then it will only be charged tax up to the Threshold.
Example: If the Threshold is set to $100.00, and an item is priced at $150.00, then the item will only be taxed on the first $100.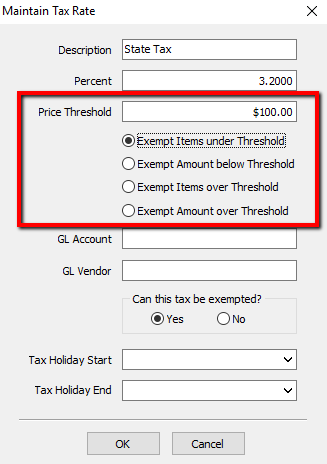
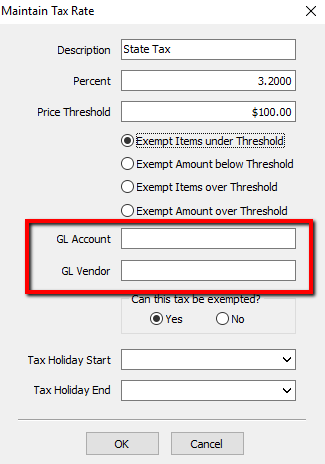
8.Quickbooks General Ledger Account Assignment:
○GL Account : This field is for the QuickBooks Link. It tells the Link where in Quickbooks it needs to go.
○GL Vendor : This field is for the QuickBooks Link. It tells the Link where in Quickbooks it needs to go.
Note: If you are unsure what goes into GL Account and GL Vendor, consult your Accountant.
9.Can This Tax Be Exempt? : Checking Yes will allow the tax to be exempt at the Point of Sale. Checking No will never allow it to be exempt.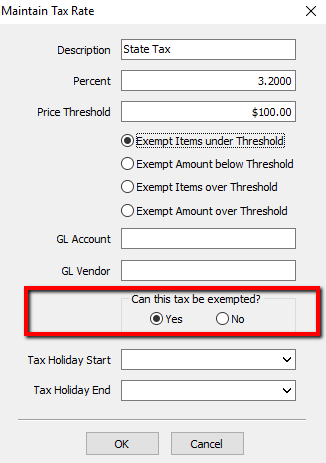
10.Tax Holiday Settings:
○Tax Holiday Start : This will start the Tax Holiday. Anything during Tax Holiday is Tax Exempt as long as the tax is set to be exemptable.
○Tax Holiday End : This will be the day the Tax Holiday Ends.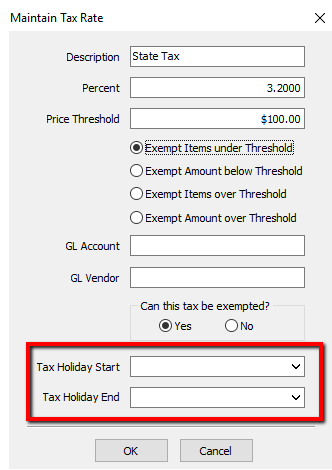
Note: Some stores that have a Tax Holiday for items under a set amount will use Thresholds because certain items under X amount will not be taxed. It is Important to remember, if a Threshold is used for the Tax Holiday, the Threshold will need to be manually set back to default. Tax Holiday Settings will not revert the Threshold Settings.
11.Once all the fields are filled out and selections made, select the OK button at the bottom.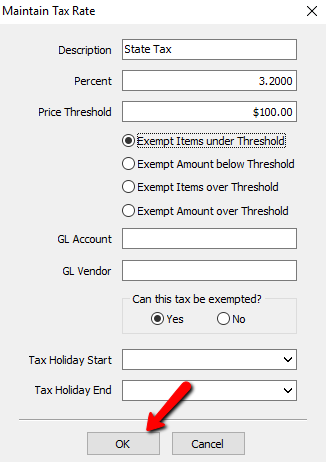
12.You should see your new Tax Rate in the Tax Rate section.
13.If the tax group is to have multiple Tax Rates, go through the steps again to add the second Tax Rate.
14.Once you have the Tax Groups set up and the Tax Rates associated with the groups, you will need to set up their Tax Types and Location/Tax Group Association.
Editing Tax Groups
1.To get to the Maintain Taxes dialog box, select Setup > Taxes.
2.Highlight the Tax Group you need to Modify and select the Edit button. 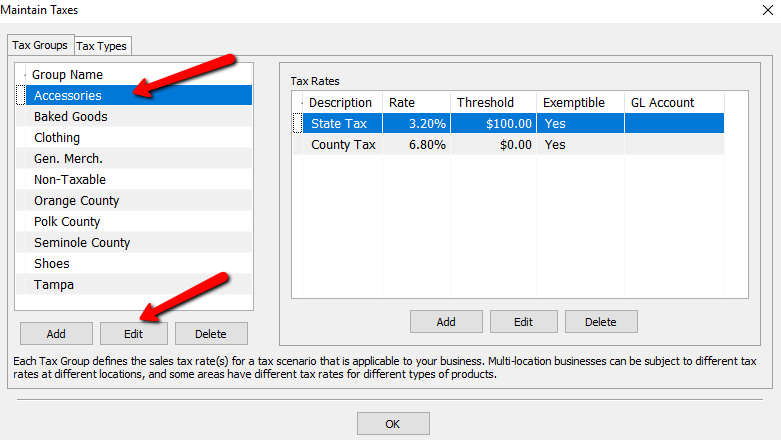
3.The Group Name Details box will open. Make the needed changes and select the OK button.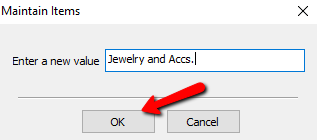
4.You should see your changes in the list.
How To Modify the Tax Rate Of A Tax Group
1.To get to the Maintain Taxes dialog box, select Setup > Taxes.
2.Highlight the Tax Group That has the Tax Rate you need to Modify 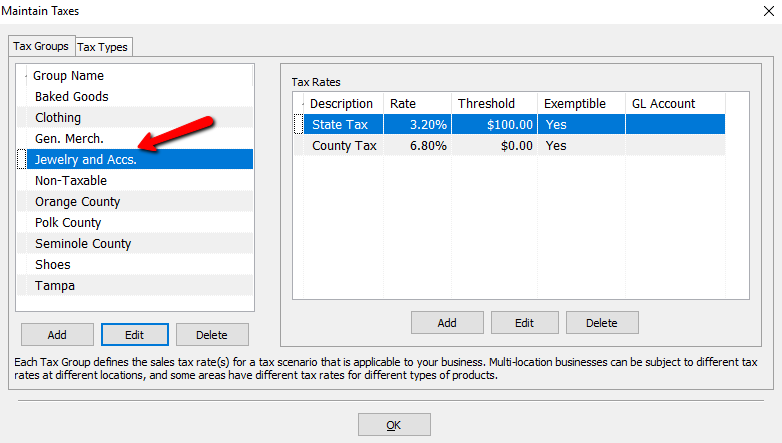
3.If that Tax Group has more than one Tax Rate, select the Tax Rate that needs to be modified, then select the Edit button Under the Tax Rates Section.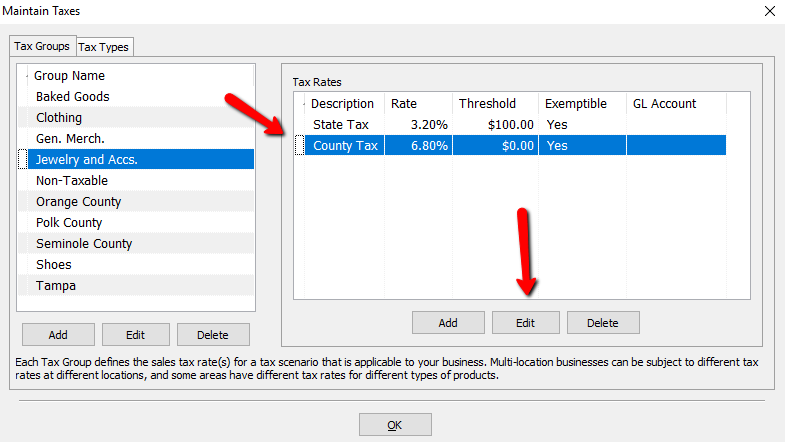
4.The Tax Rate details dialog box will open.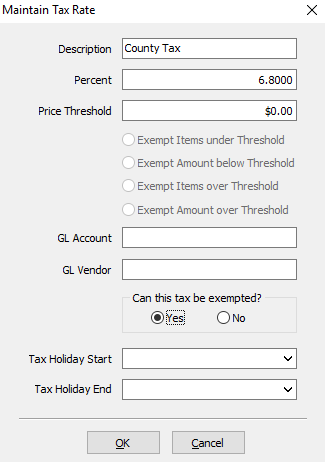
5.Make the necessary changes and select the OK button at the bottom.
How To Delete A Tax Group
1.To get to the Maintain Taxes dialog box, select Setup > Taxes.
2.Highlight the Tax Group that needs to be deleted and select the Delete button under the Tax Group section.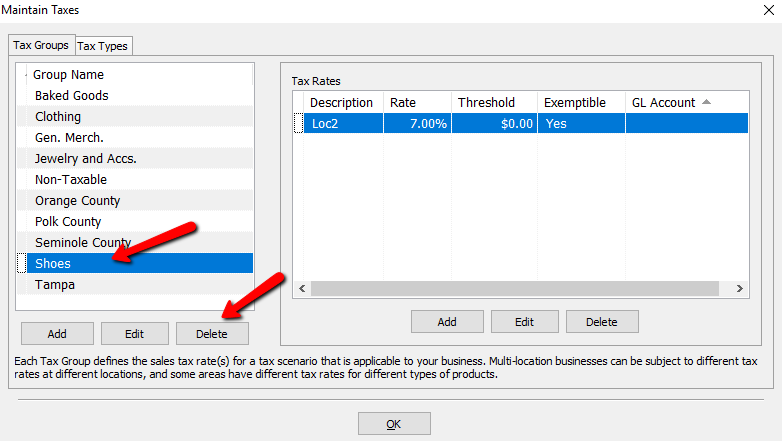
3.A Confirmation box will open. Select the Yes button.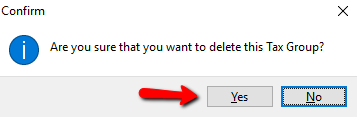
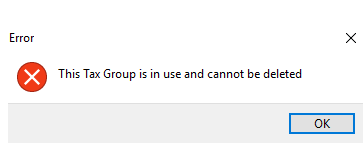
Note: If a Tax Group has already been used, then you will not be able to delete it and will get the following error.
How To Delete The Tax Rate Associated With A Tax Group
1.To get to the Maintain Taxes dialog box, select Setup > Taxes.

2.Highlight the Tax Group that has the Tax Rate that needs to be deleted. Then Highlight the Tax Rate that needs to be deleted and press the Delete button under the Tax Rates detail.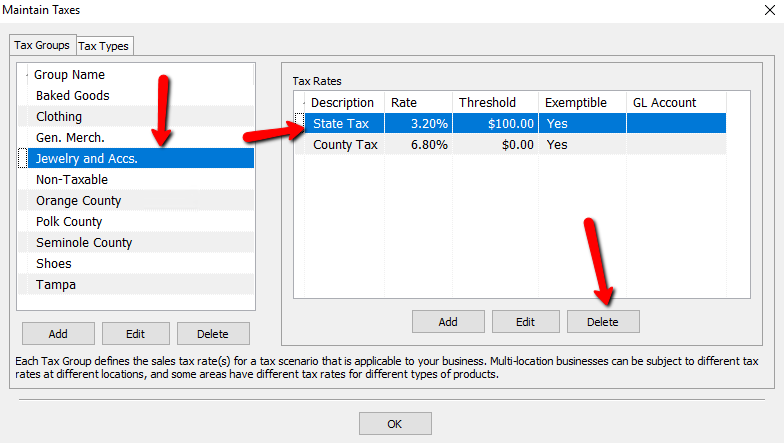
3.A Confirmation box will open asking if you are sure you want to delete the Tax Rate. Select the Yes button.

Related Topics
Tax Types and Location/Tax Group Association
Set Up Product Lines
The Category Editor
Tax Codes - Overview
Setup Of A Single Location With Single Rate On All Items
Setup Of A Single Location With Different Rate And Tax Types
Setup Of Multiple Locations And Single Rate For Each Location
Setup of Multiple Locations With Same Rate For Items, Different Rates Based On Location
Setup of Multiple Locations With Different Rates Based on Items and Locations