Setting up Email Settings in Liberty (In Depth)
In order to send emails to customers (i.e. shipping, order completion, etc.), you must specify the outgoing mail server settings that Liberty will use to send those emails. The Email Settings dialog specifies outgoing email server settings for Liberty to communicate with your customers.
Note: Before setting up your email to work through liberty, you will need the following information. SMTP Server, SMTP Port, Whether or not your Email Provider uses SSL Communications, Your correct login and password. You can get this information from Email Service Provider
To Set Up Email Settings
1.In Liberty go to Setup > Options.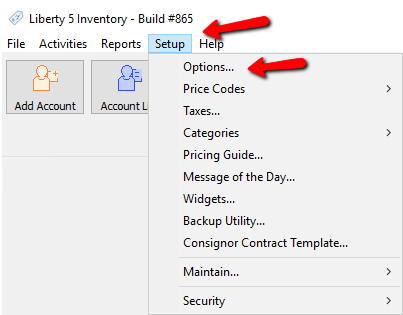
Login if required.
2.Select Email Settings.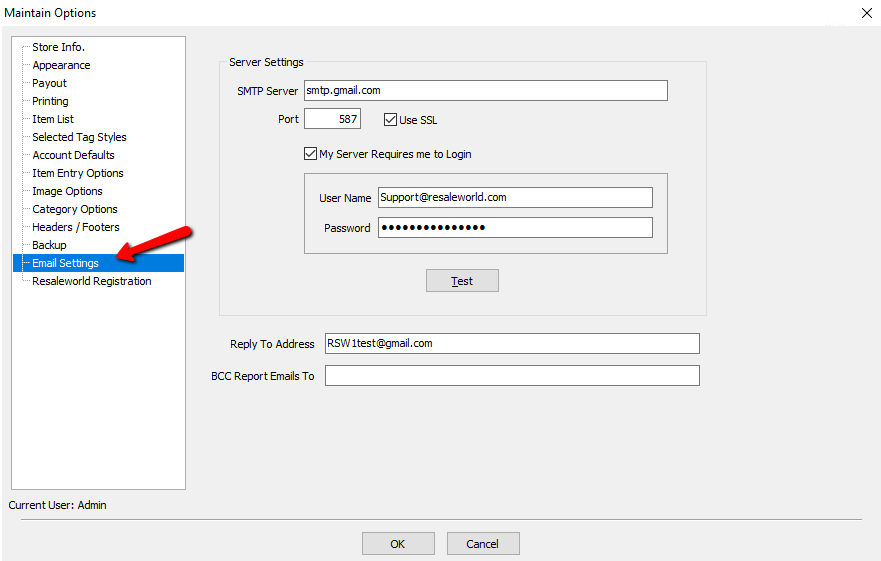
●SMTP Server : In the SMTP Server field, enter the full-qualified name of your SMTP server (e.g. smtp.gmail.com) or its IP Address. For assistance with this field, contact your Internet Service Provider or network administrator.
●Port : In the Port field specify the port number through which Liberty will send e-mails to the SMTP Server. The most common SMTP Ports are 587 and 465.
●Use SSL : This is dependent upon your Email Provider. If it is required, you will need to check this box off. For the past several years, most ISPs and Email Providers require SSL.
●My Server Requires Me To Login : Check this off if your Email Provider requires you to login in order to send email. Most ISPs and Email Providers do require a login.
●User Name : Enter the user name used to login to your Email Service in the User Name field.
●Password : Enter the password in the Password field.
●Reply To Address : This is the address the customer will see in the From field of the email, and the email address any replies will go to.
●BCC Report Emails To : When an email is sent, a copy will be sent to this email address.
3.Enter in the required information and select the OK button.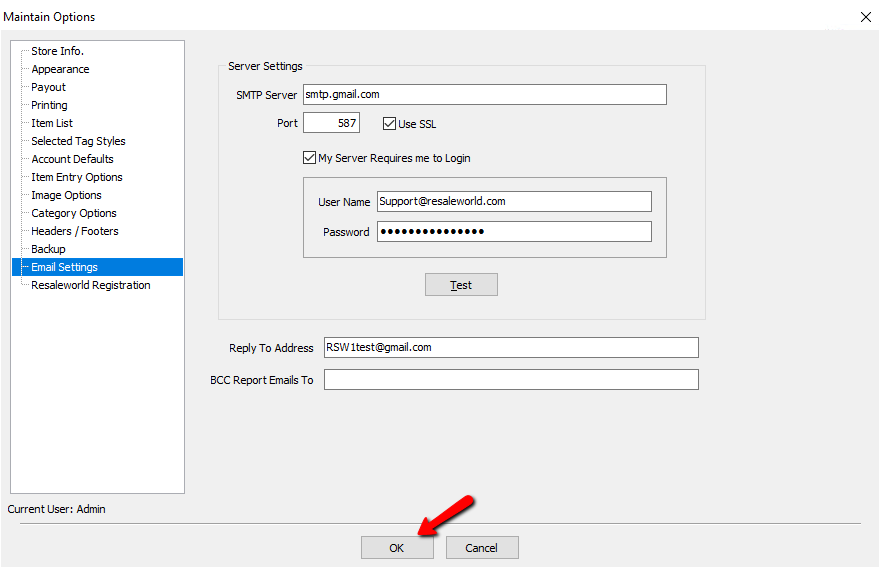
Setting Up Email Headers/Footers
1.In Liberty go to Setup > Options.
Login if required.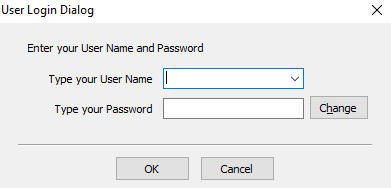
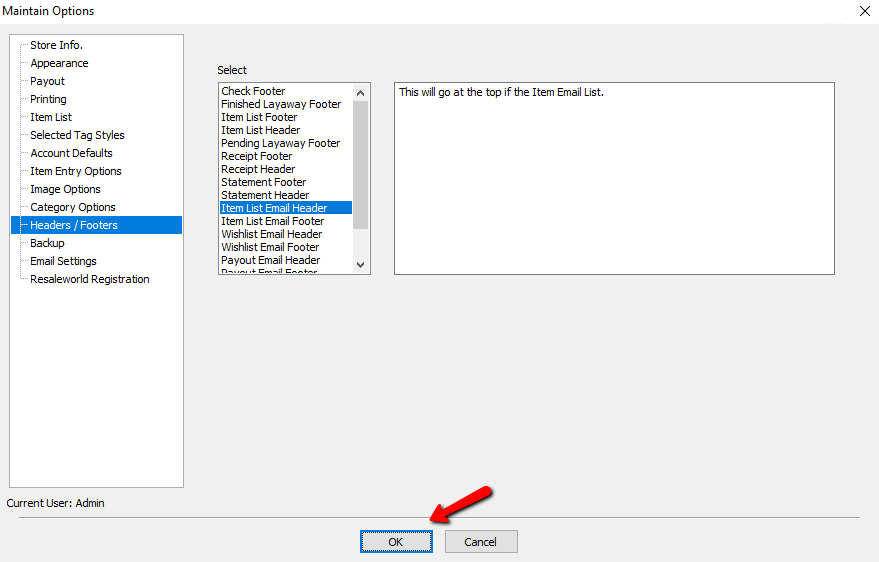
2.Select Headers/Footers.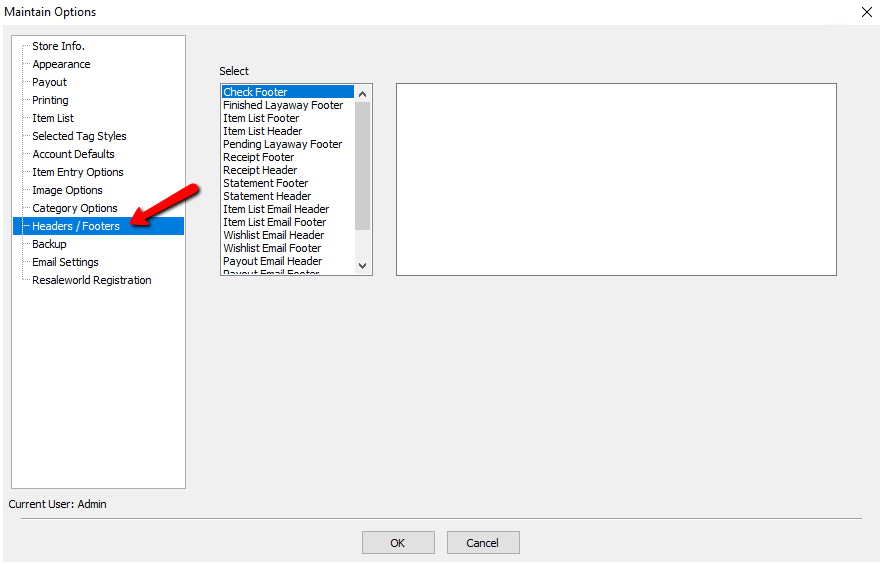
3.Highlight either Item List Header or Item List Footer and type in the message you want to appear on your item Item List Emails. 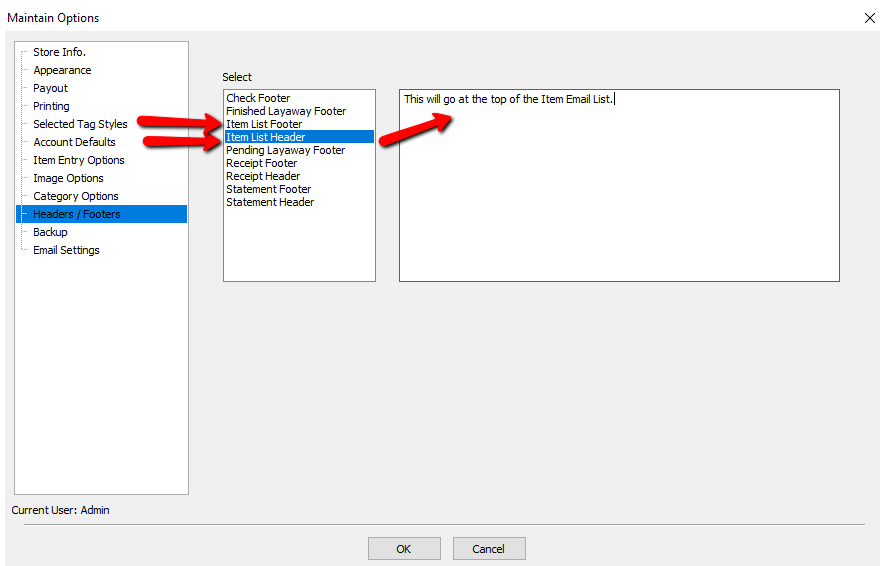
Note: Header will print at the top of the Item List Email. Footer will print at the bottom. Also, this message will appear on ALL item list emails.. If you want to send an Item List Email with a custom message, See Item List for more details.
4.Press the OK button at the bottom when you have entered your message.