Sell Items For Regular Price
Here is the video that covers this content:
How To Process A POS Transaction
In most cases items sell for the same price as printed on the price tag. For these items use the Easy Post method for transacting the sale.
When Automatic Markdowns are in effect, Easy Post will post the item for the correct, marked down price.
Example: Assume Automatic Markdowns have been set to reduce the selling price by 25% after 30 days. An item consigned on June 1st and priced at $10.00 should thus be automatically marked down to sell for $7.50 as of July 1st. If Easy Post is used on or after July 1st, the item will be posted as having sold for $7.50. For more information please see the section entitled Automatic Markdowns Overview.
To Transact (Post) A Cash Sale:
1.Open Point of Sale Module.
2.From the POS Hub Screen. click on New Sale..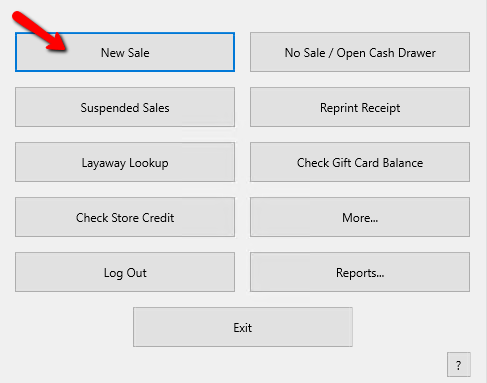
Note: Whenever a sale is completed, you will always be returned to the Hub Screen.
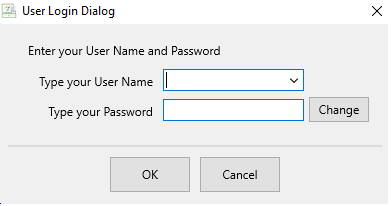
Login if prompted.
3.Press the F2 Key, or Click on the Easy (F2) button.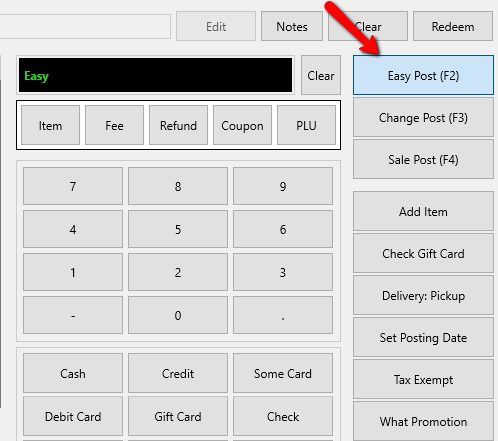
Tip: The default posting method is Easy Post, so it is really only necessary to press <F2> or click on the Easy (F2) button if you are changing from another posting function such as Change Post, Sale Post, a payment method, etc.
4.Scan the item’s price tag, or using the keyboard type the account number, followed by a dash, then the item number, and then press the Enter key.
Example: If the item is on account 129, and the item number is 43, then you would enter 129-43 and then press the Enter key on your keyboard. If you have a touch screen, then the Item button on the screen.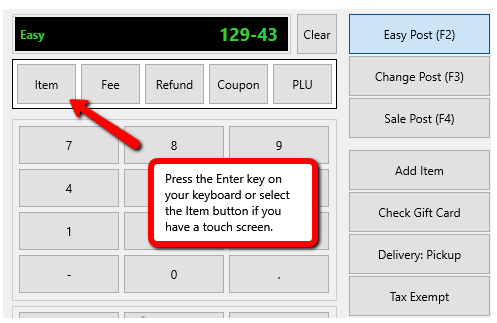
5.Continue scanning barcodes or entering item numbers from the keyboard. Change to another posting modes (Change, or Sale, ) if necessary.
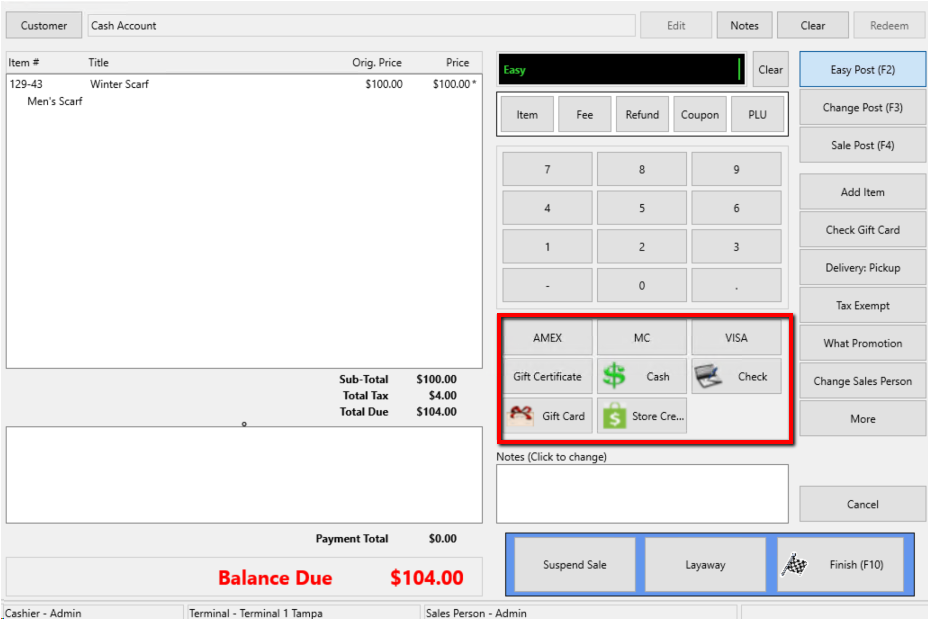
6.Select the payment method after all the items have been entered.
7.Press F10 or the Finish button to complete sale.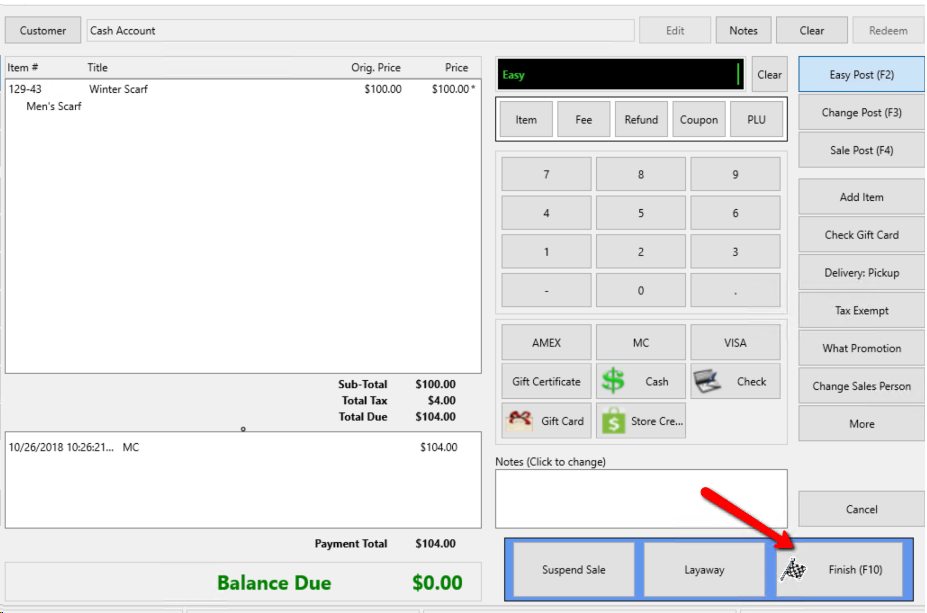
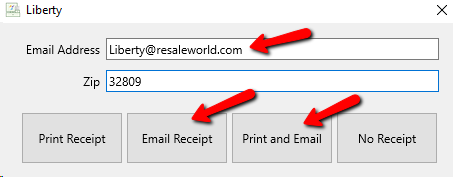
8.You may now select how you wish to give your customer their receipt or choose no receipt.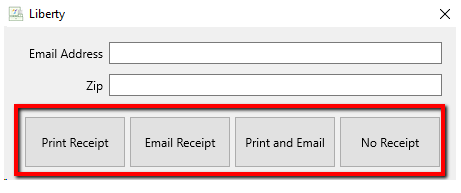
9.If you wish to email the receipt, enter in the Email address of the recipient, then click either Email Receipt or Print and Email.
Note: Enable Receipt Emails MUST be checked off in POS setup for the ability to email receipts. See Setting Up POS Defaults for more details.