Exporting For the First Time To Quickbooks Online
1.Navigate to https://quickbooks.intuit.com or do a google search for quickbooks to get to their main website.
2.Click the Sign In button. 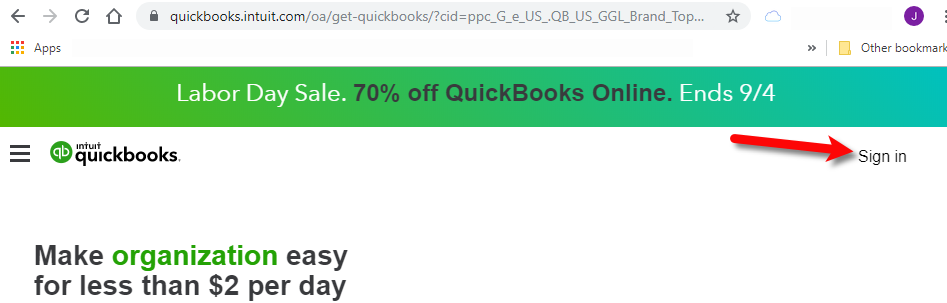
3.Type in your User ID/Email and your password to log into your Quickbooks Online account, then click the Sign In button. 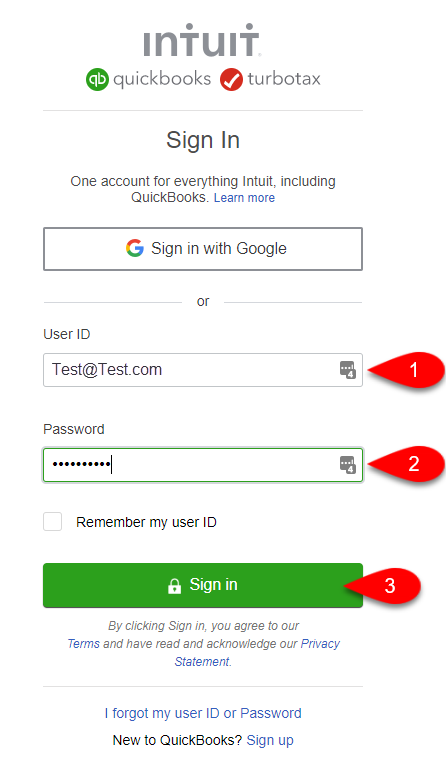
4.Click the Cog symbol over on the top right of the page, then click on the Account and Settings menu option.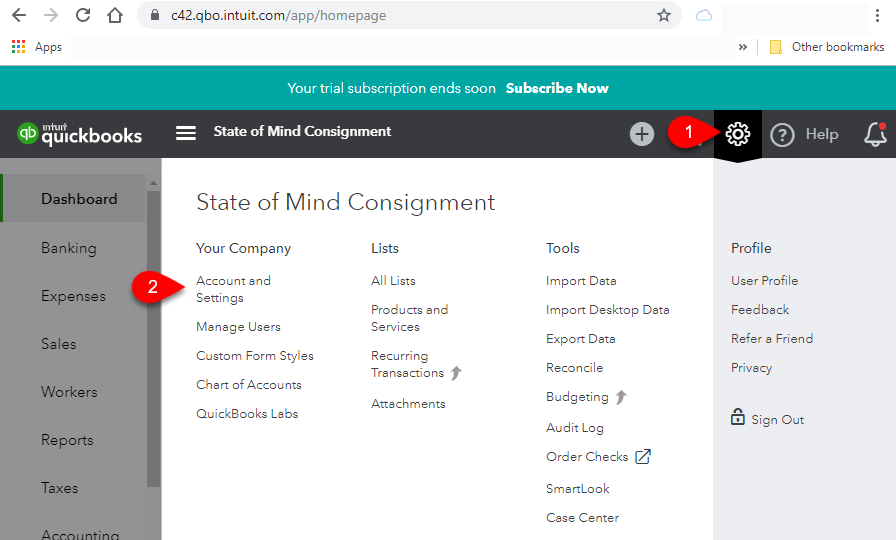
5.Click on the Advanced menu option to the left then click on Enable account numbers.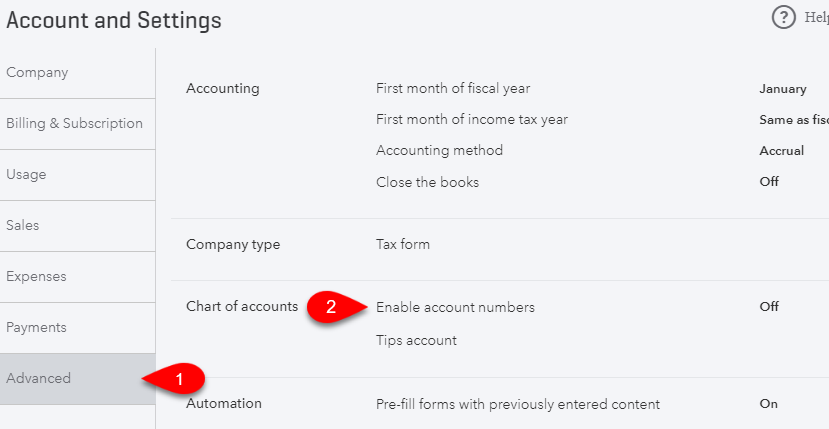
6.Click to checkmark the box next to Enable account numbers, you can also checkmark the box next to Show account numbers but it is not required for the Quickbooks Link to sync properly.
Click the Save button, then click the X button to close out of the settings window. 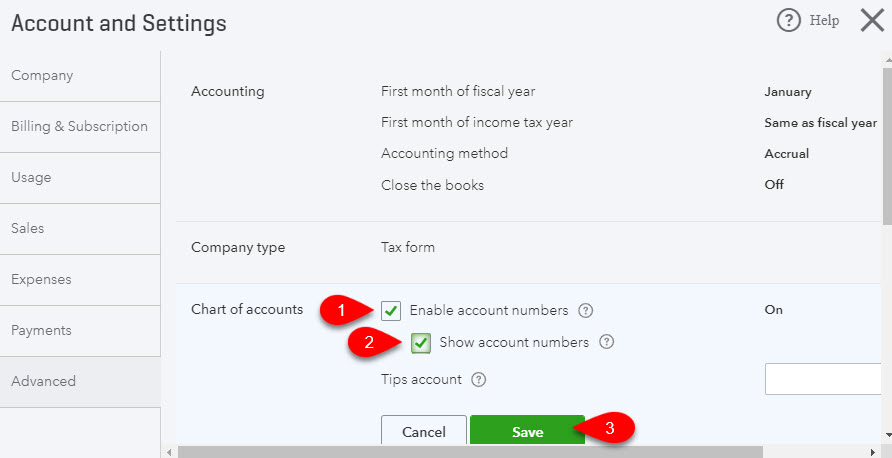
7.Open the Liberty 5 Inventory Module and then click on the QB Link icon. 
8.If you see any Red entries, they will need to be corrected first.
Click once on the Red entry and then click the Edit button. 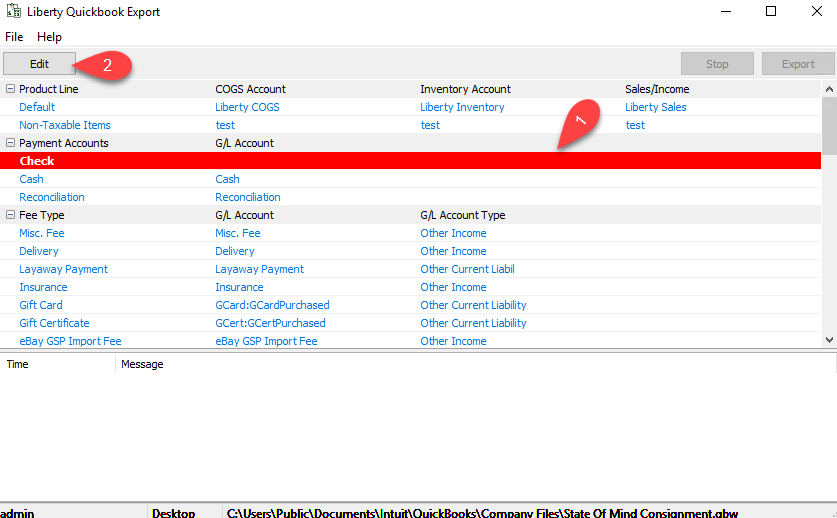
9.Type in the G/L Account name you would like Liberty to create or sync into if Quickbooks has the account already created.
Note: To export into sub-accounts, simply use the colon (:) symbol between two accounts Example Bank of America:Check
10.Scroll down until you get to the bottom and make sure there are no more Red entries missing required information. 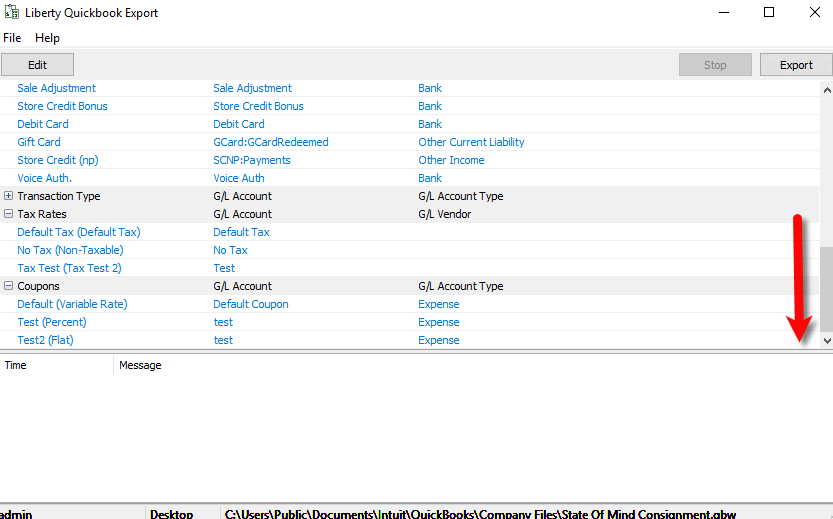
11.Click the Export button. 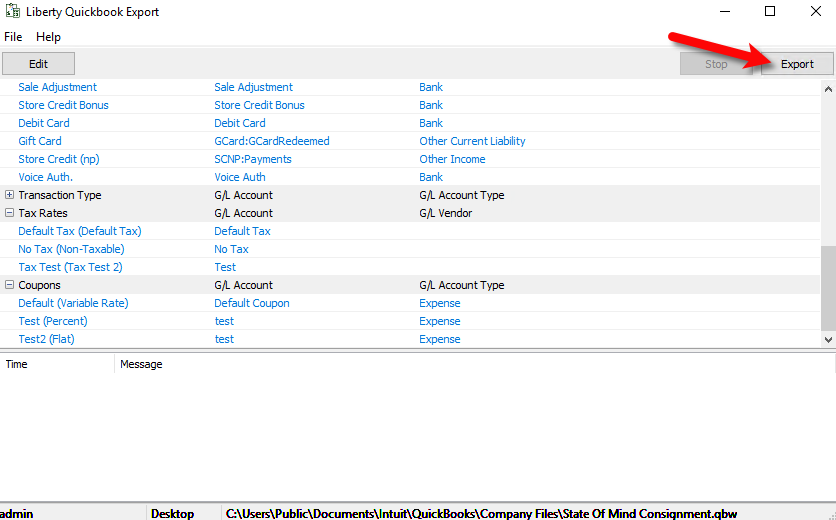
12.You will now be prompted for the start date you wish Liberty to export from.
Click the Month Year option at the top to quickly flip through the past years. 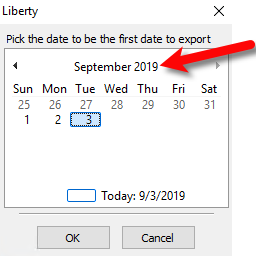
13.You can use the left or right arrows to move backwards or forwards between the different years.
Once you have found the year you wish to export from, select the Month you want to start the export sync from. 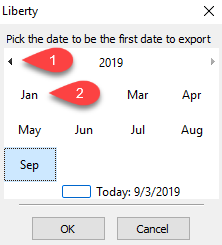
14.Select the date of the Day you wish to export from and then click the OK button. 
15.Confirm that the date is correct on the following prompt and then click the Yes button. 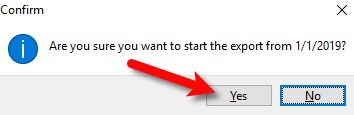
16.The Liberty Quickbooks Link will now sync to your company file on Quickbooks Online from the date you selected prior. 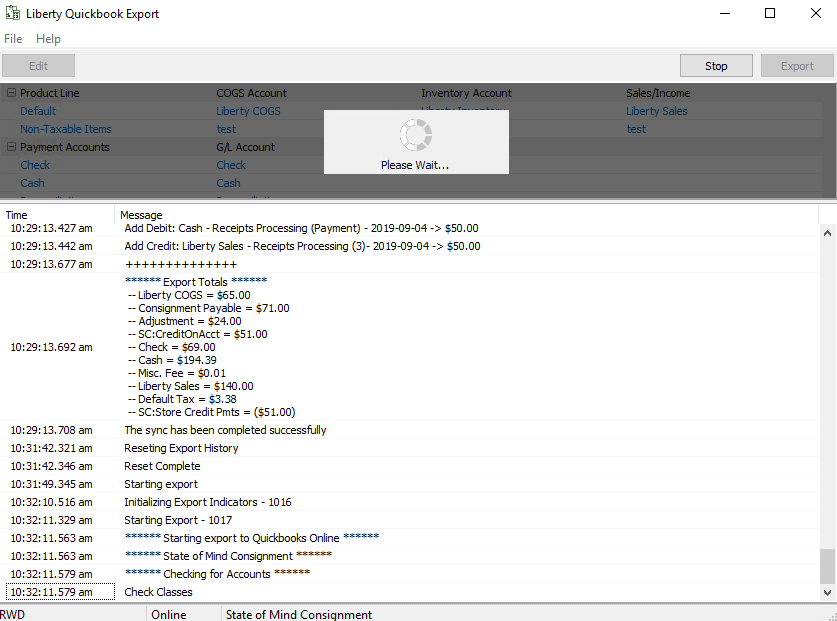
17.If you receive a message stating Current Quickbooks Online edition not supported. Quickbooks Online Plus edition is required, you must upgrade your Quickbooks Online edition to Plus and then Export again. 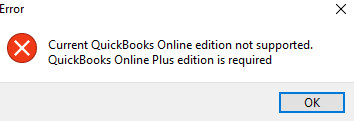
18.When you see The sync has been completed successfully, this means that the export is finished.
Note: If you see a message stating that there was an error during the export, please visit our Troubleshooting Quickbooks article.
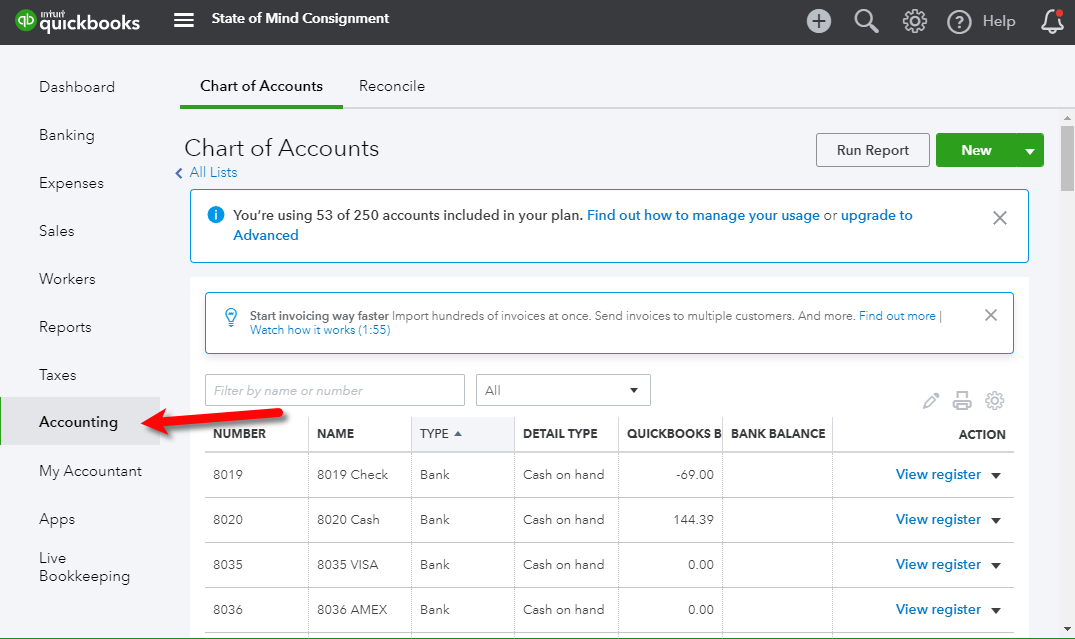
19.You can then click on the Accounting menu option in your Quickbooks Online account to see the exported accounting data.
Related Topics
Exporting to Quickbooks Online Using The Quickbooks Link Overview
Quickbooks Online Link and GL Account Settings