Deleting Items
Deleting An Item During Item Entry
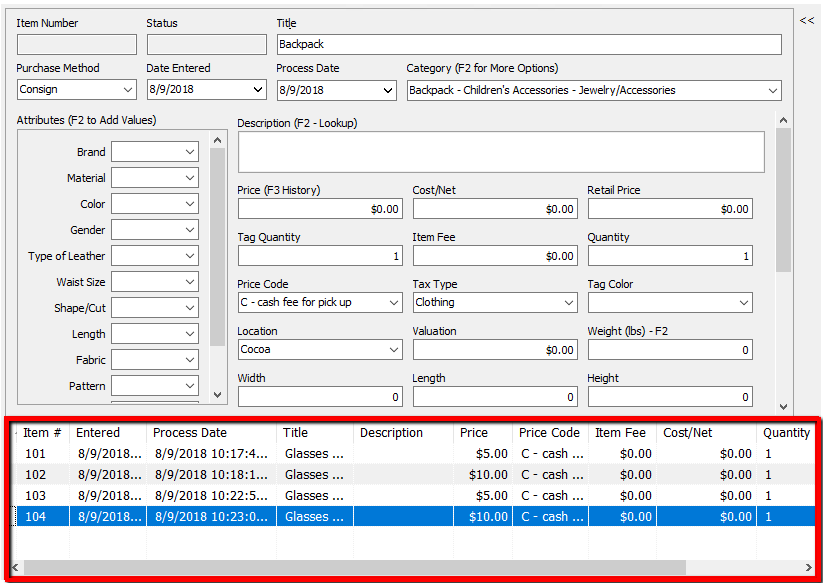
To maintain data integrity, an item may only be deleted so long as it still appears at the bottom of the Item Entry display.
1.While still in the Item Entry screen (before closing out to leave the screen), look for the item to be deleted in the Item Entry Grid. The Item Entry Grid is located in the bottom half of the Item Entry Window.
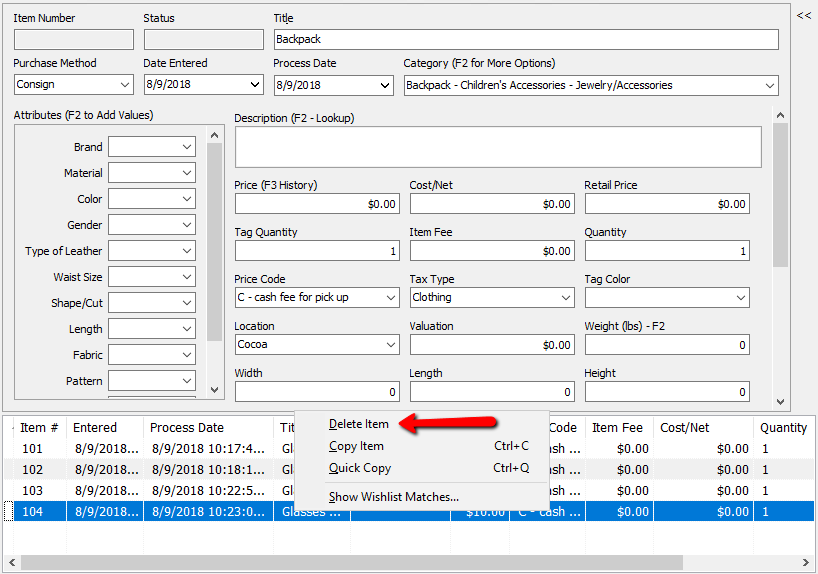
2.Right click the item at the bottom of the item entry screen. Select Delete Item.
Deleting An Item After Item Entry
1.In Liberty Inventory, Lookup the account.
2.Select the Inventory Tab.
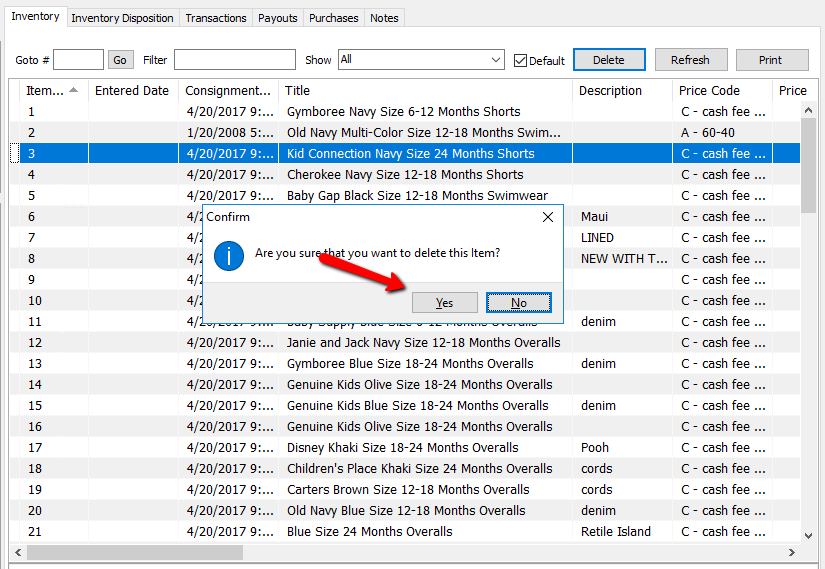
3.Highlight the item. Click on the Delete button, located at the top of the screen.
4.A confirmation box will open. Click Yes if you wish to delete the item.
The item will no longer show in the Inventory list.
The following are ways to deal with unwanted items
1.Replace all the information for the item to be deleted - description, price, title, etc. - with another item.
2.Create a junk account and transfer items into it. Be sure to assign the account a very high account number, such as 999990, so that items in this account may be easily excluded from reports by filtering the account number range to (for example) 000001 - 999999.
