Client Import/Export Utility
The Client Import/Export utility can be used to import accounts laid out in a CSV file format, or it can export already existing accounts into a CSV file format. This is great for people who quickly need their account information exported to import into another program such as MailChimp for marketing purposes, or who need to import client information from another consignment software.
How To Import Client Information
1.From within the Inventory Module select Activities > Accounts > CSV Import/Export.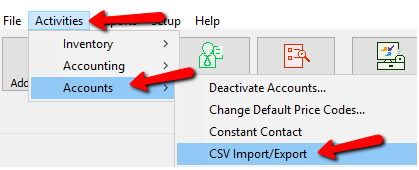
The Client Import/Export Utility Dialog Box will open.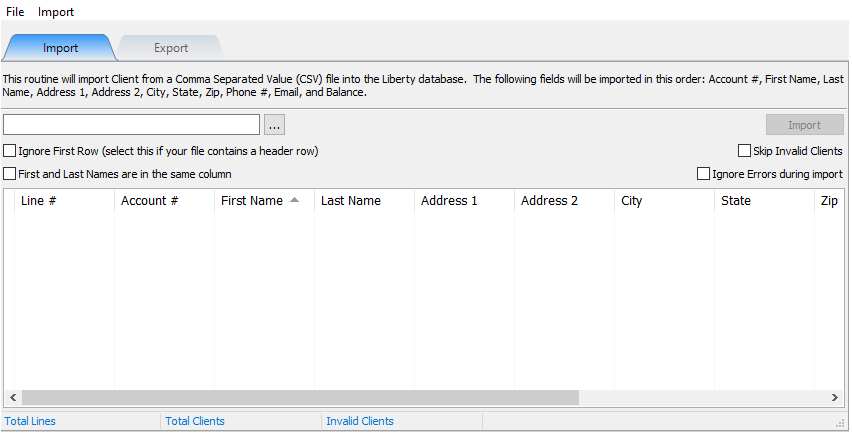
To import a list of new clients, you will first need to create a CSV file with the customer information. The information will need to be laid out in this order.

Note: If you export your data from another program and it puts the First and Last name in the same column, you will need to leave the Last Name column out. See below on how this affects the import.

●Account # : This is the account number that will be assigned to the account. If that account number has already been used, then the account will not be imported. The number in the CSV file will need to be changed to a different number.
●First Name : This is the first name of the account holder.
●Last Name : This is the last name of the account holder.
●Address 1 : This is usually the Street address of the account holder
●Address 2 : This might be the name of an apartment complex or subdivision of a larger community.
●City : this is the city in which the account holder lives.
●State : This is the state of the Address.
●Zip : This is the Zip associated with the Address.
●Phone # : this is the phone number of the account holder.
●Balance : If importing current clients who have a balance due to them, enter that amount in the balance column to be added to the inventory module.
2.Select the Navigate button to upload your CSV file.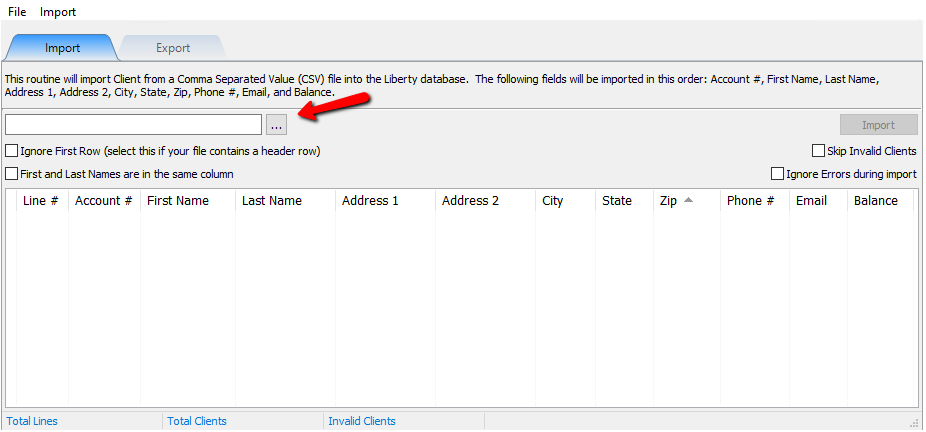
3.Once you find your file, select the Open Button.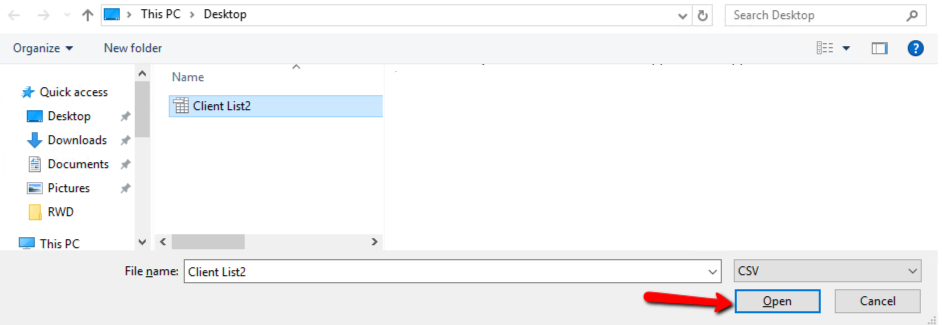
Your data will be loaded into the Import Utility.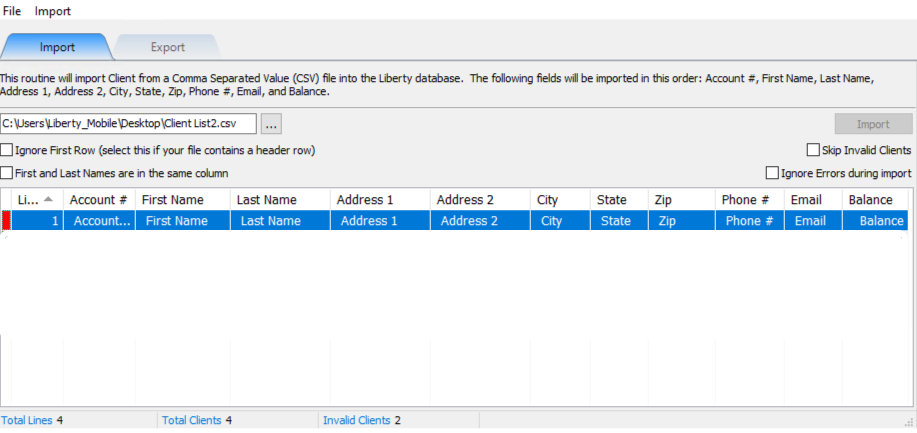
Accounts with a Green Indicator means the account is set to be uploaded without issue. Accounts with a Red indicator indicate there is an issue and can not be uploaded. 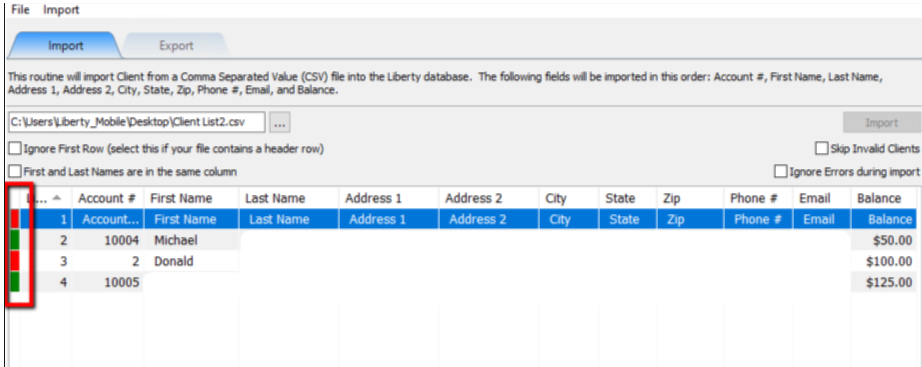
Notice the import button is grayed out. You will either need to fix all issues with accounts that have a red indicator, or you can select the option to Skip Invalid Accounts and those accounts will not be uploaded until fixed.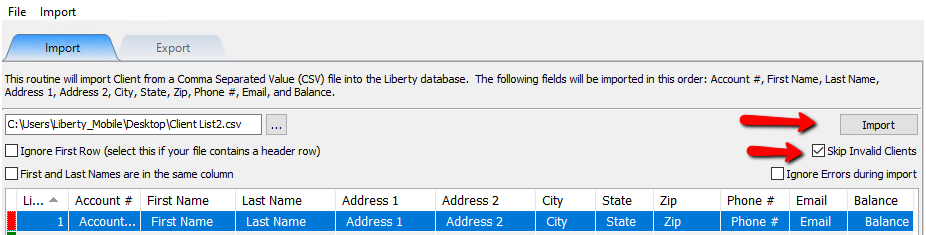
If you used actual headers for your .csv file, you can tell the import utility to ignore that row.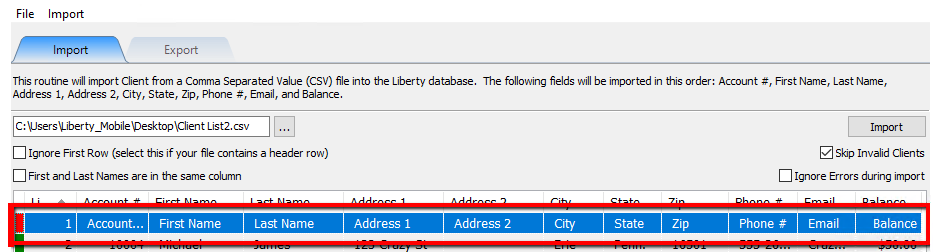
Once checked, it will hide that row.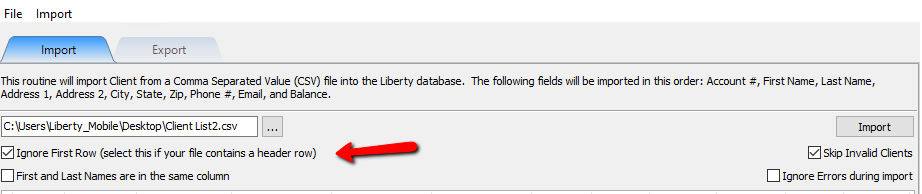
If first and last name are within the same column, be sure to check off First And Last Names Are In The Same Column.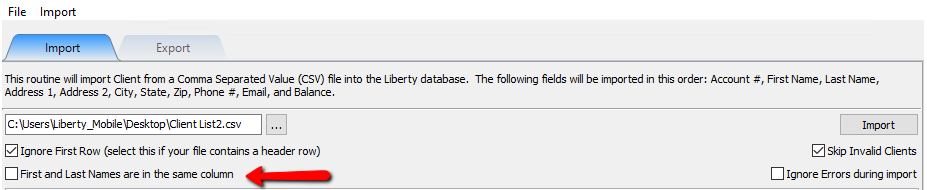
Note: When this is checked off, it adds the Last Name Column and separates out the last name into the Last Name Column. However it also moves all other data over by one column. It is recommended if there is a mixture of of accounts with last name in with the first name, and last name in the last name column, to leave it and manually fix it in Liberty, or cancel the import, and manually fix the import file.

4.When ready, select the Import button.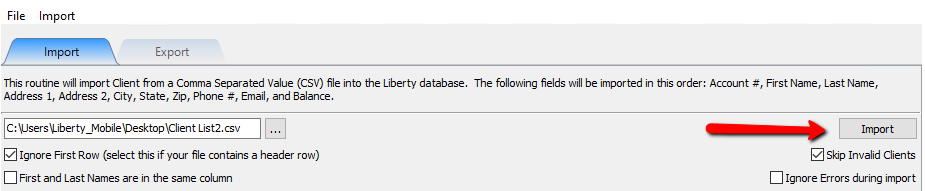
If there are any errors during the import process, they will be displayed.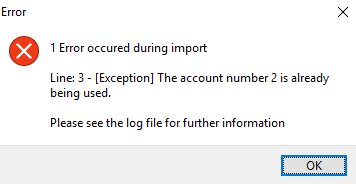
If you want to avoid these errors, select Ignore Errors During Import.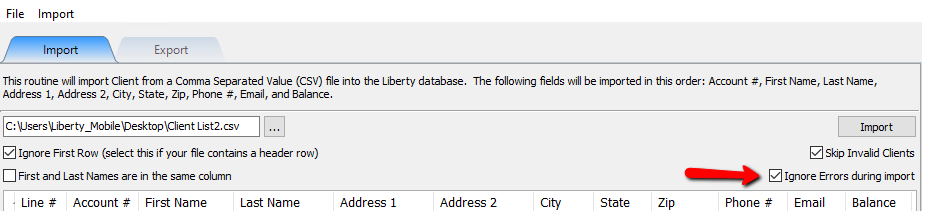
5.Any accounts imported, will look similar to this. 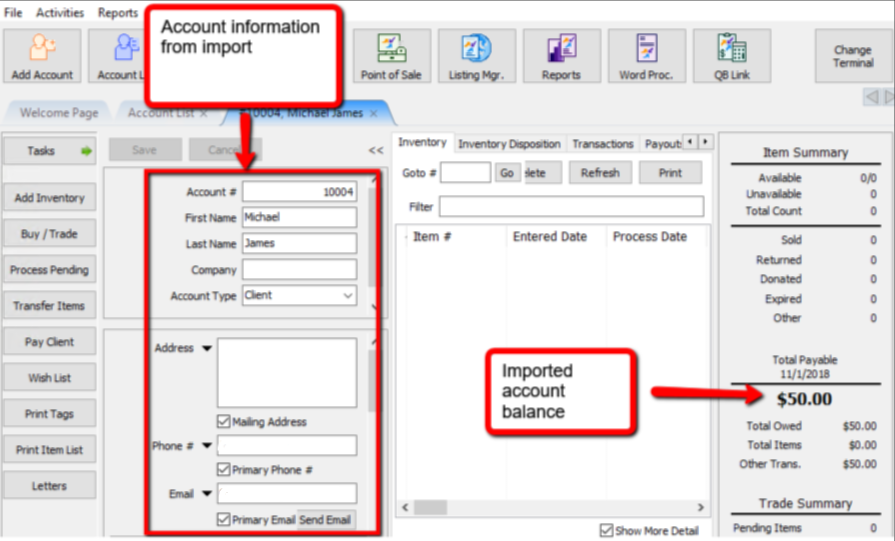
How To Export Client Information
1.From within the Inventory Module select Activities > Export Contacts > CSV Import/Export.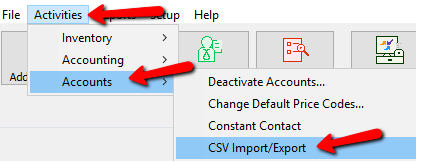
The Client Import/Export Utility Dialog Box will open.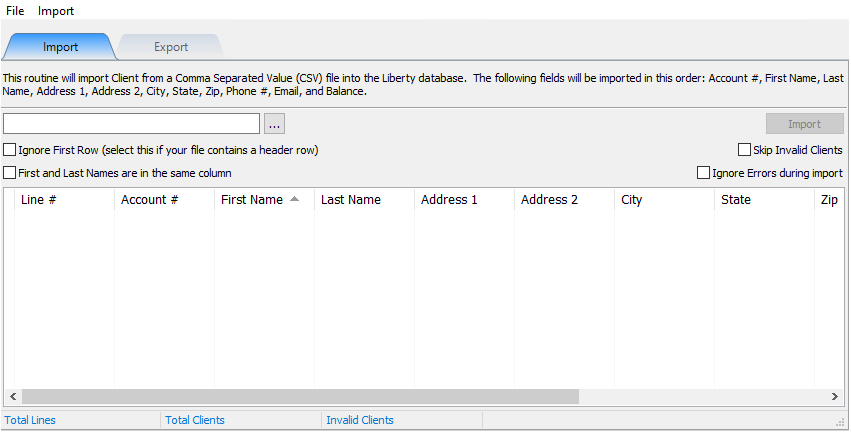
2.When the Client Import/Export Utility Dialog Box will opens select the Export tab.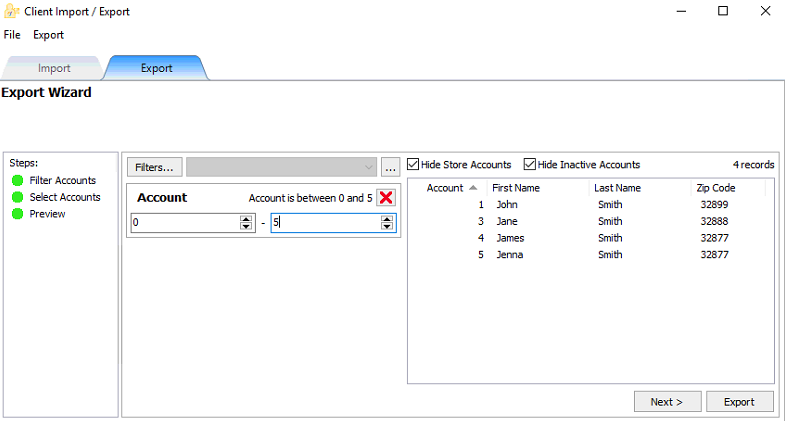
3.From this screen you can see the steps that you can go through to do an export. You can click on and individual step, or select the Next button at the bottom of the screen.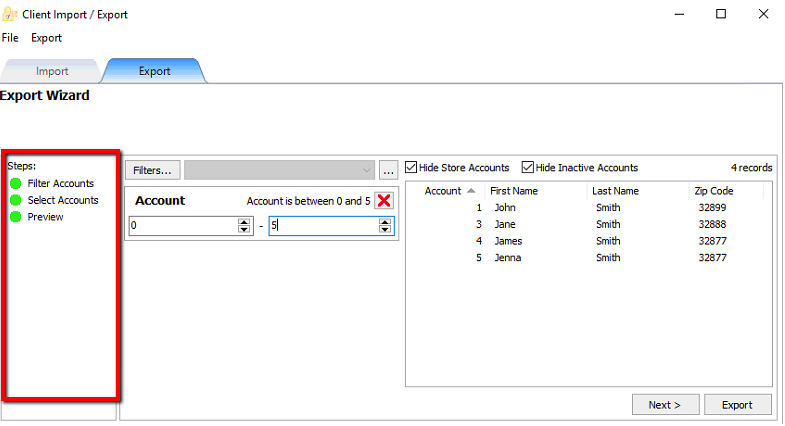
4.Selecting filters will open a list of filters to choose from. Put a checkbox in the filters you wish to use and select the OK button.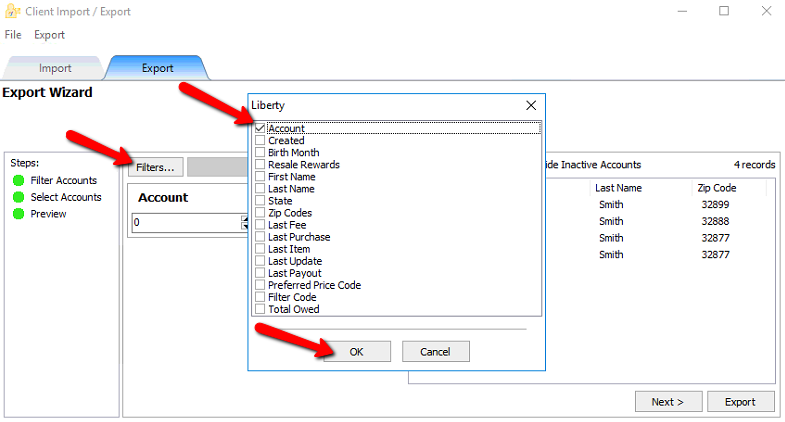
5.This will add the filter. Each filter can be modified to fit the criteria you are looking for. If you wish to delete the filter, click the red X in the upper right corner.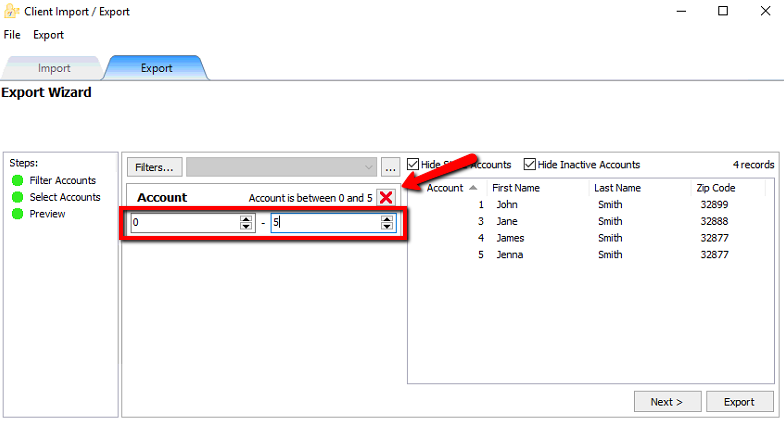
6.If you wish to save this list, you can click on the Browse button.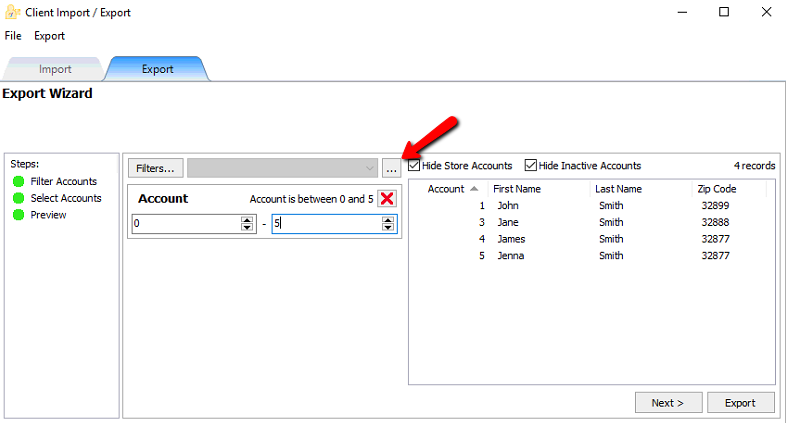
7.This will open the Manage Saved Export Criteria dialog box. 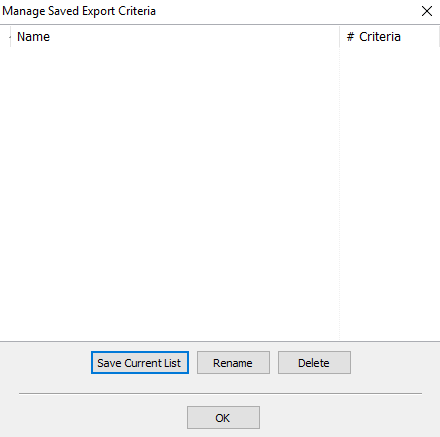
8.Select the Save Current List button to save the list you just created.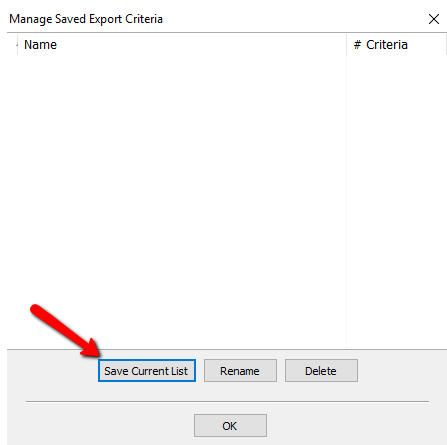
9.You will be prompted to name the current list.Enter a Name and select the OK button.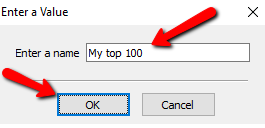
10.You will see your created list in the Manage Saved Export Criteria dialogue box. You can highlight and select the Rename button to change the name of you can highlight a list and select the Delete button to remove it. Select the OK button when done.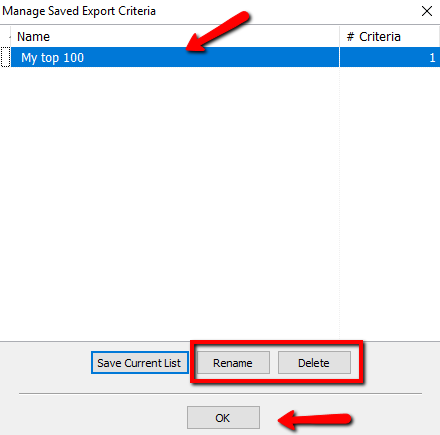
11.Once your list is saved, you can click the Drop Down selection to open that list.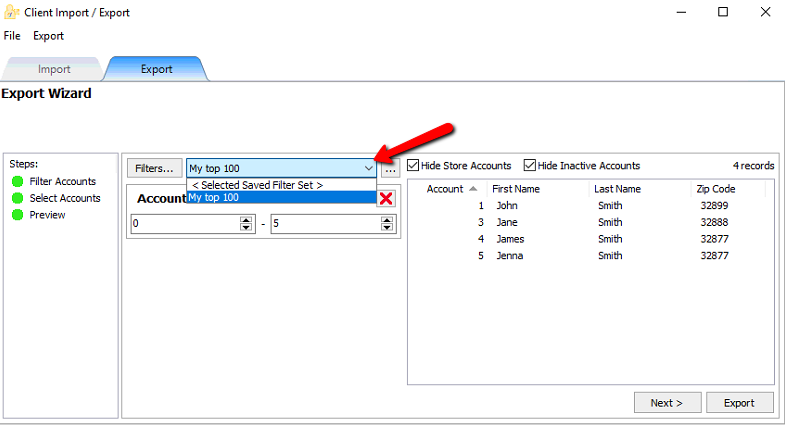
Checking off either of these buttons will hide the appropriate accounts.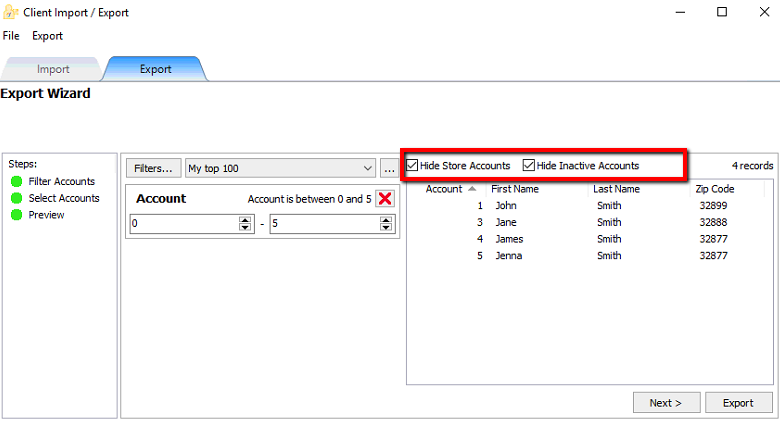
12.When done select the next step or Select the Next button to continue to the next screen.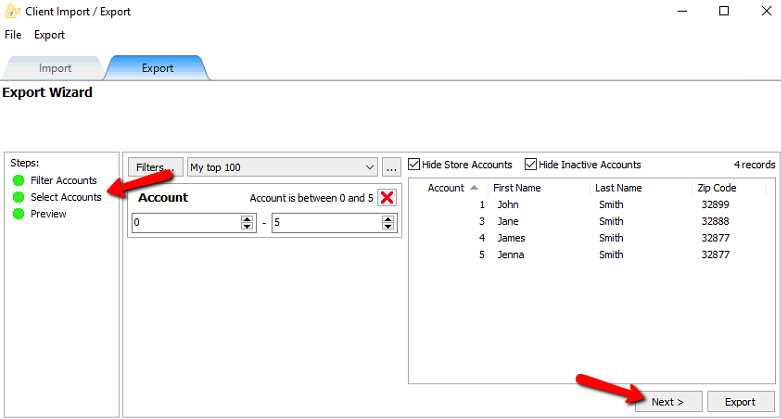
13.From this screen we can manually add and remove accounts. Highlight the account on either side and press the Left or Right Arrow button to move them left or right. Selecting the Triple Arrow buttons will move All the accounts left or right. Select the Next button or click the Next step in the list to continue. Select the Back button or Previous step if you feel you made a mistake.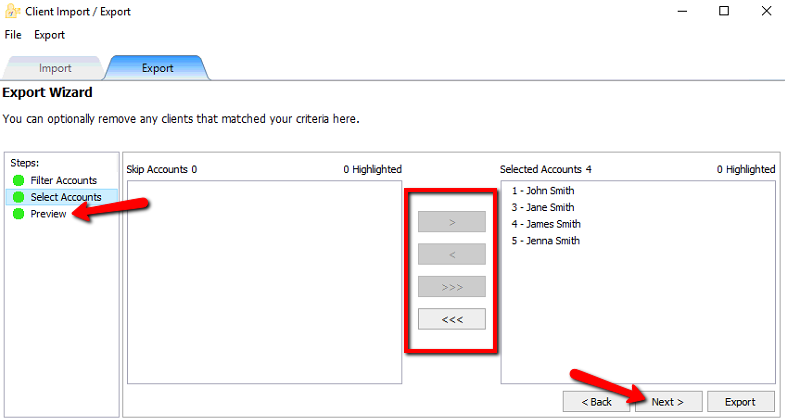
14.On the final step we can Highlight and copy all the data and past it into another file, or we can select the Export button.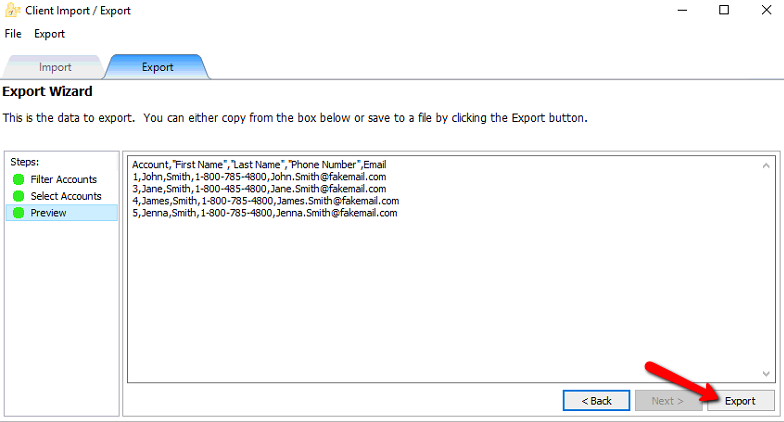
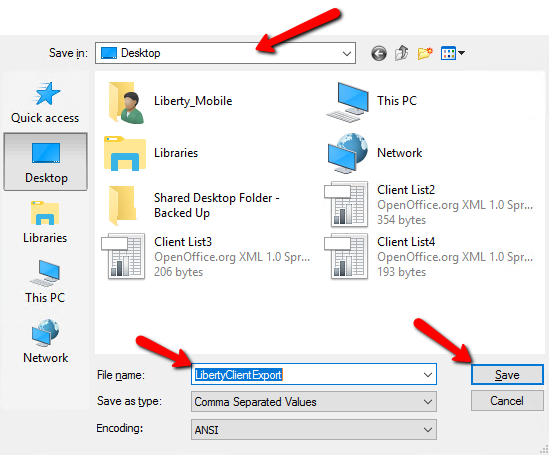
15.At the top select where on your computer you wish to save the file. At the bottom name the file. The select the Save button when done.