How To Use Auto Create Listings
Here is the video that covers this content:
How To Use Auto Create Listings In The Liberty 5 Listing Manager
1.Open the Listing Manager.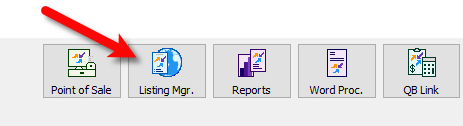
2.Click on Settings > Options.
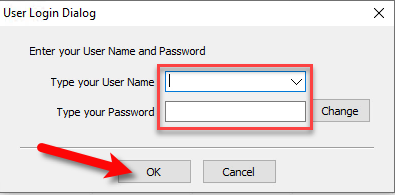
3.When the login dialog comes up, go ahead and sign in.
Note: This may require an administrative login depending on what type of security you have implemented.
4.We are now going to set our Storefront Settings:
1.Click on Storefront Settings in the left menu area.
2.Require at least one image: Checkmark this option if you want to make sure that no items go up without images.
3.Require Shipping Weight: Checkmark this option if you plan to use calculated shipping, which requires everything be weighed. This will ensure that items do not go up to your selected marketplace without a weight.
4.Use Automatic Markdowns: Checkmark this if you would like to use automatic markdowns on your marketplace.
When an item’s markdown period hits, the listing on the applicable marketplace will reflect this discount in price.
Note: Automatic Markdowns do not work with eBay listings.
5.Display Active Auctions On Storefront: This feature works differently depending on whether you are using Shopify or ShopRW.
For Shopify, eBay buy it now items can also have a seperate listing on Shopify. If the listing sells on either platform or the store, quantities on all marketplaces will be updated accordingly.
For ShopRW, both eBay buy it now and auctions can be displayed as a separate listing on your ShopRW site. eBay auctions listed on your ShopRW site will simply take your customer to the auction on eBay.
6.Create Listings For New Items: This determines what happens when you checkmark the Web Item box on an item.
With this enabled, items that have the Web Item box checkmarked will have a listing automatically created for the marketplaces you select. Depending on which marketplaces you select, this allows you to skip having to go into the Listing Manager to add new listings. Instead, items can have web listings created automatically.
Please checkmark this if you wish to continue with the steps outlined in this article.
7.Default Marketplaces: This is used to select which marketplaces you would like to have listings automatically created and pushed to when checking the Web Item box on items.
Please select which marketplaces you want to create a listing for if you wish to continue with the steps outlined in this article.
Note: All eBay marketplace options will not automatically be set to ready when having a listing automatically created. You will need to edit each listing that is created in the Listing Manager as there are additional options that must be set before the eBay web listing can be created on eBay.
8.Click the OK button.
5.Add or Edit a new item to an account. Make sure to fill out your Category, Attributes, description and Price along with any other fields you normally would fill out. 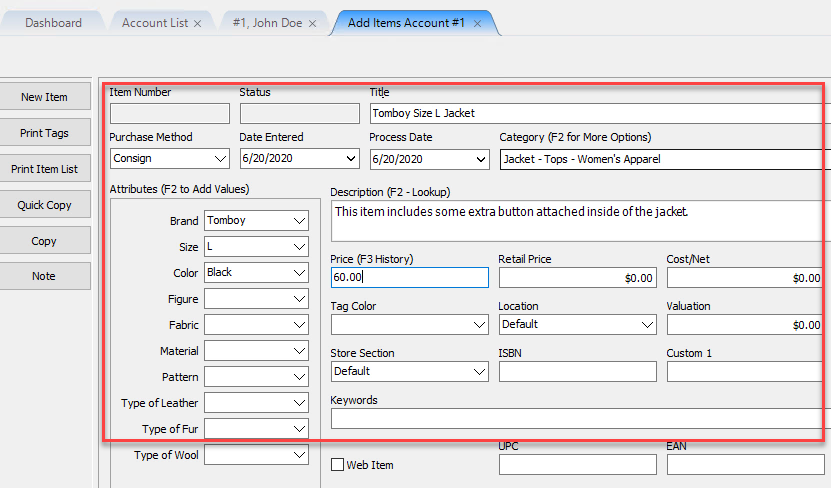
6.Fill out your weight if you are using calculated shipping and/or you have this set as a requirement. 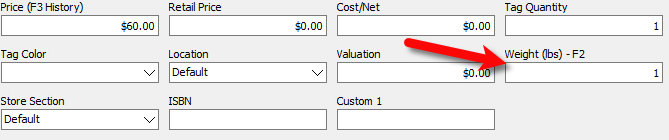
7.Now we must add images to the item. Click the Add button underneath the image area. 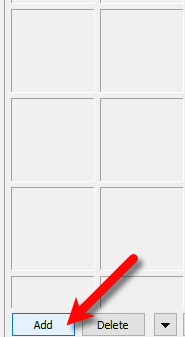
8.Find and select which images you want to attach to the item, then click the Open button. 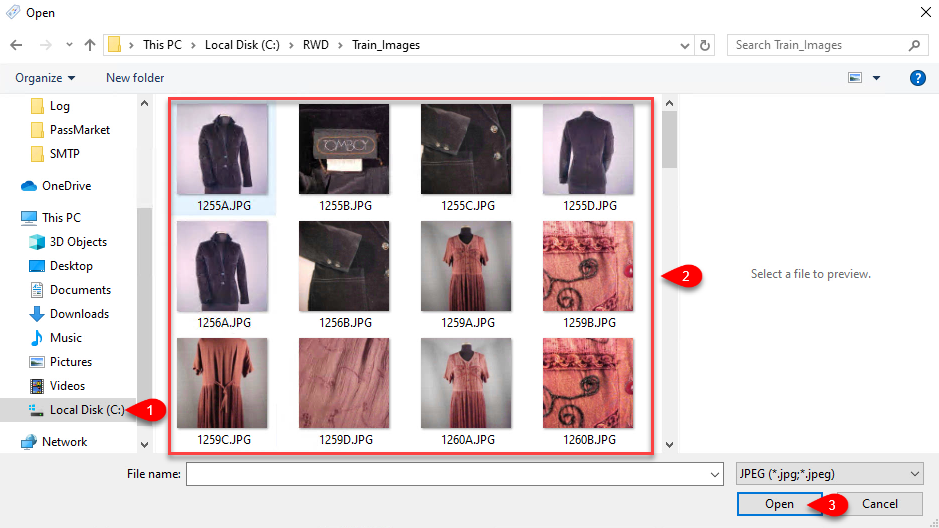
Note: With Liberty 5, you can select multiple images using the Ctrl or Shift key while simultaneously clicking on which images you want to use. You can also use either the Liberty Photo App or the Liberty Item Entry App to attach or take pictures of your items.
9.If there are any images that need adjustments, you can double-click on any image. 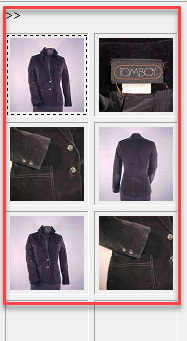
10.You can adjust the Contrast, Brightness or Rotation of the image. You can also resize the image. Click the OK button when finished. 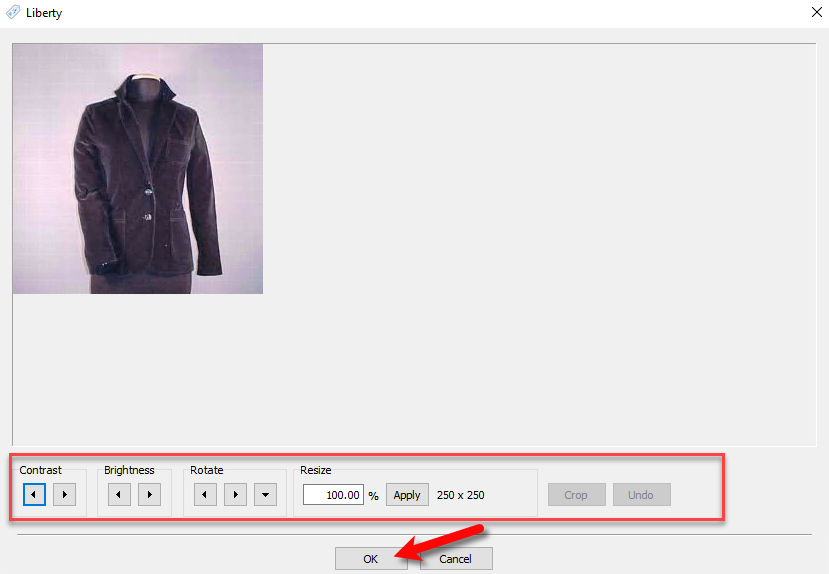
11.Checkmark the Web Item box.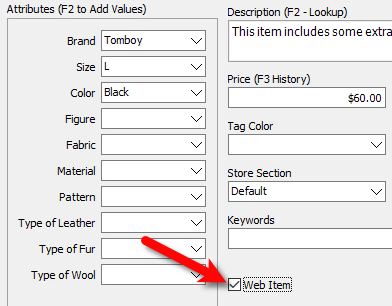
12.Click the Save button located at the top right corner. 
13.Your item, depending on which marketplace(s) you selected, will now automatically have a listing created in the Listing Manager under the Ready tab. The item will also have a web page / listing created on your chosen applicable marketplace. The syncing of the item to the marketplace will happen within 5 minutes from the point that you click the Save button.
You can now continue adding more items or editing existing items for the purpose of creating more web listings.