Account Notes
Use the account notes field to notate the account with any kind of special note that is required for the account.
Adding Account Notes From Inventory Module
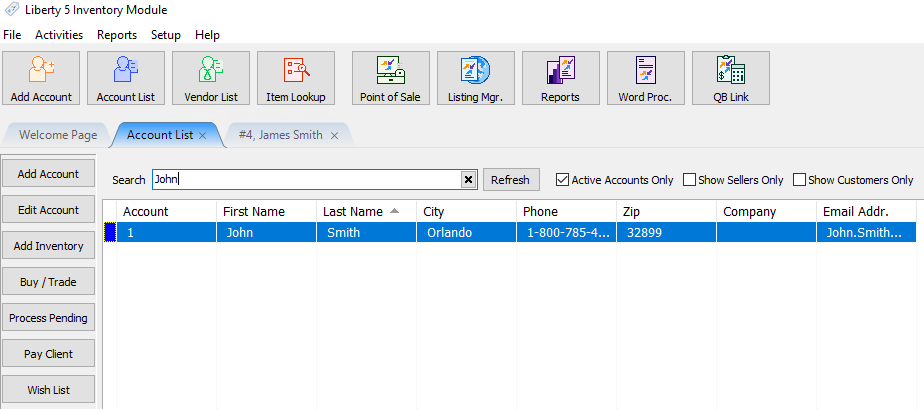
1.In Liberty Inventory, Lookup the account.
2.Once in the account, Select the Notes Tab.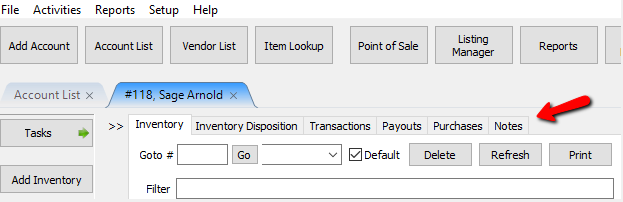
The Notes Tab will open.
The first section is for General Notes.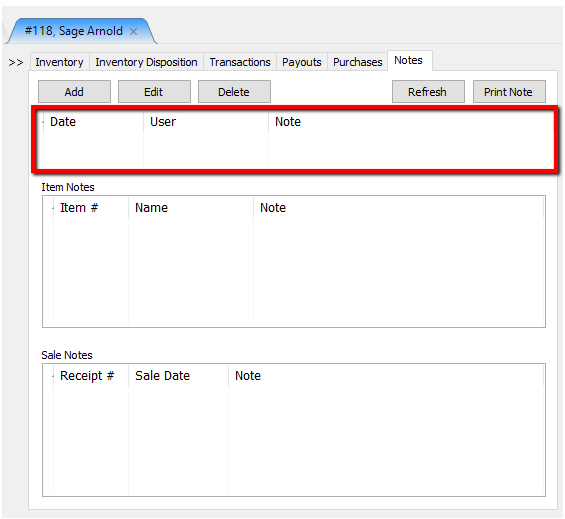
The second note section will pertain to notes associated with items on the account.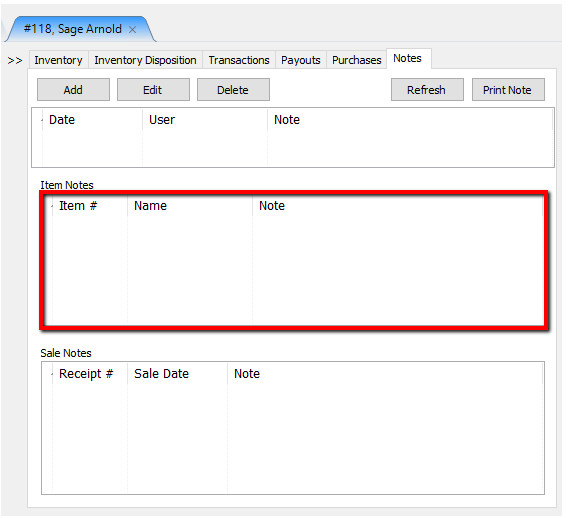
The third note section pertains to notes associated with Sales for this account.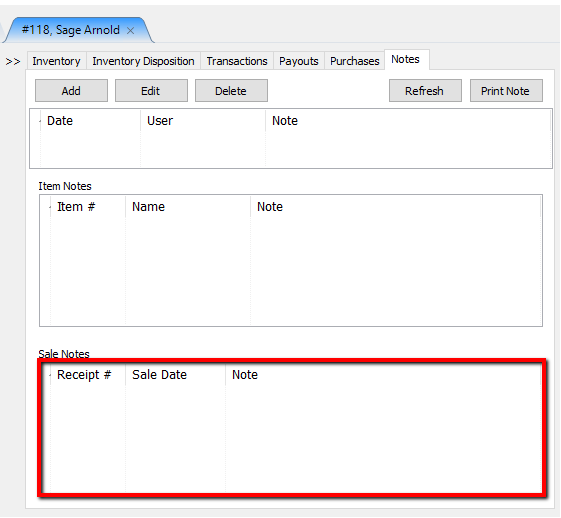
Highlighting a note then selecting the Edit Button, or selecting the Add Button will open the details of a note. Highlighting a note and selecting the Delete Button will delete the note.
The Note Dialogue Box will open.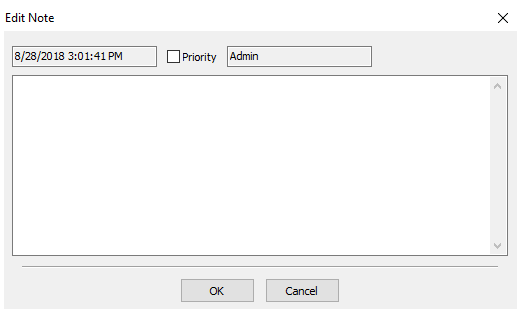
The top section will show the date and time the note was entered.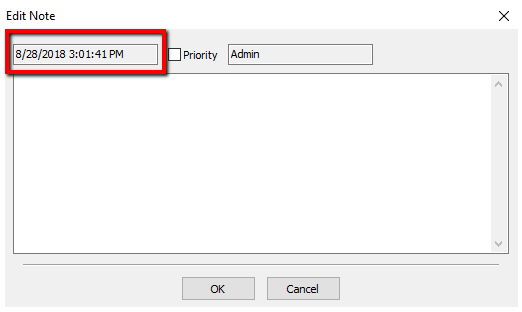
You can also see the User who entered the note.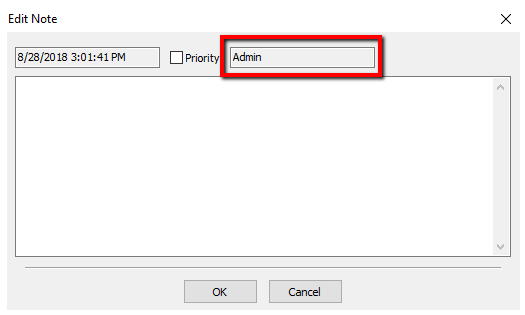
The Priority Check Box will mark the Note as a priority from the main Notes Screen.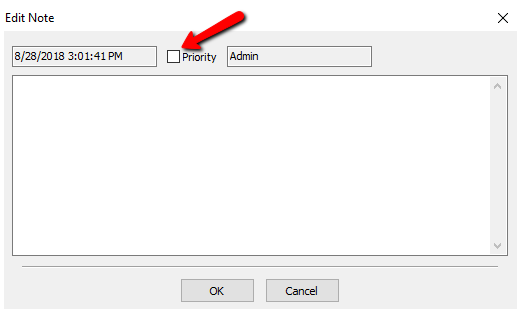
Enter in the notes in the body and mark it whether or not it is going to be a priority or not. Press the OK Button when done.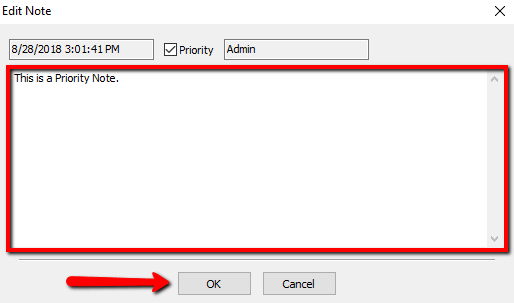
Your note will display in the Notes Screen. If the note is a priority, you will see a red indicator to the left of the note.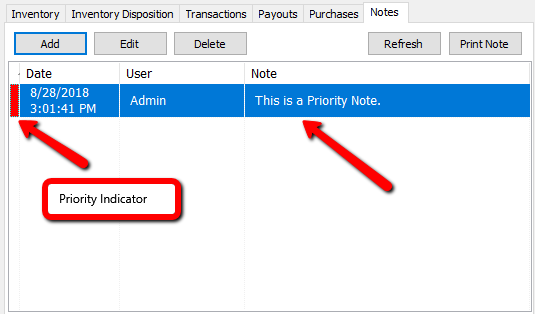
If you need to print the note, highlight the note and select the Print Note Button.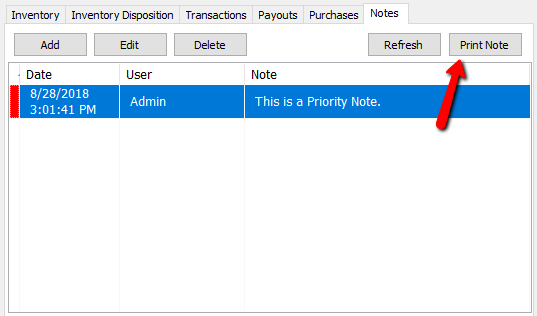
Note: When emailing an account, the email is also logged on the account as a note.
Viewing Notes From The POS
1.From the Point Of Sale select the Customer Button.
2.Search for the Account and Double Click on it.
3.When the account is open, select the Notes Button in the POS.
The notes for the account will be displayed.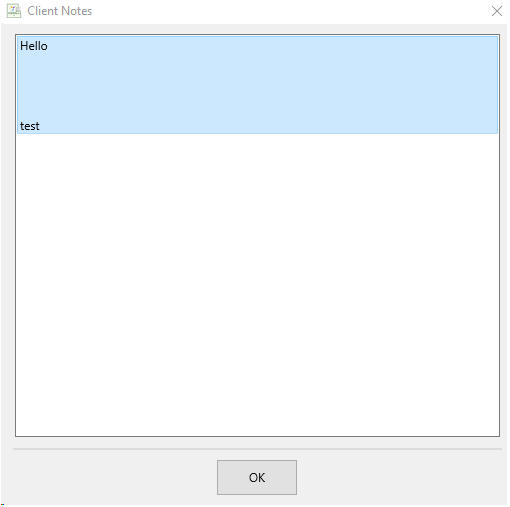
4.Press the OK Button when done.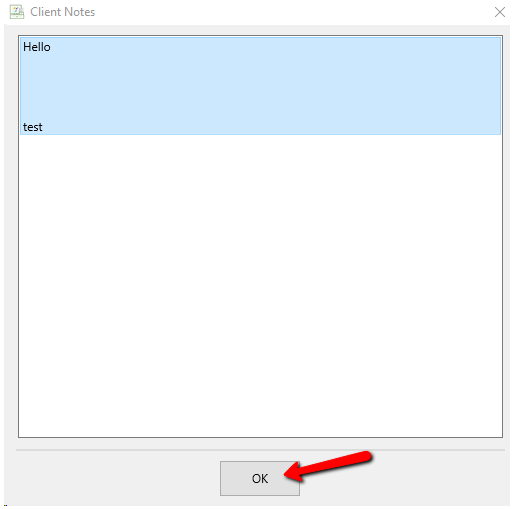
Related Topics
POS Overview